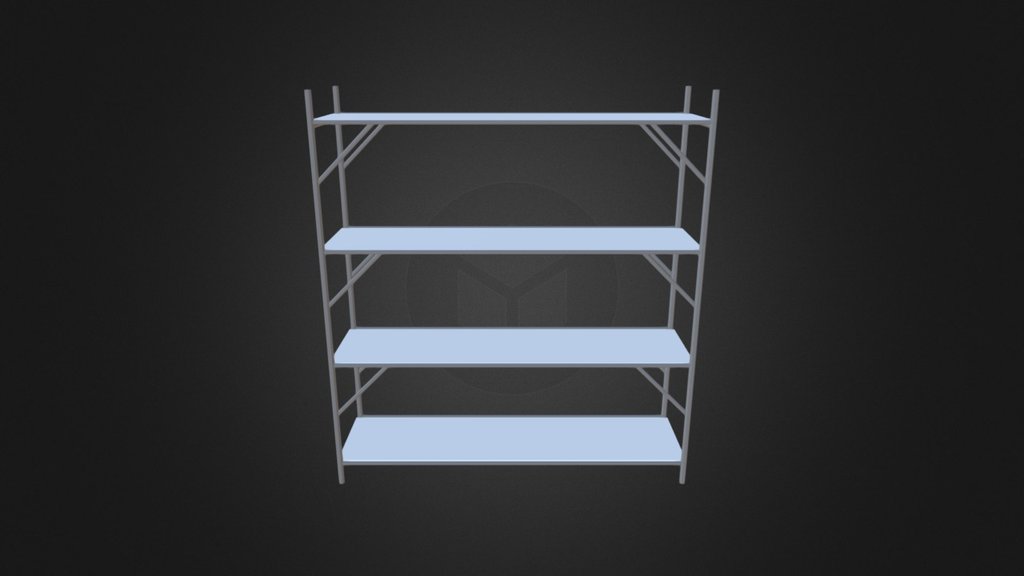
Rack
sketchfab
Crafting 3D Models Using Maya Create a New Scene and Set Up Your Workspace Maya offers a user-friendly interface that allows you to focus on your creative process. Begin by creating a new scene, which will serve as the foundation for your project. Within this scene, set up your workspace by configuring the layout of your tools and views. This initial setup will help streamline your workflow and minimize distractions. Modeling in Maya Maya's powerful modeling tools enable you to bring your ideas to life with precision and control. Start by creating a basic shape or form that represents the core element of your model. Use Maya's various tools, such as extrusions, lofting, and mesh editing, to refine and detail your creation. Adding Details and Texture Once your model is taking shape, it's time to add depth and visual interest through details and texture. Utilize Maya's extensive library of textures and materials to give your model a lifelike appearance. You can also create custom textures from scratch using Maya's built-in tools. Lighting and Animation The final step in bringing your 3D model to life is to set up lighting and animation. Maya offers a range of lighting options, including directional, ambient, and point lights. By carefully placing these lights, you can create a realistic atmosphere that complements your model. For animation, use Maya's keyframe animation tools or take advantage of the built-in physics engine to create dynamic simulations. Rendering and Exporting The last step is to render your final image or animation using Maya's powerful rendering capabilities. Once complete, export your file in the desired format, such as OBJ or FBX, for further manipulation in other software packages.
With this file you will be able to print Rack with your 3D printer. Click on the button and save the file on your computer to work, edit or customize your design. You can also find more 3D designs for printers on Rack.
