Rabbit hole filler
prusaprinters
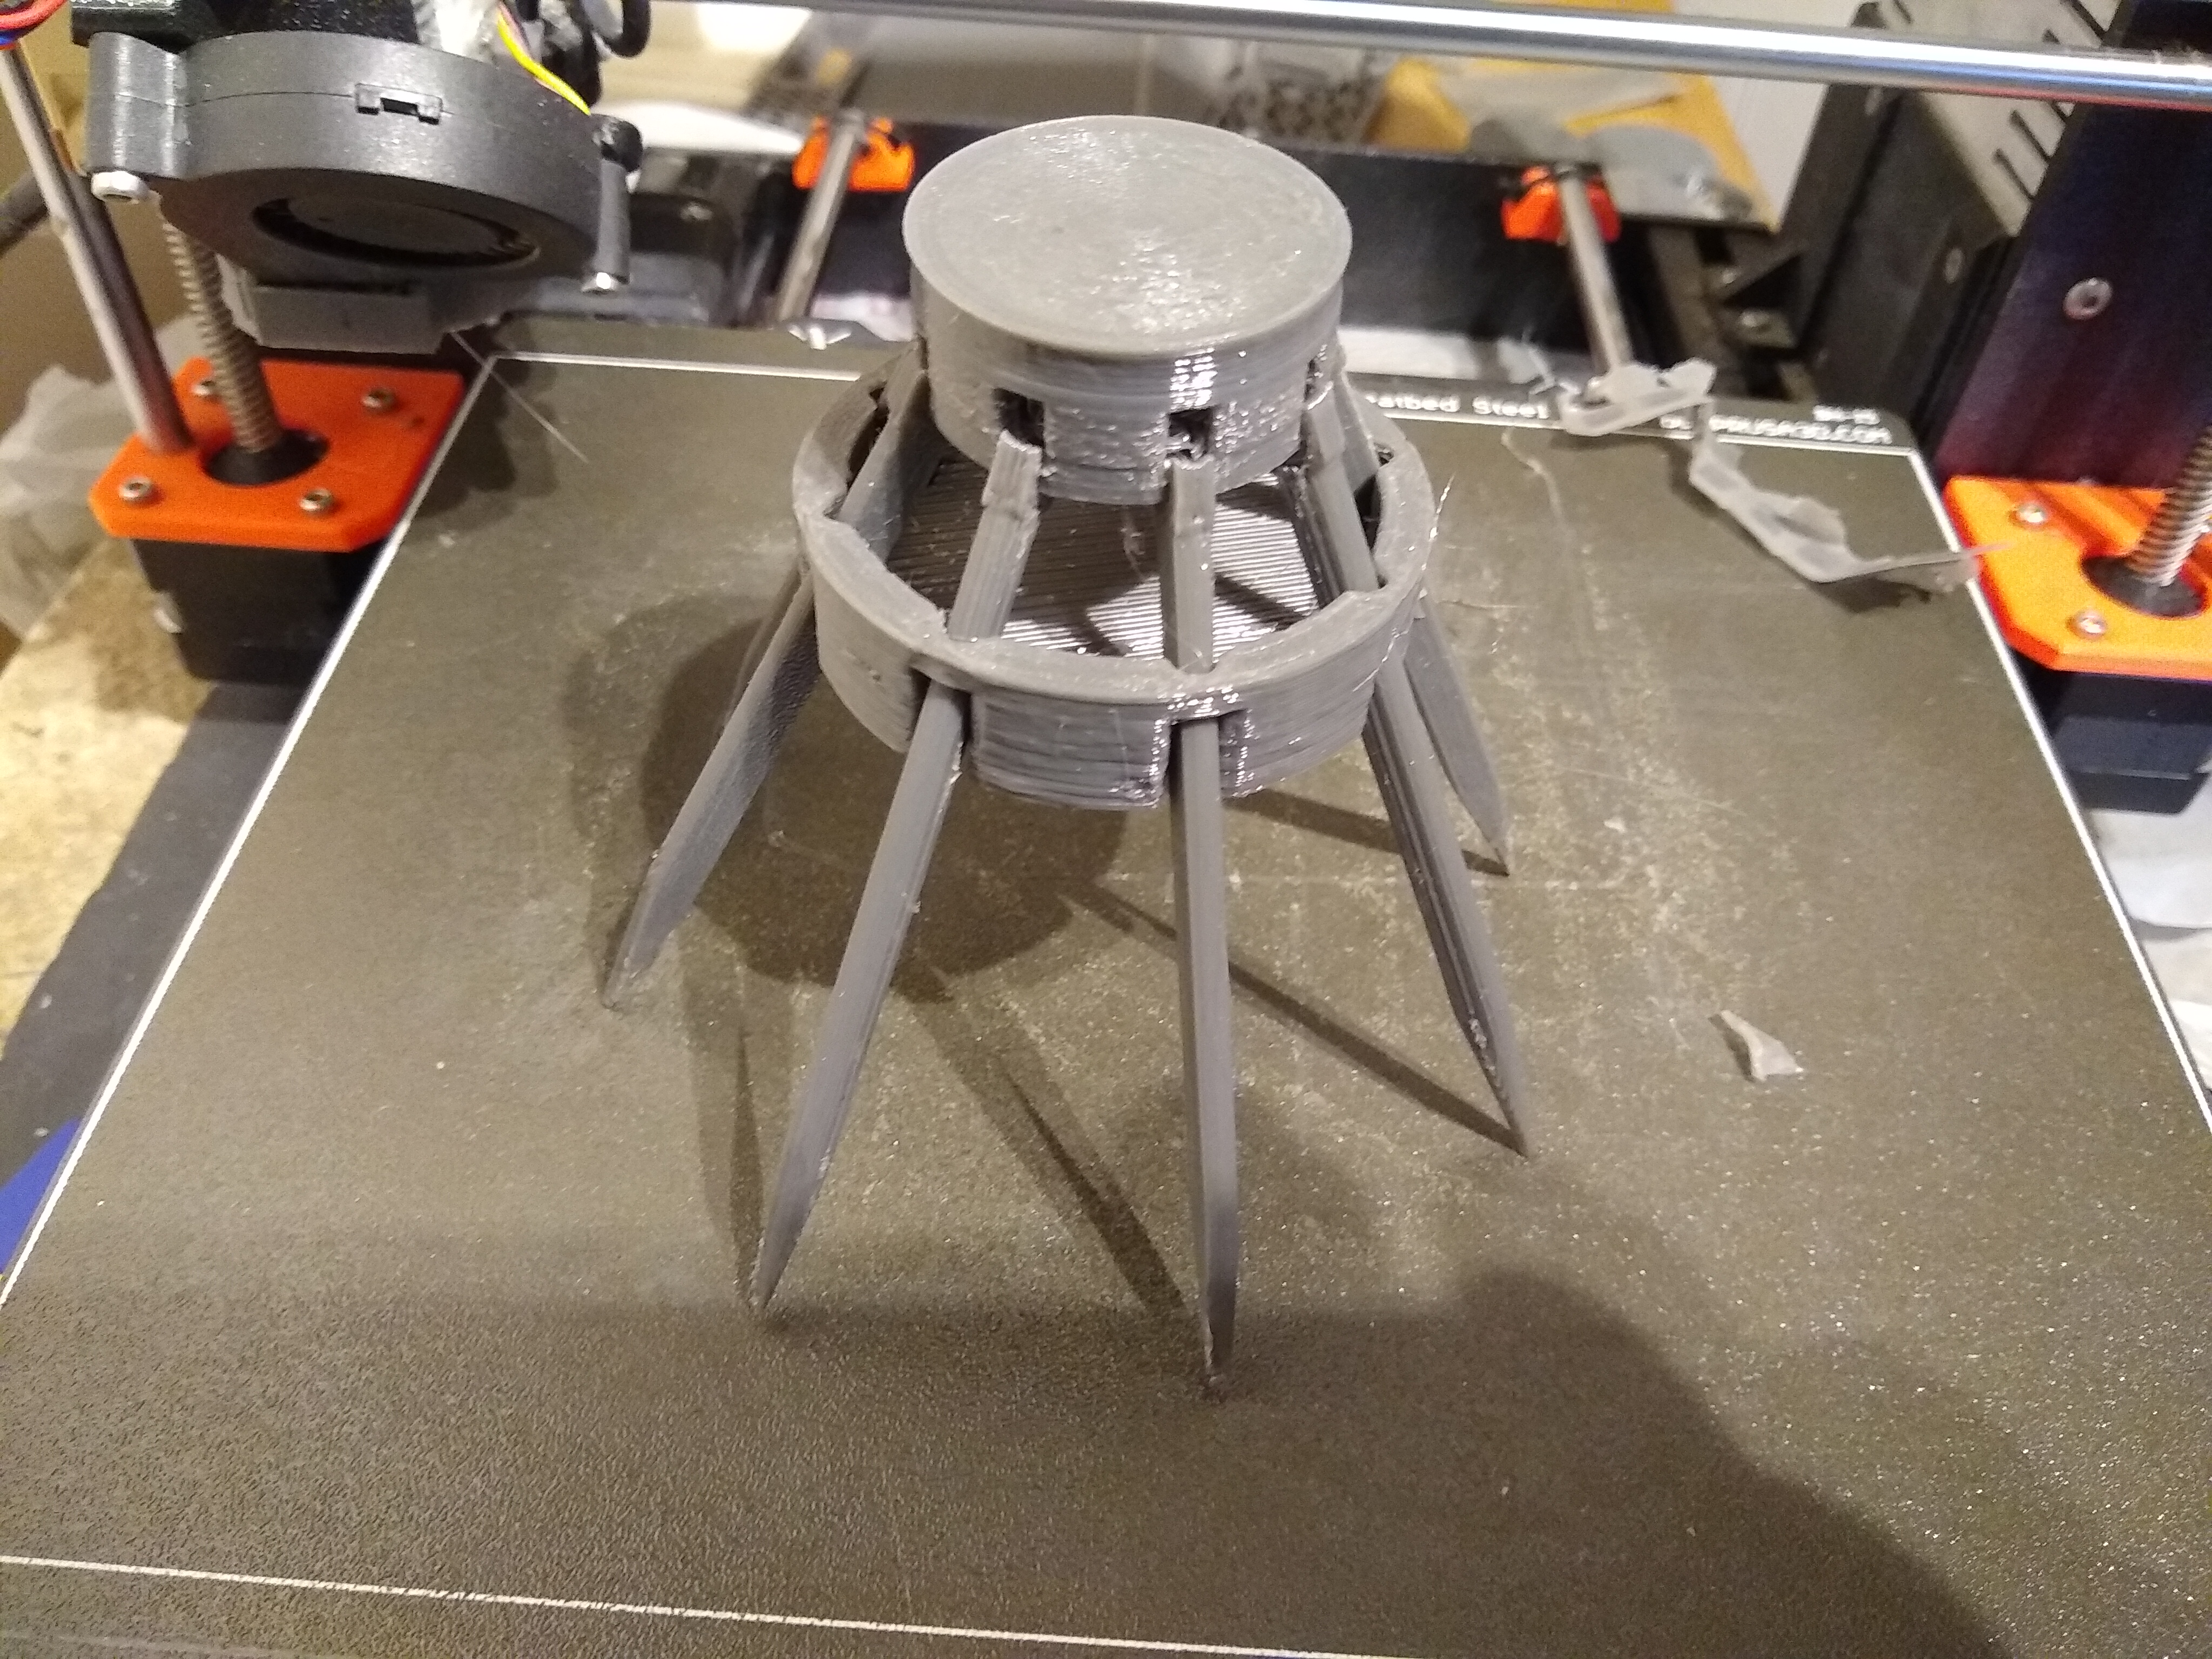
<p>If you have ever tried to fill in a rabbit hole you know it requires an astonishing amount of material. So here's a hole filler that spears into the earth around the hole, then you just fill above it.</p><p>Assemble the three different parts by sliding the “strut” through one of the holes in the “anulus” fat end first. Take the “centre” turn it so the flat end is away from the anulus, and clip the strut onto the circular rim. Repeat for each of the 8 struts.</p><p>To activate the filler press down on the top (the flat end) of the centre. You can see that as the centre and anulus are closed, the struts slide out through the holes until they are horizontal.</p><p>I've found it works best about ¾ of the way down the hole. Top it with a handful of concrete, then fill with earth, a layer of grass seed and earth to level and in a couple of months you wont know the hole was ever there! </p><p>I've provided Openscad drawings so you can change the diameters: reduce the length of the struts for smaller holes at the same time. </p>
With this file you will be able to print Rabbit hole filler with your 3D printer. Click on the button and save the file on your computer to work, edit or customize your design. You can also find more 3D designs for printers on Rabbit hole filler.