quiet PSU case for Snapmaker 2.0
prusaprinters
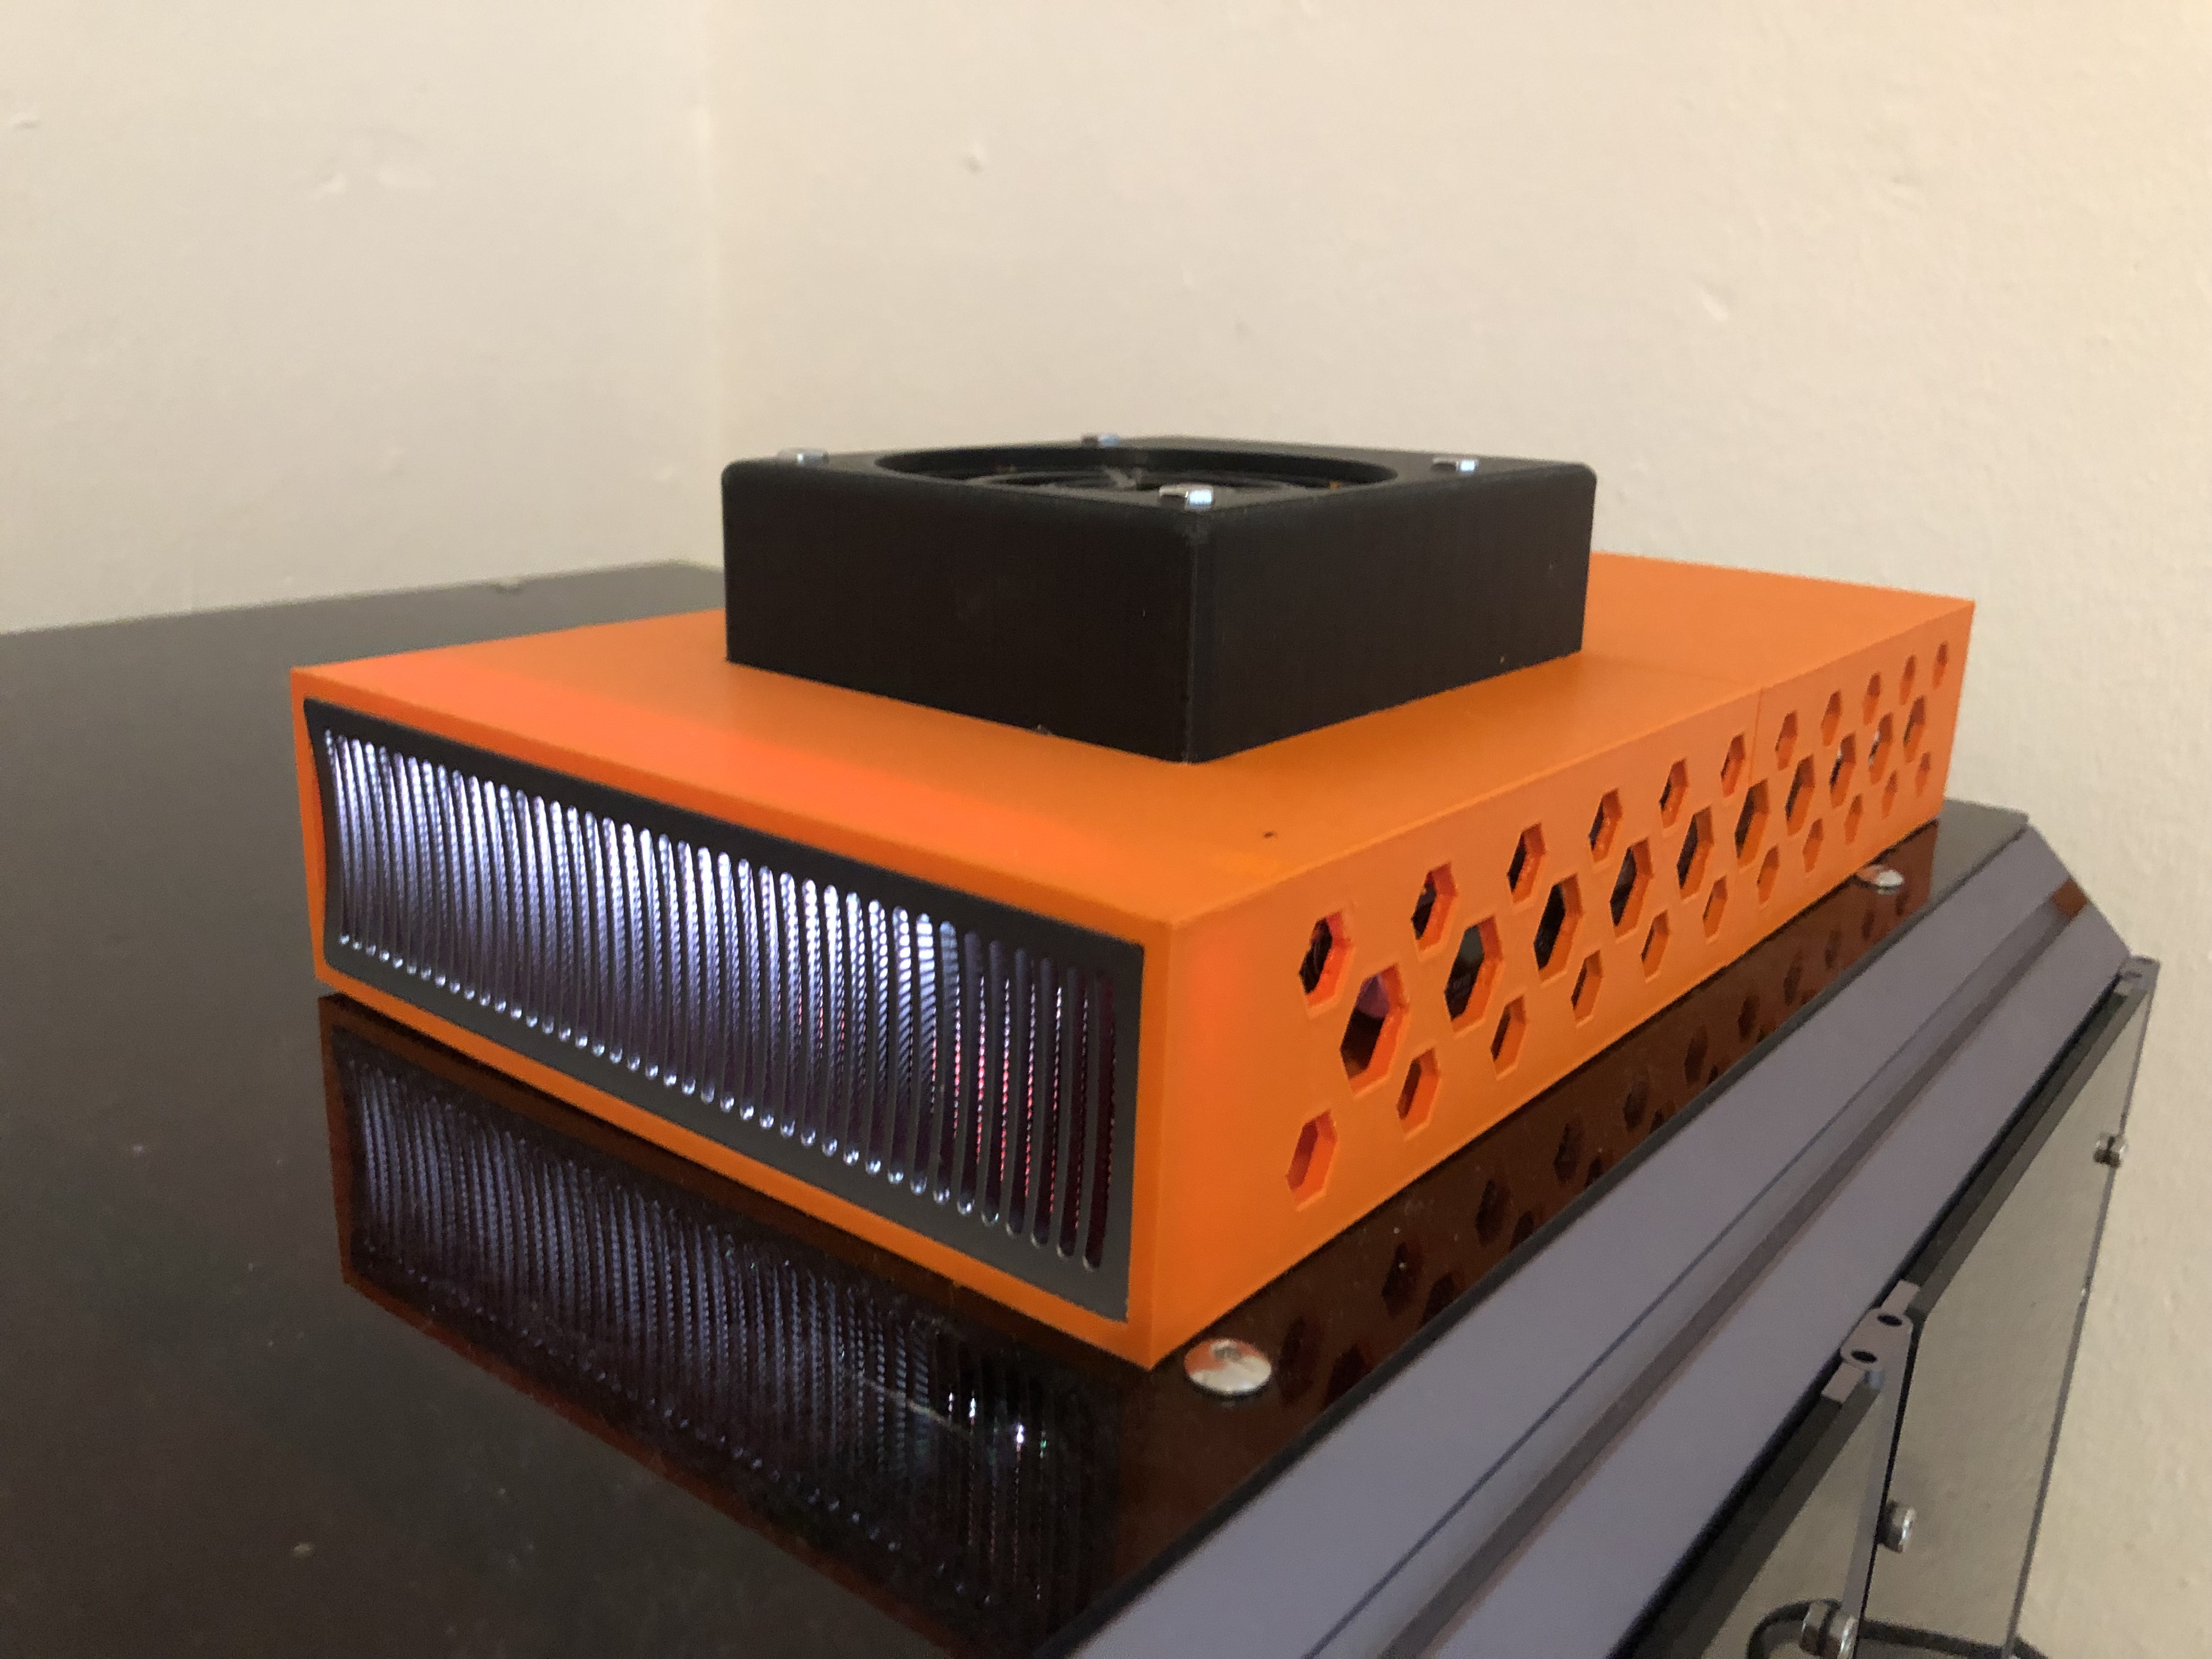
<p><strong>Warning: If you modify your PSU you should know what you are doing and be aware of possible dangers! Touching the wrong parts (like charged capacitors can kill you)</strong></p><p>I recommend to leave the PSU without power connection for at least one day. But even after that you should proceed carefully. </p><p>That said: I removed both fans (the external and the internal) as well as the cover of the actual PSU. In the Housing of the new Case I placed a silent 80 mm fan. It's important, that you connect the 3rd Pin to the sensor input of from the old external Fan, other wise the LEDs will blink red as a sign that the external fan stopped working. The power supply for the internal fan is 12V, the external one will give you 24V. </p><p>Connecting the three parts will be a bit tricky since there is no big tolerance. I glued every thing together with silicon to be able to split it apart later if i necessary (e.g. for changing the fan) - but feel free to da a remix with a better connection. </p>
With this file you will be able to print quiet PSU case for Snapmaker 2.0 with your 3D printer. Click on the button and save the file on your computer to work, edit or customize your design. You can also find more 3D designs for printers on quiet PSU case for Snapmaker 2.0.