Quick method for modeling springs
thingiverse
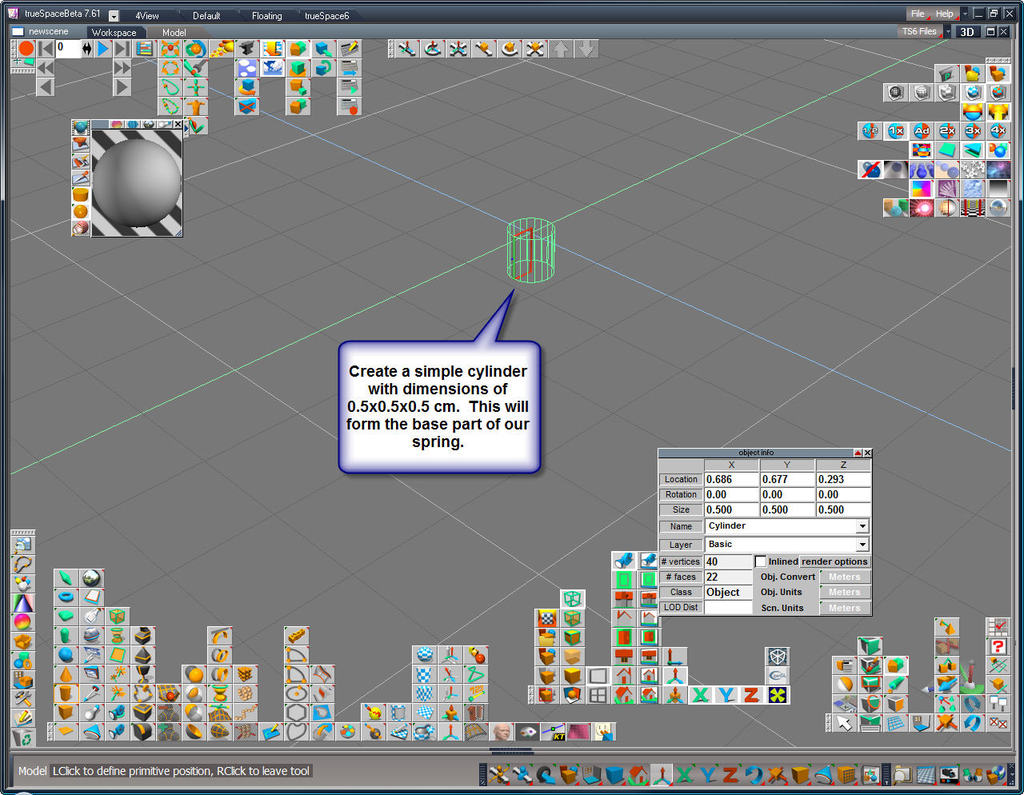
HOW TO: Model a Spring One quick method for designing and printing custom compression springs. There are many methods for making springs, and as many different CAD packages. The basic principles are often very similar, so don't panic if this demo uses one CAD program and you're using another. What's important is the basic steps. Remember that you can resize and scale the spring model at any time, changing the diameter of the starting cylinder to give you different properties for the spring. Here's a great link to the Khan Academy lesson on spring physics. https://www.youtube.com/watch?v=ZzwuHS9ldbY https://www.youtube.com/watch?v=eVl5zs6Lqy0 BASIC STEPS TO MODEL A SPRING: 1. Create a cylinder or use a cylinder "primitive". 2. Extrude or sweep one end surface. 3. Angle that surface to twist and turn it. 4. Extrude additional angled levels. See the steps in sequential images above. Here are two sets of x, y, z angles that demonstrate the process: 20, 20, 10 and 10, 10, 5. Negative angles will reverse the direction of the coil. Play around with these numbers and have fun. Hope this is useful! Parameters: Platform: Up!3D Resolution: 200 u, normal, 90% fill Material: ABS CAD: TrueSpace 7.61 Art-to-Part time: 30 minutes Design notes: The design seems acceptable with good spring qualities. Printing Tips: De-rafting worked well. Slide a knife along the top and bottom of supports. N/A CAM: N/A DeskProto CNC: N/A FlashCut Laser: N/A Venus
With this file you will be able to print Quick method for modeling springs with your 3D printer. Click on the button and save the file on your computer to work, edit or customize your design. You can also find more 3D designs for printers on Quick method for modeling springs.
