Quick LIght Timer
thingiverse
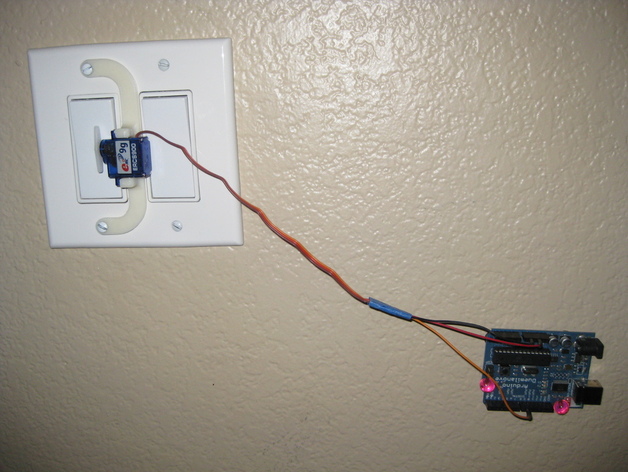
To create a timer for my home light during vacation, I used an Arduino board, a 9g mini servo, three male-to-male jumper wires, and two switch plate cover screws with washers as spacers. First, print the servo mount and attach it to the servo using supplied screws. Next, secure the assembly over the light switch plate with longer screws and washers for clearance. Upload the Servo_Switch.pde program to the Arduino board and connect it to the servo with jumper wires. Finally, plug in the Arduino and enjoy automatic lighting during your vacation, while preparing for curious questions about safety!
With this file you will be able to print Quick LIght Timer with your 3D printer. Click on the button and save the file on your computer to work, edit or customize your design. You can also find more 3D designs for printers on Quick LIght Timer.