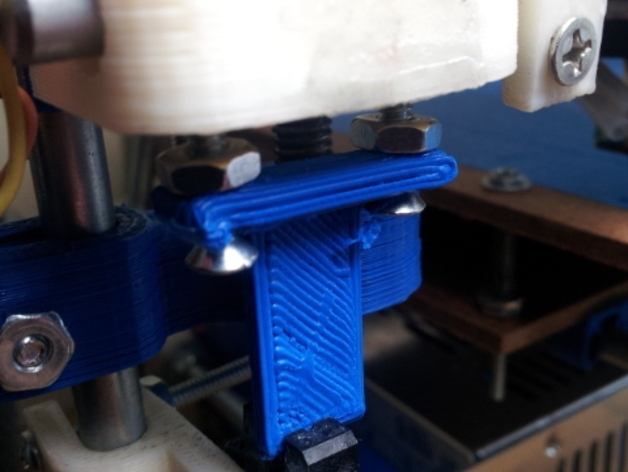
Quick attach Z flag
thingiverse
To replace my flimsy aluminum flags, I opted for a Z Flag that attaches to the X rod's set screws. Firstly, unscrew the set screws on the left side of the X carriage. Then, slip the screws through the Z flag and add two nuts before reattaching them. Finally, calibrate your printer and start printing!
Download Model from thingiverse
With this file you will be able to print Quick attach Z flag with your 3D printer. Click on the button and save the file on your computer to work, edit or customize your design. You can also find more 3D designs for printers on Quick attach Z flag.
