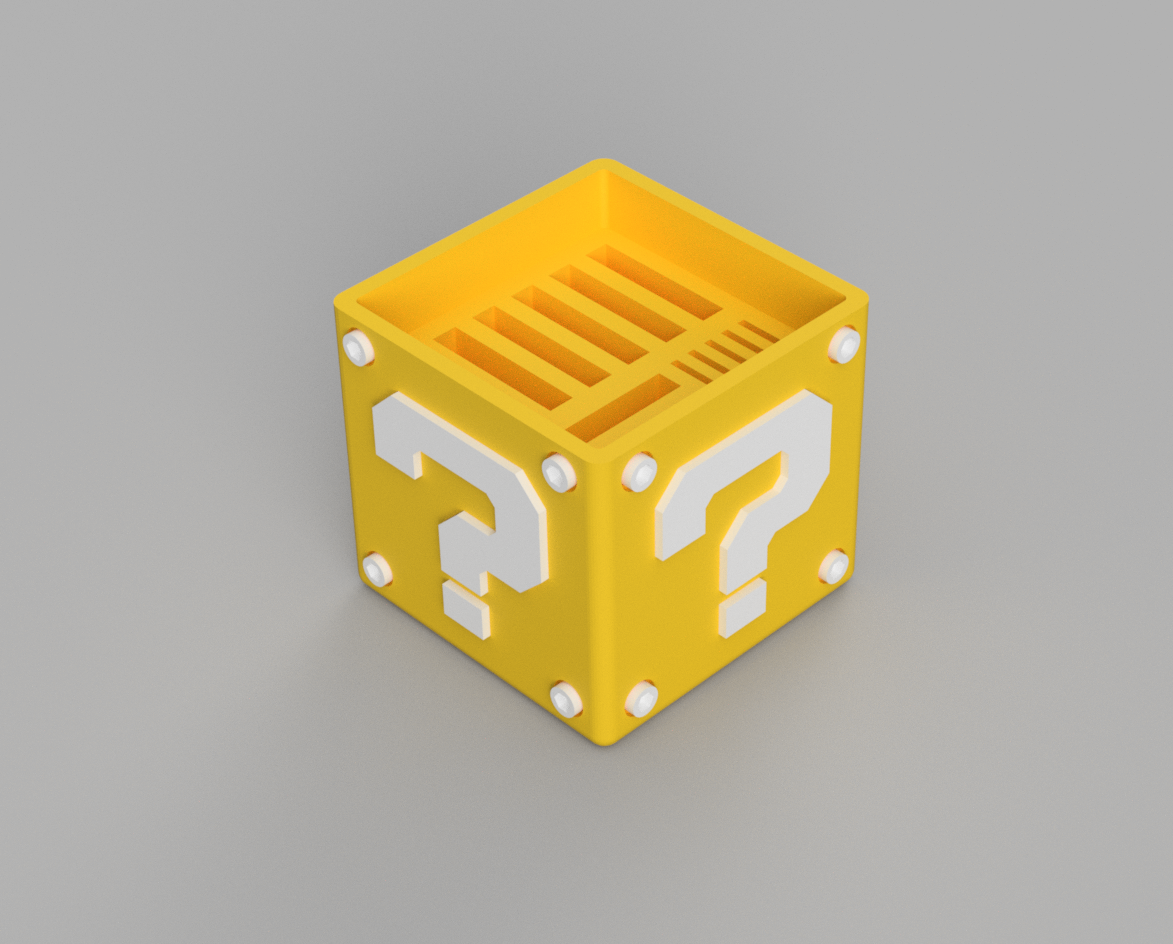
Question Block Switch Cartridge Box
prusaprinters
<h3>General information</h3><p>This is my slightly modified version of <a href="https://www.thingiverse.com/thing:2517867">this </a>model on a different platform. Initial credit therefore goes to the original creator.</p><p> </p><p>I made the SD card slots tighter and removed one to make room for more Switch cartridges. After printing all the parts, the question marks and screws can be glued to the main cube. I also improved the tolerances for those parts so they fit better into the cube.</p><p> </p><h3>Printing instructions</h3><ul><li>Material: PLA</li><li>Infill: Anything you want, I recommend at least 15-20%</li><li>Brim: For the small screws and maybe for the question mark</li><li>Ironing: Recommended for screws and question marks to get a nice finish</li><li>Layer height and est. time in the attached images were following:<ul><li>Cube: 0.1mm with ~10h</li><li>Top cover: 0.07mm with ~1h</li><li>Question Mark and screws: 0.2mm with ~1h</li></ul></li><li>Remember to print 16x Screws and 4x Question Marks</li></ul><p>All in all the whole print took me roughly 12h and some minutes for assembly.<br><br> </p><figure class="image"><img src="https://media.prusaprinters.org/media/prints/57156/rich_content/5323328a-2101-442e-8a7a-8748c9e109c2/question_block_rendered.png#%7B%22uuid%22%3A%2294f00354-70d9-429c-9593-abd499bda9fd%22%2C%22w%22%3A1173%2C%22h%22%3A944%7D"></figure>
With this file you will be able to print Question Block Switch Cartridge Box with your 3D printer. Click on the button and save the file on your computer to work, edit or customize your design. You can also find more 3D designs for printers on Question Block Switch Cartridge Box.
