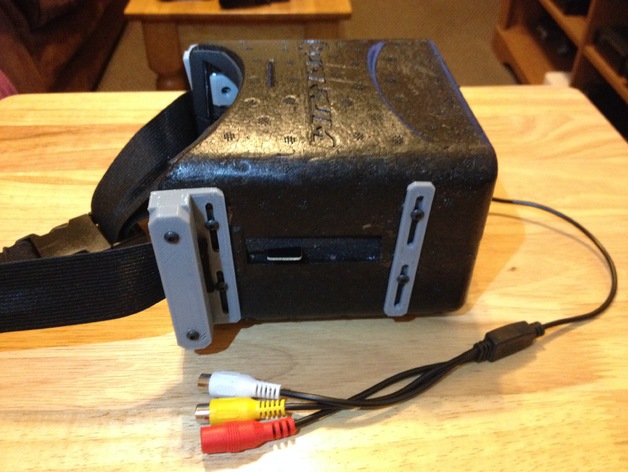
Quanum Goggles Upgrade
thingiverse
I purchased the Quanum Goggles but wanted to be able to take them apart and clean them or swap out the magnifying lens. Searching online, I didn't find a design that met my needs so I created this one using SketchUp. It turned out great. Instructions: To assemble this, use M3.5 14mm metric button head screws. On the goggles, drill holes to fit the stud pieces into each half with a 13/37 drill bit on both sides of the slide area. Be sure to double-check your work before drilling or cutting - I don't take responsibility for any damage you may cause. After checking, epoxy the studs in and let them dry completely. Use a 7/64 drill bit to clean the holes in the studs so the M3 screws fit smoothly. Once the epoxy is dry, assemble with the strap parts for both front and back. Again, use the 7/64 drill bit to clean the holes on the "screw pad with strap clamp" parts. Attach the clamp head with M3 screws, placing the strap between the two parts, and then tighten the screws - you're done! Refer to the pictures I posted if you have any questions; this setup worked perfectly for my Quanum Goggles and I hope it does for yours as well.
With this file you will be able to print Quanum Goggles Upgrade with your 3D printer. Click on the button and save the file on your computer to work, edit or customize your design. You can also find more 3D designs for printers on Quanum Goggles Upgrade.
