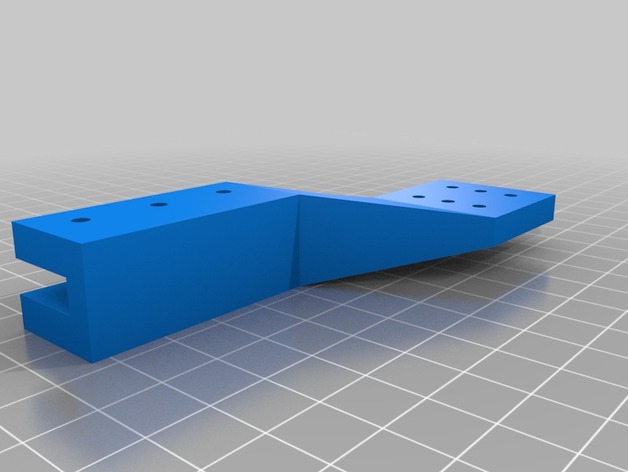
QU-BD X,Y Bed Extender & bed riser
thingiverse
These parts will enable you to expand your bed's dimensions of X and Y. By doing so, some clearance for Z is sacrificed. This trade-off allows you to elevate the bed above the bearings and printer base. Instructions Simply print out the necessary components. Remove the upper bed portion. Then detach the bearings using a clip release mechanism. Next, extract the lower bed assembly. Align the newly fabricated bed extender with its original mount counterpart. Drill pilot holes in their specified positions. Tighten all screwfasteners firmly in place. Attach bearing risers and fasten them onto the base utilizing zip ties. Afterward, completely reassemble all detached components. Release the timing belt from its old anchorage point. Mount the timing belt and secure it with a custom-designed printed clamp. Carefully verify that everything is correctly aligned and functional as anticipated. Upon confirmation of successful operation, disassemble again. Using a sawing motion, cut off the obsolete mount assembly at its intended boundary line. Finally, reattach all previously detached parts. The outcome yields a substantial enlargement of your printing space's X-Y dimensions. Additionally, purchasing a reflective mirror specifically tailored to this new larger workspace area can further optimize your workflow.
With this file you will be able to print QU-BD X,Y Bed Extender & bed riser with your 3D printer. Click on the button and save the file on your computer to work, edit or customize your design. You can also find more 3D designs for printers on QU-BD X,Y Bed Extender & bed riser.
