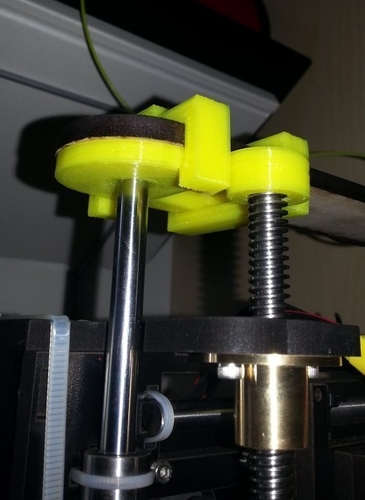
qu-bd oneup fixing for z axis
pinshape
I'm installing a screwless fixing on my z axis, which greatly reduces the wooble. Here are the instructions: remove the top left screw from your oneup. Next, install part three, followed by part one, then reattach the removed screw. Finally, attach part two. I've included an animated GIF for reference. After printing the parts, I had to clean the edges with a knife and use a drilling machine with 8mm and 10mm bits to enlarge the holes. The design still needs some optimizing.
Download Model from pinshape
With this file you will be able to print qu-bd oneup fixing for z axis with your 3D printer. Click on the button and save the file on your computer to work, edit or customize your design. You can also find more 3D designs for printers on qu-bd oneup fixing for z axis.
