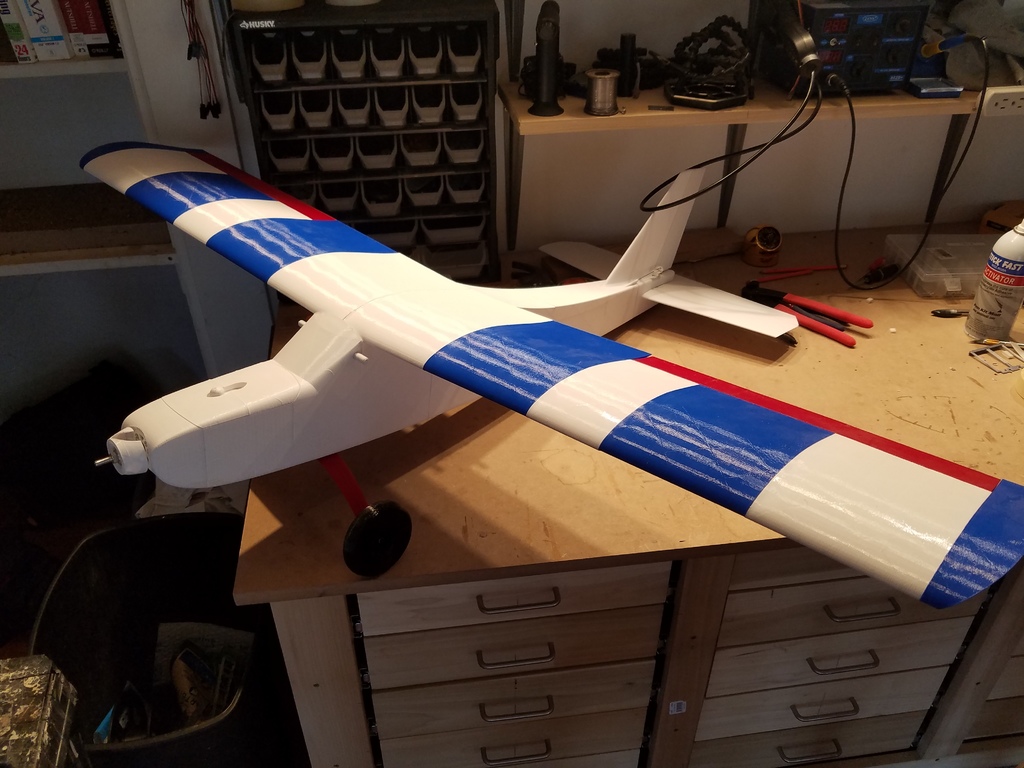
Qtrainer - Wing Servo Connector - 3DLabPrint
prusaprinters
<p>"WIRES? WE don' need no stinking WIRES!!!"</p> <p>As with my other implementations,</p> <p>B-25 Mitchell <a href="https://www.thingiverse.com/thing:4121096">https://www.thingiverse.com/thing:4121096</a></p> <p>Spitfire Mk IX <a href="https://www.thingiverse.com/thing:4143803">https://www.thingiverse.com/thing:4143803</a></p> <p>F4U Corsair <a href="https://www.thingiverse.com/thing:4178322">https://www.thingiverse.com/thing:4178322</a></p> <p>Il-2 Sturmovik <a href="https://www.thingiverse.com/thing:4132256">https://www.thingiverse.com/thing:4132256</a></p> <p>EDGE 540 46” <a href="https://www.thingiverse.com/thing:4128056">https://www.thingiverse.com/thing:4128056</a></p> <p>EDGE 540 73" <a href="https://www.thingiverse.com/thing:4368656">https://www.thingiverse.com/thing:4368656</a></p> <p>P-51D <a href="https://www.thingiverse.com/thing:4186416">https://www.thingiverse.com/thing:4186416</a></p> <p>Focke-Wulf Ta152H <a href="https://www.thingiverse.com/thing:4195584">https://www.thingiverse.com/thing:4195584</a></p> <p>here's one for the Qtrainer.</p> <p>2.54mm JST-XH connectors with standard servo ends.</p> <p>This uses a pair of Wing Locater Tabs to position the wing.</p> <p>Easy, templated installation, adjustable.</p> <p>Designed for and installed in a fully assembled plane.</p> <h3>Print Settings</h3> <p><strong>Printer:</strong></p> <p>My Mi3 and AluMaker</p> <p><strong>Rafts:</strong></p> <p>No</p> <p><strong>Supports:</strong></p> <p>Yes</p> <p><strong>Resolution:</strong></p> <p>Normal, .15 in Cura</p> <p><strong>Infill:</strong></p> <p>Varied</p> <p><strong>Filament:</strong> eSun PLA or PLA+ (my preference)</p> <p>Your choice</p> <p><strong>Notes:</strong></p> <p>Orient all parts on the build plate according to the illustration.</p> <p>Support is needed on the F-Plug Plate, F-Mount, W-Plug Plate, and W-Mount Plate.</p> <p>The F-Mount and W-Mount should be 35% Infill.</p> <p>All other parts can be 10% Infill</p> <p>Trim away the 2 little locking tabs in the slots of the XH connector that is used in the Fuselage.</p> <p>If you find that this makes your flying sessions MORE enjoyable with LESS hassle, please consider buying me a cup of coffee at</p> <p>paypal.me/MakeItMakeItMakeIt</p> <p>Thank You!</p> <h3>Post-Printing</h3> <p><strong>Installation Instructions</strong></p> <p>Place Template 1 against the underside leading edge of the wing, centered over the seam, as shown, then tape in place.</p> <p><strong>Template in place</strong></p> <p>Glue the Front Locator Tab into place using the Template as a guide.</p> <p>When done, remove the Template: save it, it will be used again.</p> <p><strong>Template and Front Tab Placed</strong></p> <p><strong>Front Tab Glued, Template Removed</strong></p> <p>Place Template 2 against the underside trailing edge of the wing, centered over the seam, as shown, and tape into place.</p> <p><strong>Template 2 in place</strong></p> <p>Glue the Rear Locater Tab into place using the Template as a guide.</p> <p>When done, remove and recycle/discard the Template</p> <p><strong>Rear Tab installed</strong></p> <p>Install (saved) Template 1 in the same location that you just removed Template 2 from and tape in place.</p> <p>Glue the W-Mount in place to the wing, using the template as a guide, keeping the mount against the template, and centered left-to-right, as shown.</p> <p>When done, remove and recycle/discard the template.</p> <p><strong>W-Mount positioned for install</strong></p> <p><strong>W-Mount installed, template removed</strong></p> <p>Compose your wiring as desired for the Wing.</p> <p><strong>Wired W-Plug Plate ready for installation.</strong></p> <p>The Plus Plate and Filler Plate have angled back faces that must be aligned with each other for installation.</p> <p>NO glue is used here.</p> <p>Secure the assembly to the W-Mount Plate using 2 screws, routing the wires under the center of the Rear Locater Tab.</p> <p>Tighten until snug, then loosen both screws so that the Plug Plate can be easily moved, but stays in position.</p> <p>An optional Wire Clip is included for retaining the servo connector ends.</p> <p><strong>W-Plug Plate assembly installed</strong></p> <p>Test fit the F-Mount between the fuselage sides as shown.</p> <p>The mount fits between the sides, flush to the top, with the small tab touching the bottom edge of the rear angled face.</p> <p>If necessary, file/sand/trim away until the fit is correct.</p> <p>When satisfied, glue the F-mount into place,</p> <p>Add a drop of CA to the top of the tab where it touches the angled face.</p> <p><strong>F-Mount glued in place</strong></p> <p><strong>CA glue on the top of the tab/angled face.</strong></p> <p>Compose your wiring for the fuselage as desired.</p> <p>Glue the XH connector into the F-Plug Plate using CA to keep it retained.</p> <p><strong>Fuselage wiring</strong></p> <p>Install the F-Plug Plate assembly to the F-Mount using 1 screw.</p> <p><strong>F-Plug Plate installed</strong></p> <p><strong>Wing Installation</strong></p> <p>The W-Plug Plate is left intentionally loose so that it can "float" during insertion, but only Front-to-Back a few mm's.</p> <p>As this is a free-floating wing, the wing Locater Tabs just put the wing where it needs to be to ensure the connectors hit their mark.</p> <p>You might find it is easier to install the rear edge first and then drop the front down into place.</p> Category: R/C Vehicles
With this file you will be able to print Qtrainer - Wing Servo Connector - 3DLabPrint with your 3D printer. Click on the button and save the file on your computer to work, edit or customize your design. You can also find more 3D designs for printers on Qtrainer - Wing Servo Connector - 3DLabPrint.
