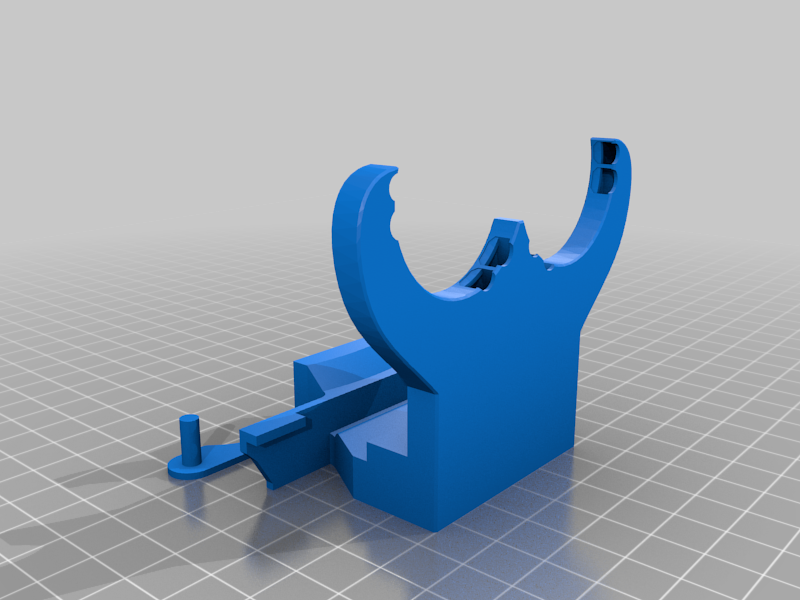
Qidi X-Pro Rear Fan Duct
thingiverse
Lightweight cooling duct for qidi xpro. This allows full visibility to the nozzles and snaps in place. I remixed this off a design qidi support sent me. I upgraded my qidi x-pro to the all metal hotend. I purchased the hotend direct from Qidi and they sent me some instructions to tweak. They sent me a version of this fan duct, saying the new hotend may sit higher. For whatever reason, my nozzle was the exact same height as the original hotend. I liked the design and made this remix so it sits at the proper height, and stays in place better than the original. i printed mine in petg, abs would have been better. I would recommend using a part modifier in the slicer to make 100% infill on the cylinder the fan sits on. This sits about 3mm higher than the nozzle. It could go lower, but you would risk crashes. Ive been running this all weekend and am happy with the results. I went through a few revs before settling on this height. If your model has overhangs, id recommend removing the blue panels on the printer -- both sides and the top. You can also open the door since this blows the hot air towards the front. My next project is adding some usb 120mm fans onto the side panels. I dont want to remove my door and id prefer to not leave it open. I think side fans would provide sufficient cooling and retain my ability to print abs as needed. install: remove old fan assembly. This doesnt require any screws or additional hardware. The Stock fan is held on by the cylinder, and sits in place. The rear carriage has two slots. This fan duct clips into those slots. The underside has a small block to keep it aligned. After installation, make sure the bottom of the fan duct is parallel with the build plate. When I first switched to these wider slot fingers, one side wasnt in and the fan assembly tilted. You may need to go for closest guess, then snap each side in individually. My looser tolerance tests snapped on better, but slid side to side. This is a tight fit. notes: I have uploaded a stl, and also a prusaslicer 3mf project file. The 3mf doesnt work properly in qidi slicer. I have only tested this over a weekend. I am not sure if petg would melt or deform over time. I recommend keeping an eye on the fan duct to make sure its still proper. This has larger tabs, so you shouldnt have to worry about it sliding back and forth. I made a remix of a slim vortex fan a few years ago. This is considerably lighter than that assembly and this requires no additional hardware. I have been printing on the 0.2mm speed (70mm sec) default profile and have gotten great results. For models with considerable overhangs, remove the side/top panels and open door.
With this file you will be able to print Qidi X-Pro Rear Fan Duct with your 3D printer. Click on the button and save the file on your computer to work, edit or customize your design. You can also find more 3D designs for printers on Qidi X-Pro Rear Fan Duct.
