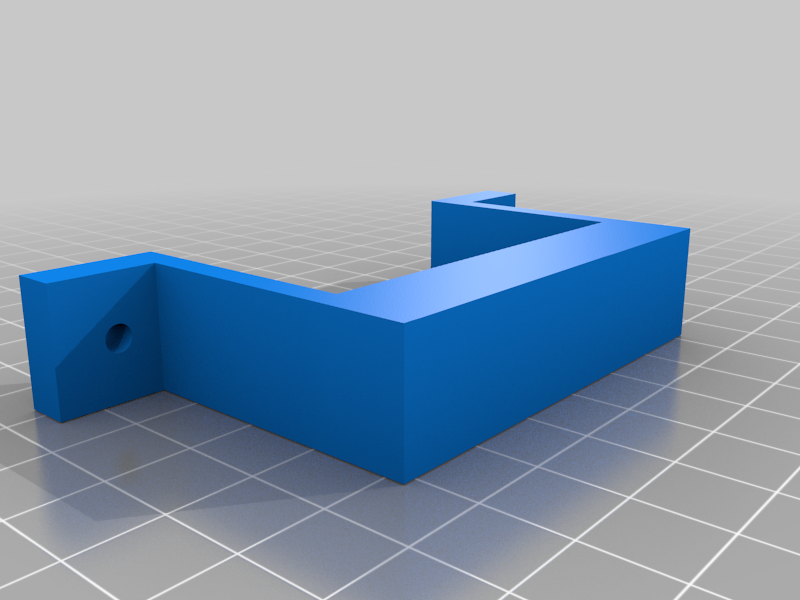
Qidi X-pro Nozzle Leveling Gauge
thingiverse
The Qidi X-pro has a dual nozzle setup. On my unit, one nozzle was lower than the other so Qidi instructed me to use a paper shim to compensate. That brought its own problems. I couldn't find an exact thickness shim to use, and the shim was temporary. Id have to fuss with it whenever I changed the nozzle. The paper i found to work, would compress and not be level after a while, so it was just a band aid at best. I found a similar jig someone made for a dual extrusion nozzle setup and modified it for the xpro. The screw holes are aligned with the aluminum block and the supports are moved so you can use the qidi shcs to fasten this to the aluminum block. The reference model collided with the screw so you couldnt actually fasten this jig to the block. instructions: 1. remove filament from extruder. this makes things much easier. 2. turn off power and unplug 3. unscrew the 2x shcs screws from below the carriage. 4. the top black plate has 2x screws on the top, between the filament feeders. loosen these to allow the feeder to be removed (if you left filament in there, this is a chore) 5. loosen the set screw on the rear of the aluminum block (The feeder/ stepper motor was blocking this). You may need to do this on both sides if neither nozzle is currently at the jigs sweet spot. 6. attach this jig to the bottom of the aluminum block. 7. adjust the nozzle height so it kisses the jig. 8. tighten the rear set screw on that hot end to secure the nozzle. 9. put the assembly back together and run a leveling test. You may need to repeat the process a few times until you get it right. My first time took 3x tries before I got it to an acceptable level.
With this file you will be able to print Qidi X-pro Nozzle Leveling Gauge with your 3D printer. Click on the button and save the file on your computer to work, edit or customize your design. You can also find more 3D designs for printers on Qidi X-pro Nozzle Leveling Gauge.
