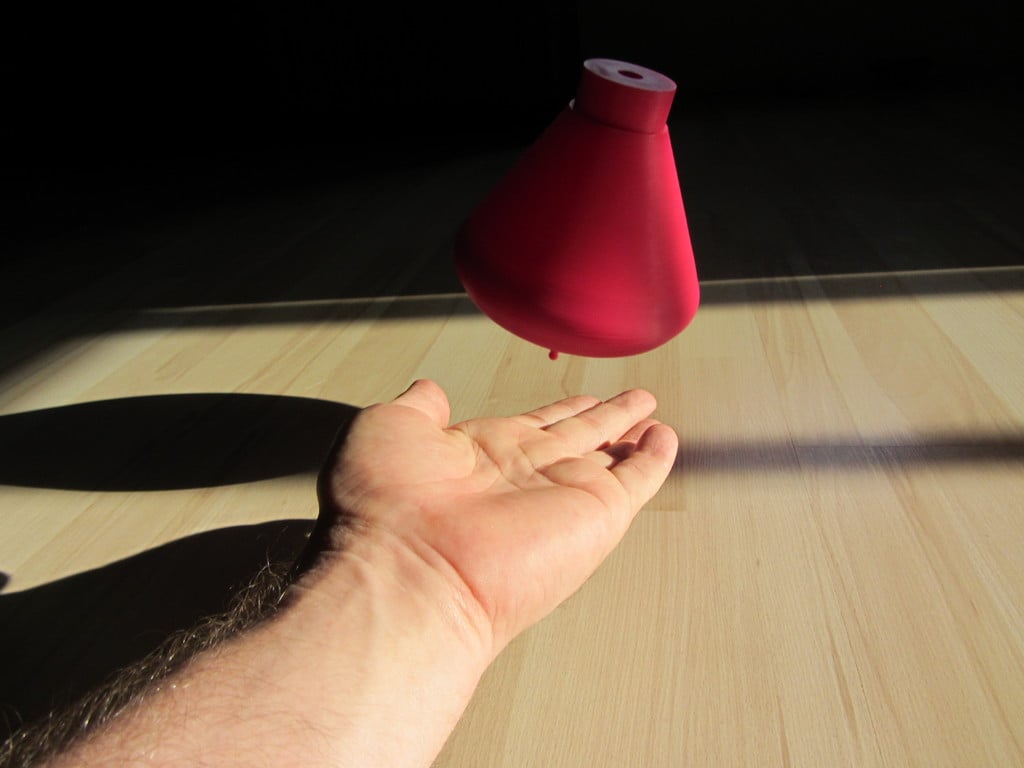
pump top (toy)
thingiverse
This pump (http://www.thingiverse.com/thing:731086) brought back memories of a pump top I had as a kid, so I built one. Updated: see end note. Action video (no knob version): https://vid.me/MiuW And a virtually unedited version with dishwasher noise, smacking it across the kitchen floor: https://vid.me/R6JD The piece here is printed in ABS and had some cooling artifacts due to a 10-hour print rate. I'm okay with that for now. It uses a lot of plastic because there's hidden thickness printed at a 90% fill rate on the lower wide part of the top. This weighted ring allows it to keep its momentum for long spins, and the low center of gravity keeps it fairly stable. You can see this in the cutaway view picture. Variations on the screw drive: There are two versions of the screw drive. One has a cylinder at the top where you can glue the knob after assembly. It looks nice but adds weight high up and tends to induce wobble. I printed my knob hollow. If you look at the layers in your slicer, you're likely to find that one side will have more weight than the other due to uneven distribution of fill. Go hollow. The other version of the drive screw just has a little nub you can grip but falls down just below the surface of the bell housing. Less wobble. To get it out, just invert the top and gravity will extrude it. Bell housing bearing lubrication: In the bell housing, there is a ring bearing to minimize friction between the top of the bell and the toothed drive when pulling up the drive screw. After a few uses though, you might find that it sort of sticks causing two problems: the friction slows down the rotation of the top and it can even lift the top. This can be remedied by spreading a little vegetable oil on your finger and lubing up that ring. That will allow the disc to spin freely when pulling up the drive screw. 0.5mm Nozzle: My printer (Lulzbot Mini) has a 0.5mm nozzle, and the STL files are optimized for that. This means that if you have a 0.4 or 0.35mm nozzle, the screw holes, bell housing attachment holes, and the friction fit between the bell housing and drive ring might be too loose. I've included the source files (made in freeCAD, which is free). I've labeled the various parts so it should be fairly obvious to see which parts need editing. You would probably have to modify the tap for the screw drive as well, otherwise it would be a bit too loose. Screws: I used six screws in this design to attach the drive mechanism to the body of the top. Nice tiny self-tapping screws are a little hard to find; these are what I used ($5 for 1000): http://www.amazon.com/gp/product/B00GMQDSRI. Of course, you can just drill out the holes to fit whatever you have on hand. Making your own top body: I've included a topCore.stl file to make it simpler to make your own body for the top in whatever program you prefer. There is a photo showing the dimensions of this inner core to use as a guide when designing your own. Note: I consider this a remix because the inspiration was the drive mechanism of the pump drill, although I needed to recreate the screw drive to make it a little beefier and a lot longer. Turns out that was a good experience – I'm pretty much a newb with CAD, but when I was watching it print, I noticed it was just a square rotating along the Z axis. With that tidbit, it was nothing to make a square and sweep that square along a helix. Update: The transmission disk has been updated. After some use, it would tend to stick when pulling up the pump-screw, and the friction would make operation difficult. I made some cuts in the top and side of the disk to reduce suction effects. So far, it seems to work better. This change is reflected in the files: pumpTop-transmission.stl pumpTop5-1.fcstd
With this file you will be able to print pump top (toy) with your 3D printer. Click on the button and save the file on your computer to work, edit or customize your design. You can also find more 3D designs for printers on pump top (toy).
