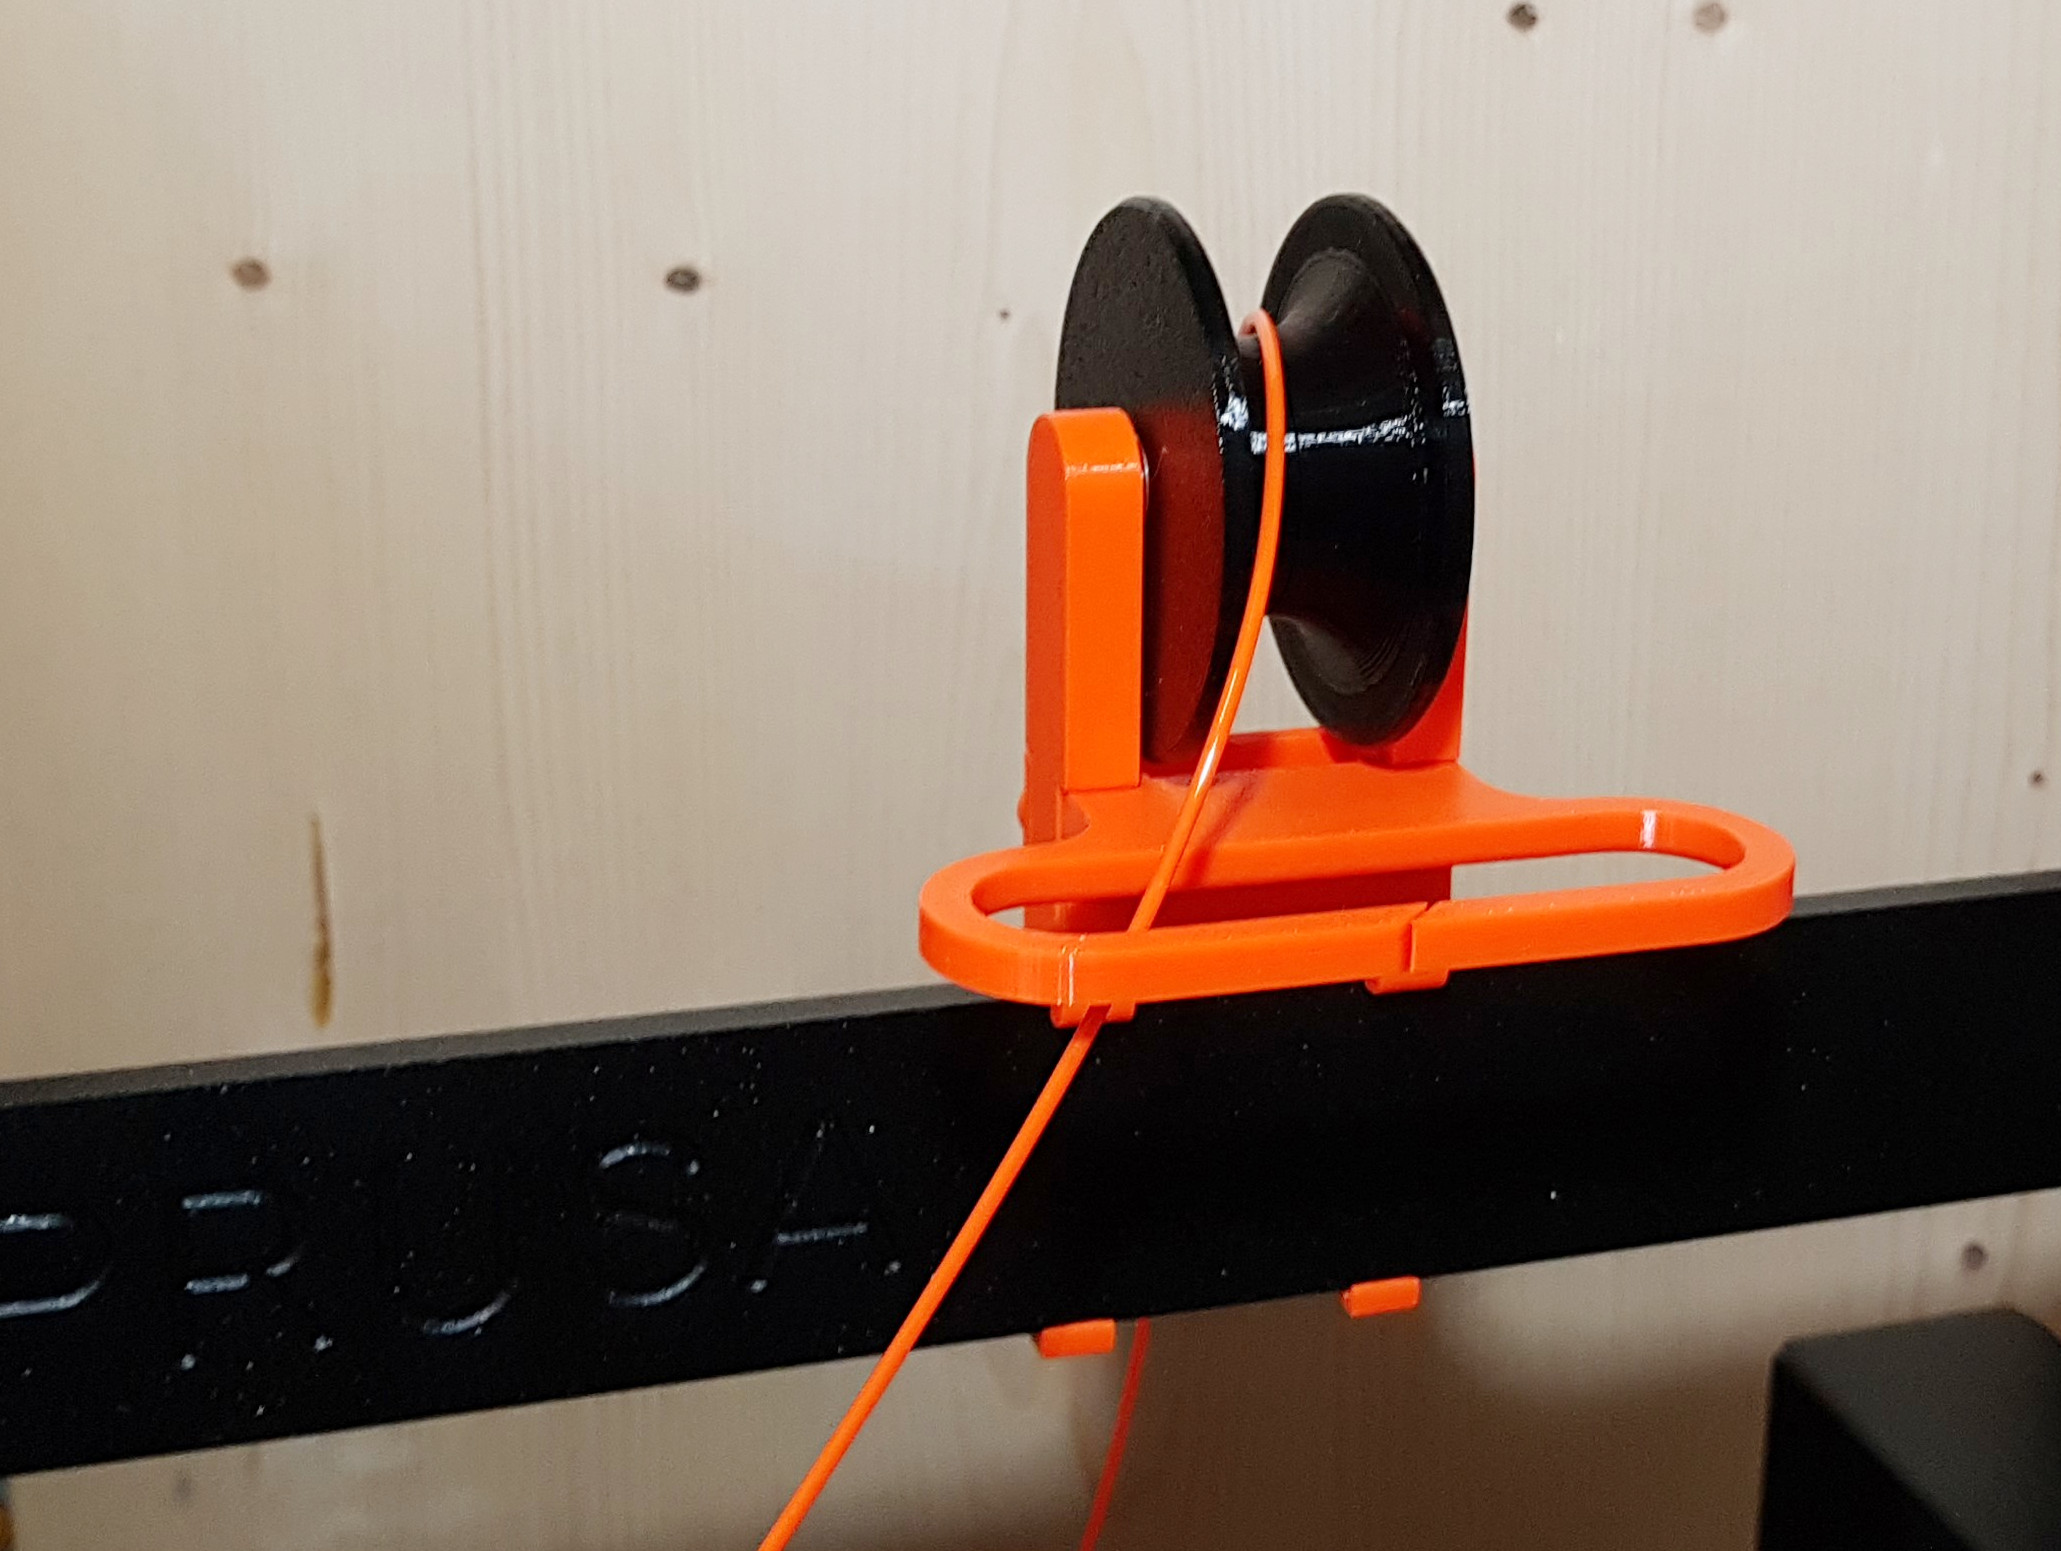
Pulley for Mk3S to feed filament from heater box
prusaprinters
<p><strong>The story behind this part</strong></p><p>Printing out of a dry box had not worked out for me so far, as I have no means of placing a drybox above my printer where it is located. On the other hand, I finally got tired of unloading my PETG filament every evening, just to keep it try. </p><p>Just in case you haven't experimented with differently stored PETG yet, it makes a significant difference for your print results. If you leave your PETG loaded in your printer without a drybox for a few days, the stringing starts to become significant. Then after a few days more, you will encounter artifacts wherever the printhead stops to extrude at one position and continuous at another one. Especially in summer, when humidity is high, this effect is a real problem.</p><p>So I got myself a heated drybox, which keeps the filament dry also for a couple of days after it is switched off. I always keep a few little bags of silica in the box, which are dried out when the box is switched on and keep the humidity low in the box when it is off. This way I basically don't need to care for my filament at all. I am always ready to print.</p><p>The only thing that was missing, was a way to have the box right behind my printer. As the Mk3S is pulling the filament in from above, I designed a pulley with ball bearings and filament guide to redirect the filament. The whole assembly snaps tightly on the metal frame.</p><p><strong>Printing</strong></p><p>All parts are easy to print with no supports needed. Just print them in the uploaded orientation. Around 20% of infill is fine, there is no big load an the parts.</p><p>I clearly recommend PETG material, as it is somewhat flexible. That helps snap on the assembly to the printer frame. It also makes it easier to press the bearings in.</p><p><strong>Assembly</strong></p><p>You need two ball bearings of 5x11x5mm size, which are very easy to get online at very moderate costs.</p><p>Also you need two screws M3x20 (or longer if you don't care if they stick out) and two normal (hexagonal) M3 nuts. Chances are you have these parts left over from your Prusa printer.</p><p>First press in the ball bearings into the axle holes of the pulley half pieces. You may need to do a bit of sanding of filing, depending your printer. Lay the bearings on a hard, flat surface and press the printed parts on top of them until they are level with the flat side of the half pulley.</p><p>Now insert the center ring into the half pulleys and press everything together to get the completed pulley. Since it is a press fit, you should not need glue.</p><p>The rest of the assembly is trivial, simply put the nuts into their places and screw everything together. Clip the assembly on the frame of your Prusa Mk3S and you are done.</p><p>Happy printing!</p><p> </p><p> </p><p> </p>
With this file you will be able to print Pulley for Mk3S to feed filament from heater box with your 3D printer. Click on the button and save the file on your computer to work, edit or customize your design. You can also find more 3D designs for printers on Pulley for Mk3S to feed filament from heater box.
