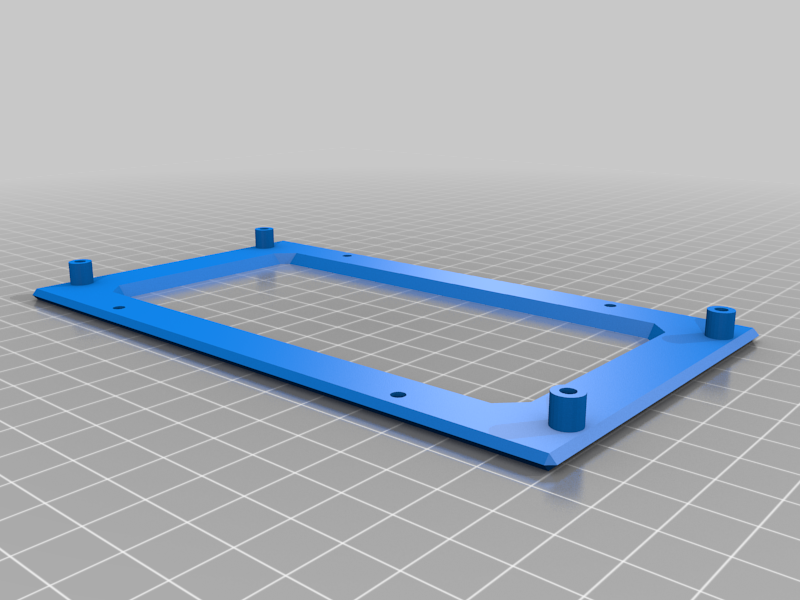
PSU Mount Cosel LGA150A to BemaniPC Type 2 Variant 3
thingiverse
Mounting a high-performance Sound Voltex PSU in a DDR PC - A Step-by-Step Guide. To begin, gather all necessary tools and components. These include the Sound Voltex power supply unit (PSU), a screwdriver, and the DDR PC's case screws. Next, carefully locate the PSU mounting points within the case, usually found at the top or bottom. Remove any existing screws to make room for the new PSU. Take care not to damage nearby components during this process. Once clear, position the Sound Voltex PSU within the designated area, ensuring proper airflow and cable management. Secure it with the provided screws, tightening firmly but avoiding over-tightening which can cause damage. Connect all necessary cables, including power, fan, and SATA connections. Verify that each connection is secure before closing the case. Finally, plug in the PC and turn it on to test the new PSU's functionality. If everything checks out, you're good to go!
With this file you will be able to print PSU Mount Cosel LGA150A to BemaniPC Type 2 Variant 3 with your 3D printer. Click on the button and save the file on your computer to work, edit or customize your design. You can also find more 3D designs for printers on PSU Mount Cosel LGA150A to BemaniPC Type 2 Variant 3.