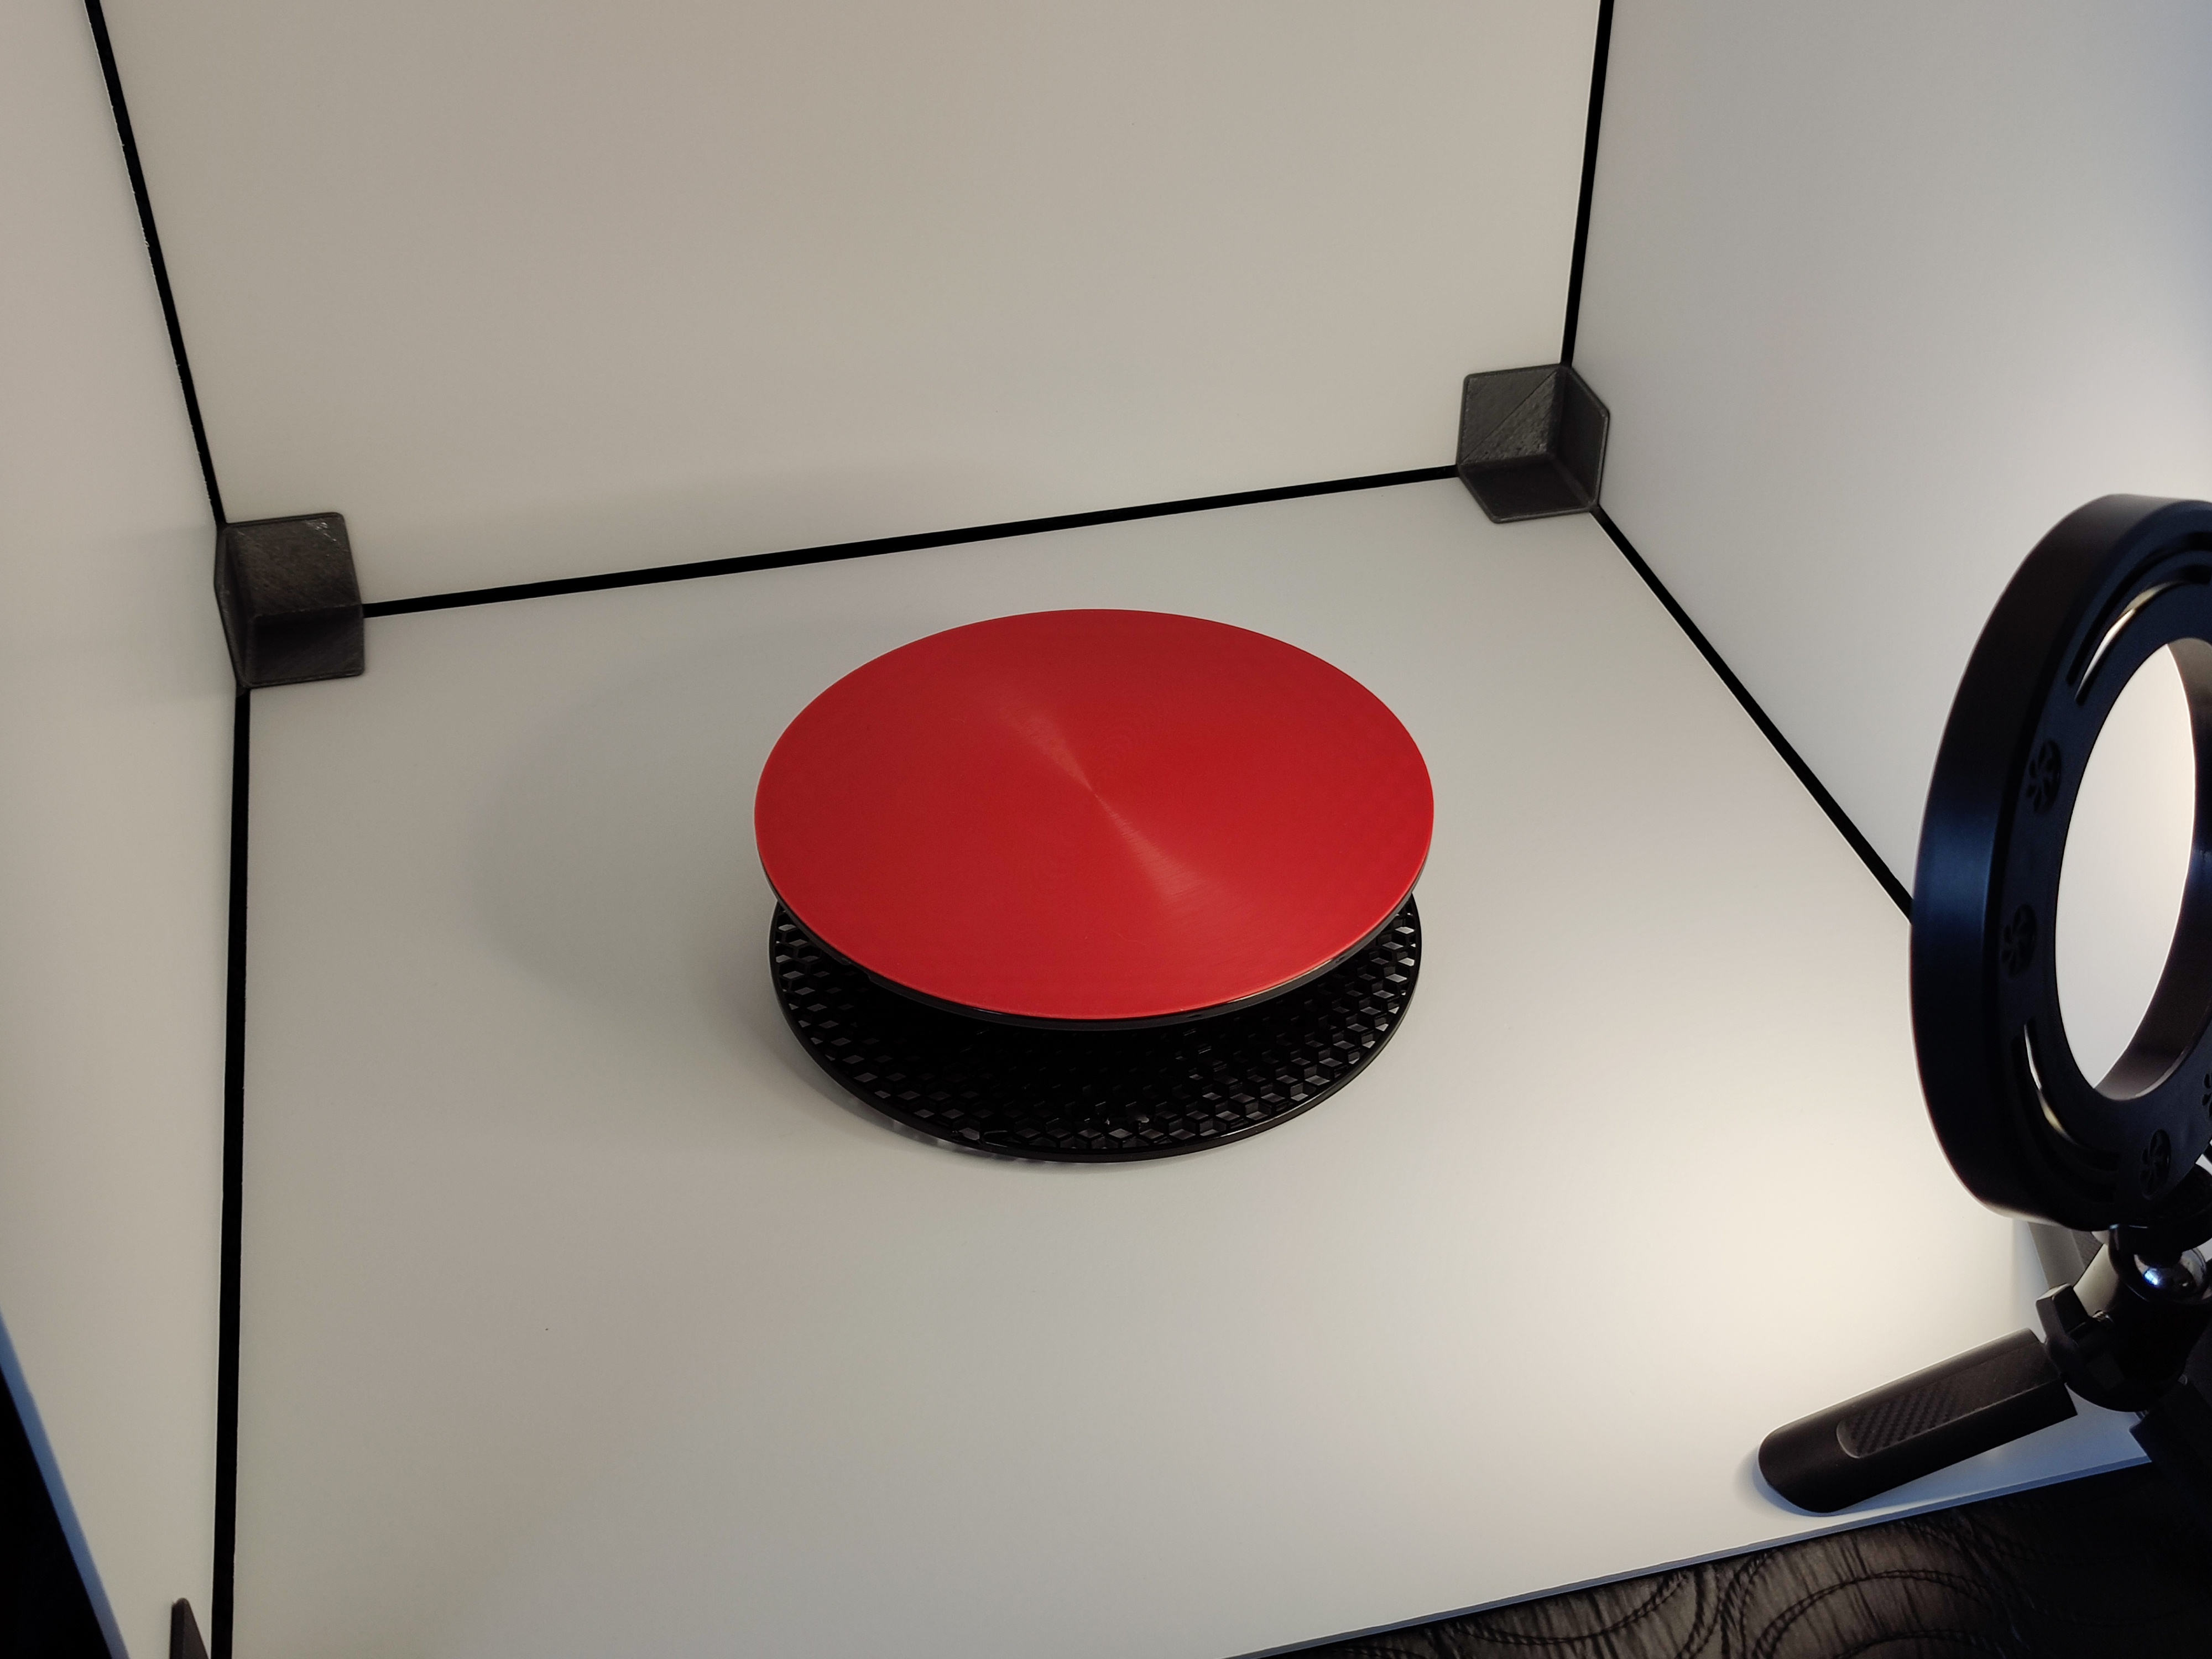
Prusament Spool Turntable/Rotating Stand
prusaprinters
<p>I really liked the <a href="https://www.prusaprinters.org/prints/35694-rotary-plate-prusament-spool-upcycling">design </a>by <a href="https://www.prusaprinters.org/social/45054-yoji">Yoji</a>, recycling an empty Prusament spool, minimal use of filament and optional changing colour plates, but I wanted to have it a bit smaller, so, inspired by it, I designed a new one.</p><h3>Changes</h3><ol><li>Since I wanted the height to be smaller, I removed the use of the cardboard core and instead designed both pieces to fit the plastic parts of the spool. (If you want to use the cardboard cores, the <a href="https://www.prusaprinters.org/prints/27181-prusament-screw-top-container-v2">containers </a>by <a href="https://www.prusaprinters.org/social/19343-uko">Uko</a> are a good choice)</li><li>Remodelled both pieces to use as few filament and height as possible (by my ability), have a bit of symmetry while staying easy to print.</li><li>Extra minor changes due to redesign, chamfers for easy installation of the bearings and tolerances so the bearings don't touch certain parts and avoid friction.</li></ol><p><strong>Before and After:</strong></p><figure class="image"><img src="https://media.prusaprinters.org/media/prints/117059/rich_content/7e4adc90-bddd-44c6-93f5-0bab8bbd496b/image-min.png#%7B%22uuid%22%3A%227c3b25ac-851e-4b7e-bd93-c722d342460d%22%2C%22w%22%3A8000%2C%22h%22%3A3000%7D"></figure><h3>Printing</h3><p>Printed the parts in 0.2mm layer height using PLA on a 0.4 nozzle.</p><p>Some supports can be good to ensure the tolerances.</p><figure class="image"><img src="https://media.prusaprinters.org/media/prints/117059/rich_content/6ebf94d6-543d-4161-a8be-eb39eca720e3/screenshot-2022-01-11-153638.png#%7B%22uuid%22%3A%22c5af5919-d83d-4c39-8812-39aec53086f5%22%2C%22w%22%3A1683%2C%22h%22%3A876%7D"></figure><p><i>↳ Feature analysis in PrusaSlicer.</i></p><p> </p><h3>Assembly</h3><p>The parts used (apart from the printed ones) are the same:</p><ul><li>1 Empty Prusament Spool</li><li>3 x 608 bearings</li><li>Printed parts (Top/Bottom.3mf)</li></ul><p>The parts are symmetric on one side and can be installed in any orientation.</p><p>However, the Bottom part (where the bearings will stay) has a little piece, this makes that the rotating part of the bearing doesn't touch the part and the centre does.</p><p>So following the naming in assembly is advised.</p><figure class="image image-style-align-center"><img src="https://media.prusaprinters.org/media/prints/117059/rich_content/aa1f3fd9-3b7b-4f61-a5ef-9a0f212fc0b5/screenshot-2022-01-11-144028.png#%7B%22uuid%22%3A%22beba09ae-738e-4a53-a302-437112cc2709%22%2C%22w%22%3A1603%2C%22h%22%3A856%7D"></figure><p><i>↳ Analysis of the Bearing and Bottom part</i></p><p> </p><h4>Optional</h4><p>Like the original, so far we talked about the main rotating parts, but we also have some add-ons, namely:</p><ul><li>Flat plate</li><li>Foots</li></ul><p> </p><h5>Plates</h5><p>If you want to have multiple surfaces, different colours, then flat plates are recommended.</p><figure class="image"><img src="https://media.prusaprinters.org/media/prints/117059/rich_content/8784705e-838a-4059-8f89-bf8f89cbfa58/image-min-min.png#%7B%22uuid%22%3A%22154b37d2-29d1-4131-8bb4-c287744f19e9%22%2C%22w%22%3A8000%2C%22h%22%3A3000%7D"></figure><p><i>↳ 1mm Thickness 200mm wide plate installed.</i></p><p> </p><p>Plates are available in 0.6/1mm thickness and 60/180/200mm size.</p><p>0.6 sizes are good for a more transparent look.</p><p>Infill pattern setting can be changed to give plates different looks. (<strong>Print Settings → Infill → Top/Bottom fill pattern</strong>)</p><figure class="image"><img src="https://media.prusaprinters.org/media/prints/117059/rich_content/4f39f13b-5ad1-43b2-af3f-925dffe4f4e2/image.png#%7B%22uuid%22%3A%2254f111cf-d4bd-4218-8744-b38dfe1ea9af%22%2C%22w%22%3A1350%2C%22h%22%3A811%7D"></figure><p><i>↳ Feature analysis in PrusaSlicer, Octagram Spiral.</i></p><p> </p><h5>Foots </h5><p>The feet give the piece a nice finishing touch and also raise the design a bit so the plastic part isn't scratching the surface. Add some anti-slip stickers as well.</p><figure class="image image-style-align-center image_resized" style="width:50%;"><img src="https://media.prusaprinters.org/media/prints/117059/rich_content/d73f4cd5-a3e1-43cf-a287-7300dec15a98/img_20220111_144838.jpg#%7B%22uuid%22%3A%22f87838e5-c1b3-405f-82b6-5a8d253fafe7%22%2C%22w%22%3A4000%2C%22h%22%3A3000%7D"></figure><p>If you, like me, want to position the feet in a precise way so they are spaced equally, hope this helps:</p><figure class="image"><img src="https://media.prusaprinters.org/media/prints/117059/rich_content/08cf0499-a1bf-4e3d-ab28-ce773e55f871/screenshot-2022-01-11-152350.png#%7B%22uuid%22%3A%224ed5ddcf-63a5-40e0-84da-3333ac64c1ff%22%2C%22w%22%3A1697%2C%22h%22%3A1128%7D"></figure>
With this file you will be able to print Prusament Spool Turntable/Rotating Stand with your 3D printer. Click on the button and save the file on your computer to work, edit or customize your design. You can also find more 3D designs for printers on Prusament Spool Turntable/Rotating Stand.
