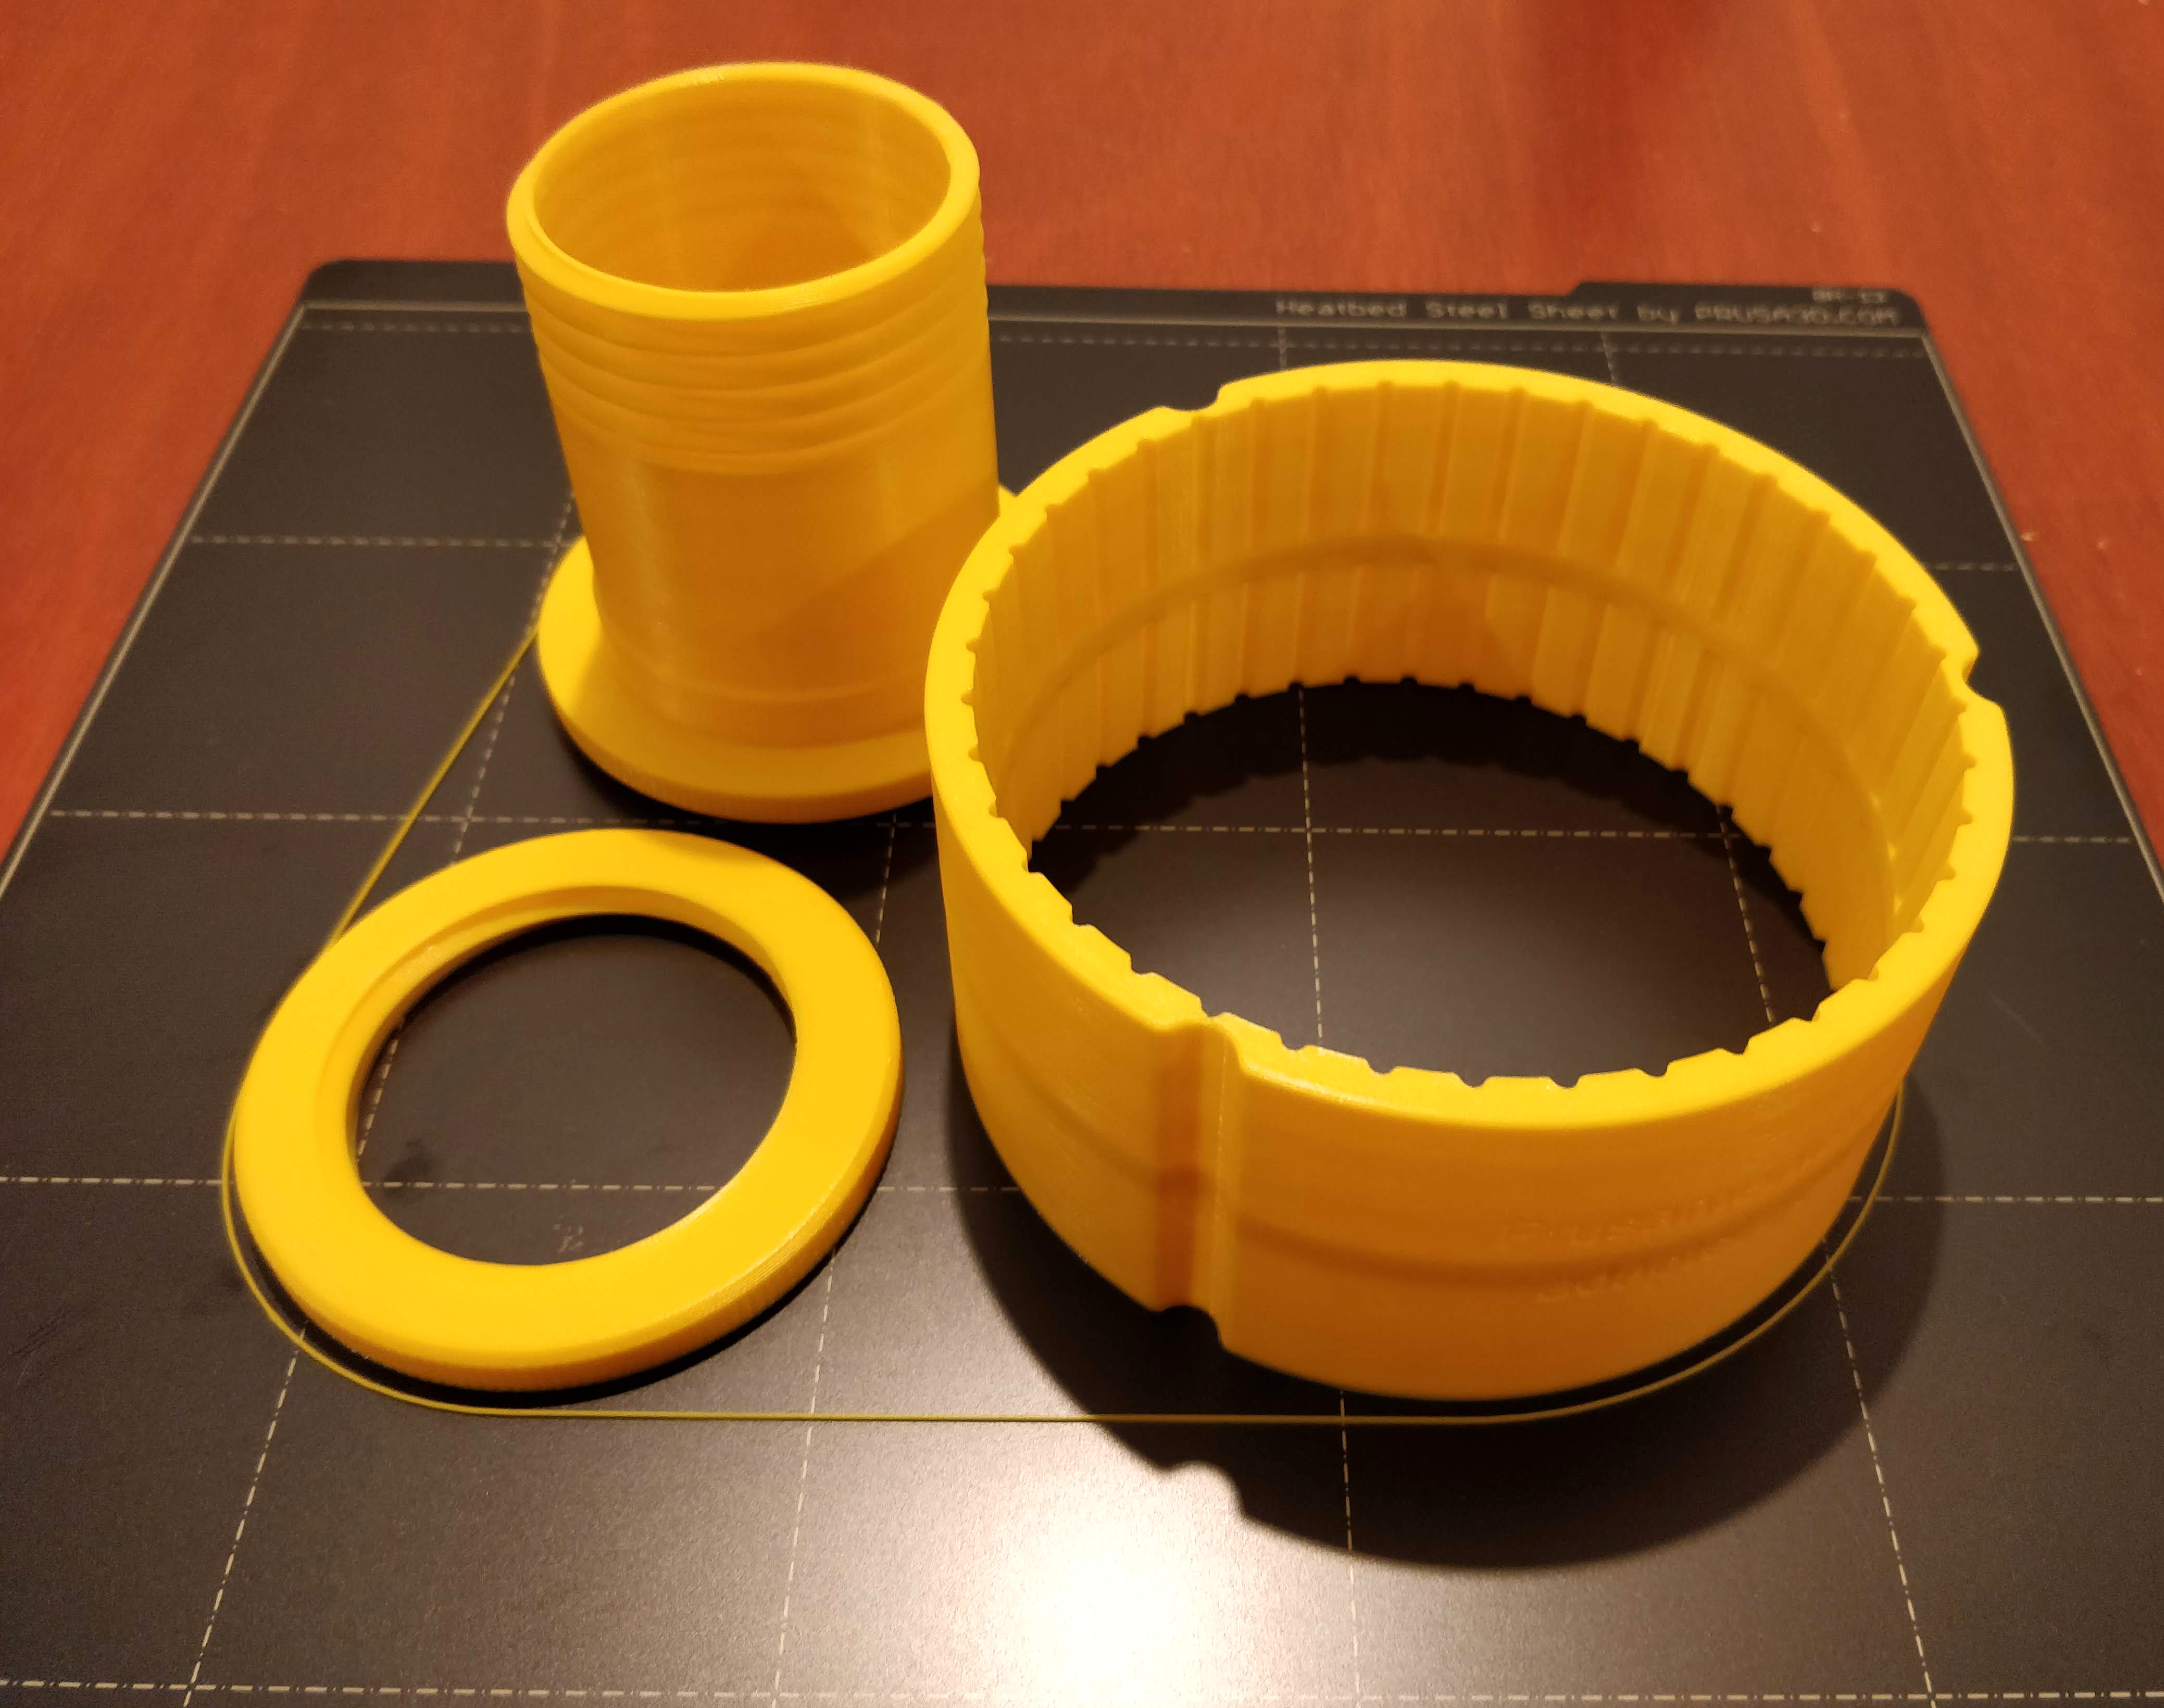
Prusament spool to master spool adapter
prusaprinters
<p>This is an adapter that allows you to convert an empty Prusament plastic spool to a master spool.</p><p><strong>Motivation</strong><br>I love the concept of the master spool, but it's quite a heavy print (6+ hours for part B, 12+ hours for Part A). I saw that the prusament spools could dimensionally fit and be re-used as master spools with a simple adapter. I iterated over several designs and came up with this 3 part design, where the adapter core (big cylinder) is required and the screw and nut are optional (you can also use zip ties to fix the two parts of the spool together in the middle instead of the screw and nut provided here). This makes it a much faster and cheaper solution than printing the master spool, and it also helps reusing a plastic part that would otherwise (possible) go to waste.</p><p>Prusament spools have a cardboard core, and you can even re-use that to create something nice (search on this site on or thingiverse)</p><p>Update (6.2.2021): Since multiple ppl asked for original design files for further customisations and remix, I have provided them now. You can find them in download under model files, both step and fusion360 archive are provided.</p><p>Update (6.2.2021): In the comments user Hobson318 provided a nut that has grooves so it is easer to grasp during tightening. Added that stl, all credits goes to him for creating that remix at: <a href="https://www.prusaprinters.org/prints/1639">https://www.prusaprinters.org/prints/1639</a></p><p>Update (29.9.2021): Added newly optimised gcode files for PLA and PETG, sliced with the latest slicer.</p><p>Update (12.4.2021): Added newly optimised gcode filed for PLA nad PETG, sliced with the latest slicer and using the grooved nut.</p><h3>Print instructions</h3><p><strong>Fastest way (actually tested)</strong></p><p>Adapter: print with 2 perimeters, 3 top/bottom layers, 0% infill and 100% infill at the middle part (see picture with a cylinder modifier in slic3r pe) - around 3 hours of print time<br>Screw and nut: print with 2 perimeters, 3 top/bottom layers, 20% rectalinear infill - around 3 hours of print time<br>If you want to print all together it fits the Mk* plate and takes around 6 hours with the above settings</p><p><strong>Other way</strong></p><p>Print with 2 to 3 perimeters, 2 to 5 bottom/top layer and up to 20% infill of your choice<br>No supports, brims etc. needed. Screw prints head down, core is printed upright (flat part down) and the nut the same as screw, horizontally. I used .2mm layers, it should work also for larger layers. PETG is recommended for strength and durability but it works also in PLA (I printed mine in PLA).</p><p>Included you will find a 3mf file that you can use to play around in Slic3r PE. Also included are gcodes for MK3/S for PLA and PETG.</p>
With this file you will be able to print Prusament spool to master spool adapter with your 3D printer. Click on the button and save the file on your computer to work, edit or customize your design. You can also find more 3D designs for printers on Prusament spool to master spool adapter.
