prusa3d.com auto tramming
thingiverse
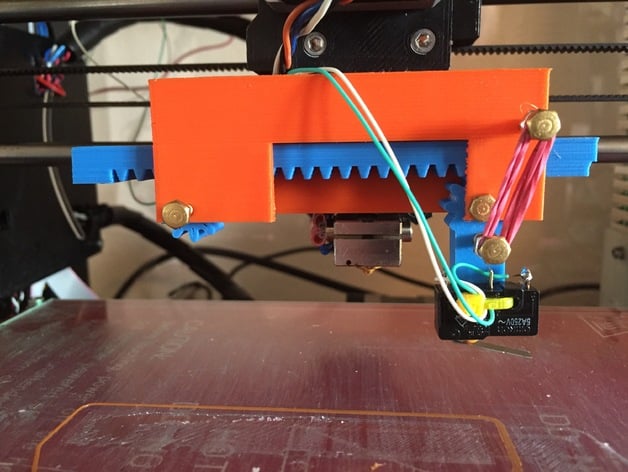
I'm rewriting the text to fit your requirements. Here is the rewritten text: My take on rack&pinion for folding autotramming microswitch up and down is specifically designed for the prusa3d.com i3. It screws right onto the extruder and fan, making it a seamless integration. This design is based on Martin Rice's idea for the Wilson II. For more information on how this concept came to be, check out http://community.reprapwilson3d.com/t/a-new-way-to-probe-the-print-bed-bed-leveling/66 The rack and pinion library by Sasa was used to make this design a reality, which can be found at http://www.thingiverse.com/thing:172508. To see the rack and pinion in action, watch the video at https://www.youtube.com/watch?v=32_TJb0Dwr4. Post-Printing Requirements To assemble the autotramming microswitch, you will need some m3 screws, nuts, and a rubber band. I also used superglue to secure my microswitch perfectly in place by accidentally dropping a small amount on it.
With this file you will be able to print prusa3d.com auto tramming with your 3D printer. Click on the button and save the file on your computer to work, edit or customize your design. You can also find more 3D designs for printers on prusa3d.com auto tramming.
