Prusa Z Screw Isolator
thingiverse
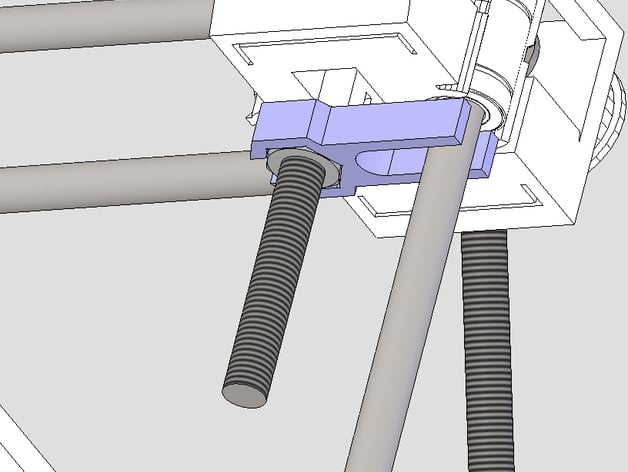
The mini bracket ensures that the Z-axis screw can sway without affecting nozzle positioning. Distinct from regular Prusa designs, the Z-axis nut is housed in a non-rigidly linked bracket. This allows for flexibility and easy installation of upper Z-axis nuts and springs if omitted during initial build. If springs are present, remove the Z-axis screws from the X-axis before installing these additional supports. To maintain spring usage, add another pair above the X-axis. However, be cautious about the available space in your X ends for screw movement, as advised by Buserror. When assembling a Prusa, I discovered that threaded rods can widen ABS holes if used as a file, so ensure there's sufficient clearance for Z-axis screw sway or adjust them manually to avoid interference.
With this file you will be able to print Prusa Z Screw Isolator with your 3D printer. Click on the button and save the file on your computer to work, edit or customize your design. You can also find more 3D designs for printers on Prusa Z Screw Isolator.