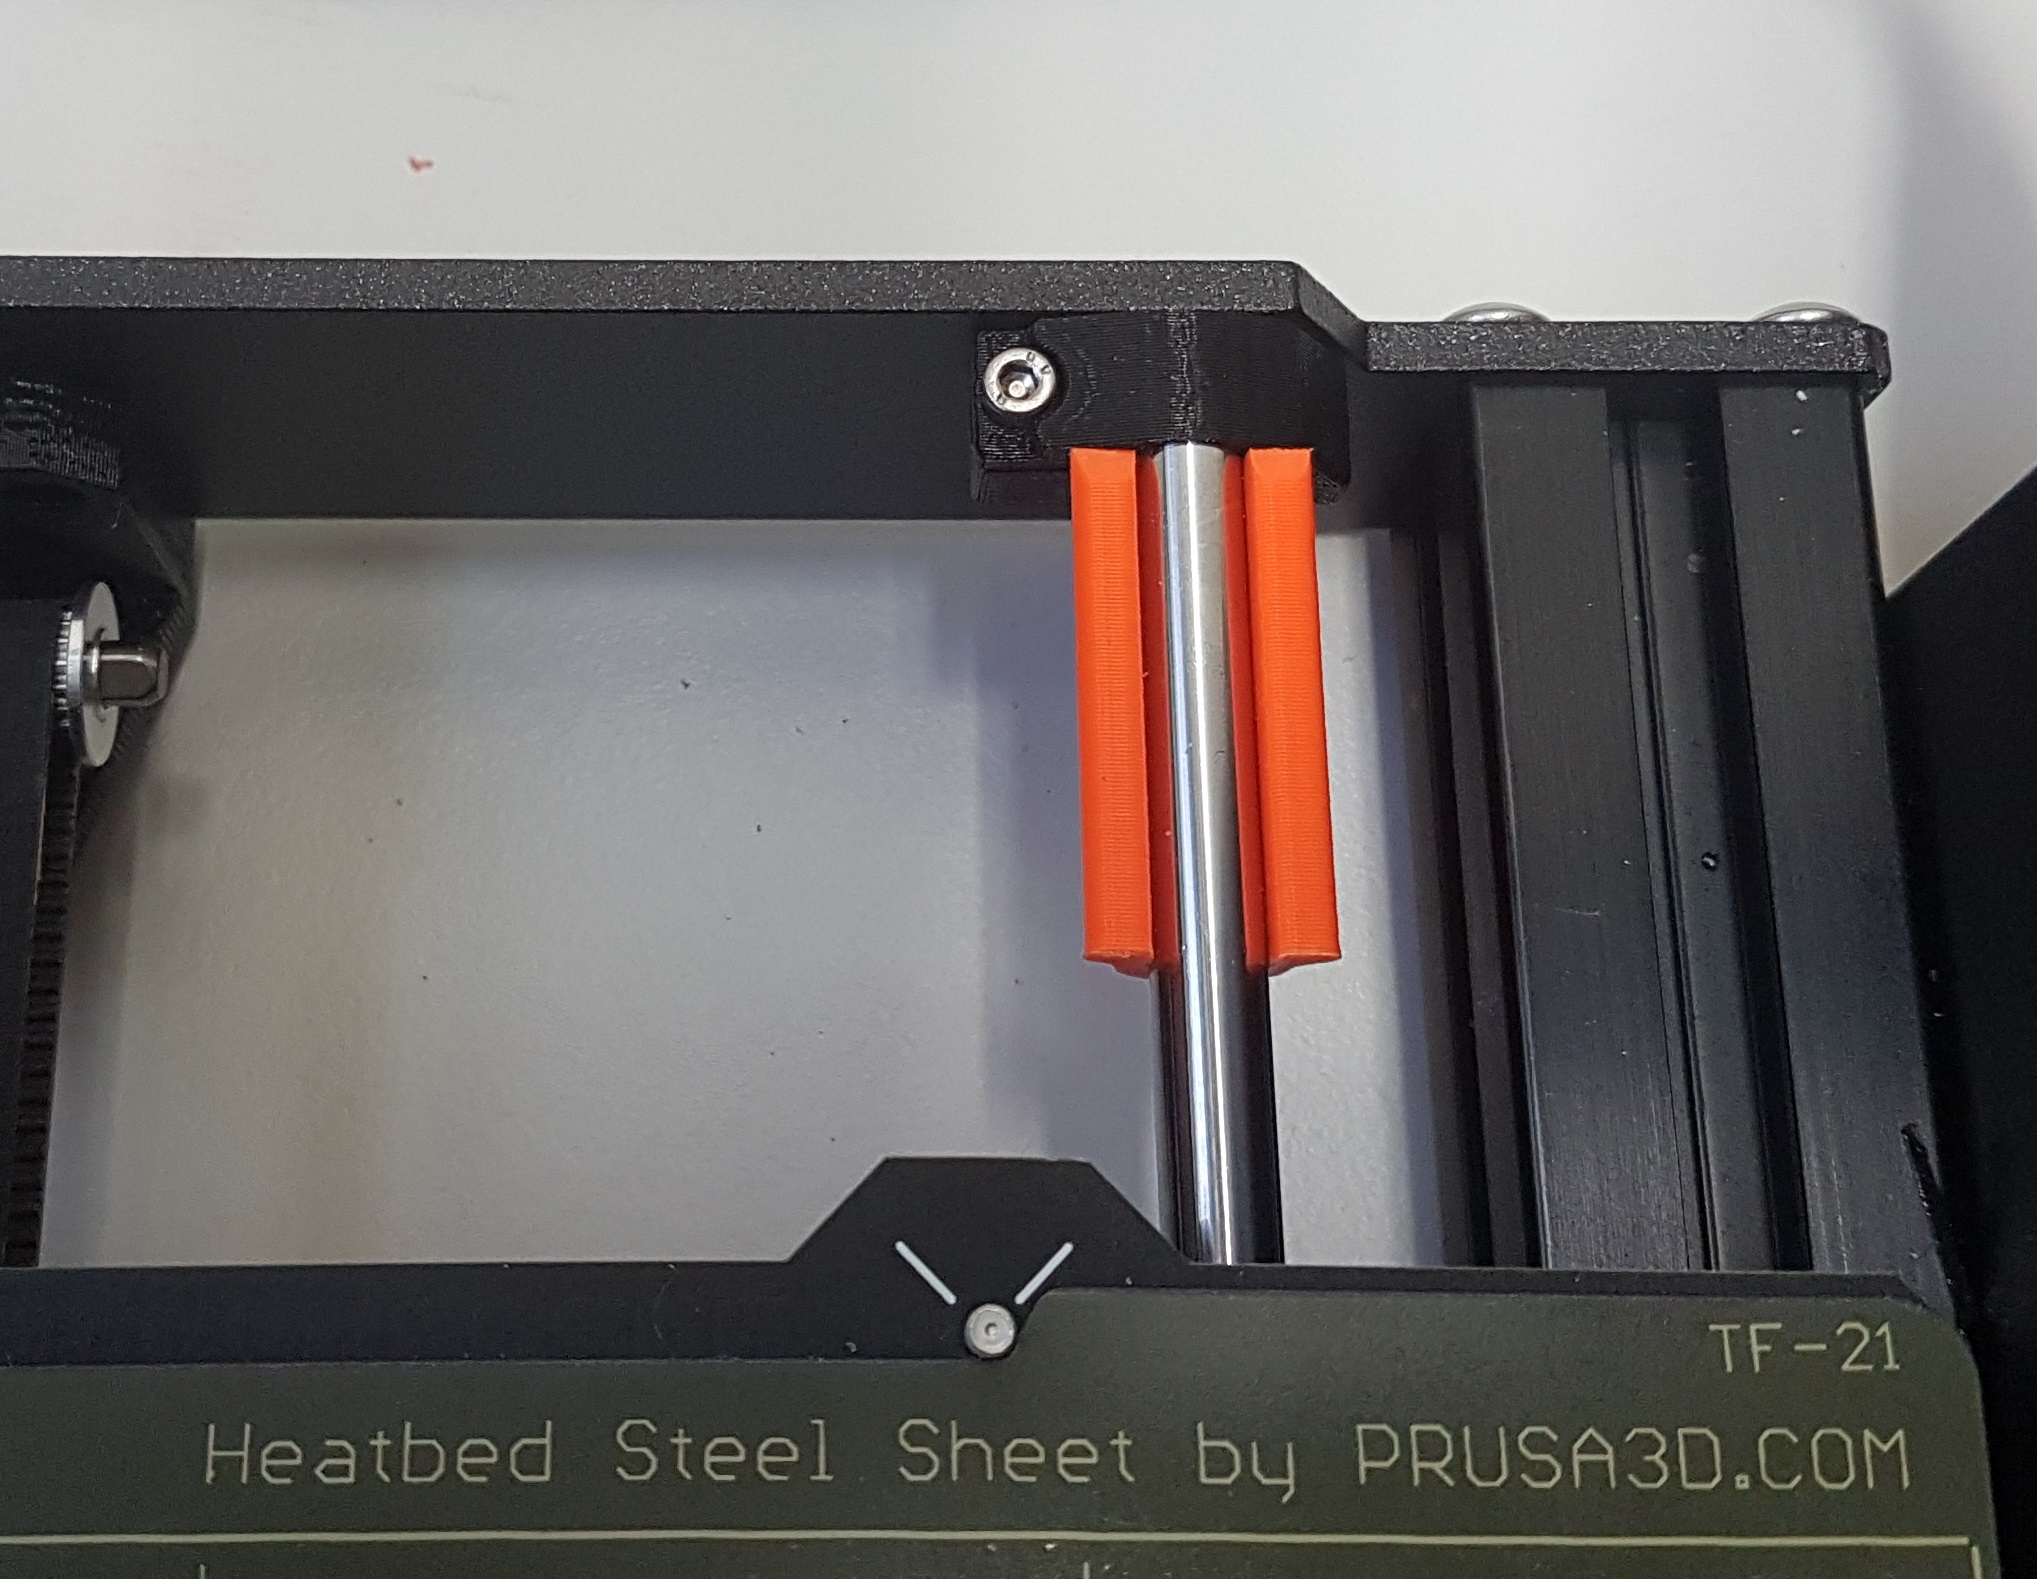
Prusa Y axis right bumper end stop
prusaprinters
<p><strong>Situation:</strong> Force applied by the motor onto the bed plate left bearing when reaching the end stop makes an undesired momentum, causing after days of print, play into the bearings and plate support.</p><p><strong>Remedy:</strong> Adding an end stop on the Y right shaft at the correct length against the right bearing will improve highly lifespan of the bearings, noise and play in the bed plate.</p><p><strong>This upgrade will benefit only for new printers, and repaired Y axis elements.</strong></p><p>Simply clipping the bumper you printed on the right shaft is all you need with a calliper to check your length. No tool, screw or nut!</p><p>Various length for the same printer has been measured, check yours first.</p><p>The one proposed is for 36.2mm (another same printer was 34.2mm) I do not know how to provide a modifiable cad. Changing Z height on Prusa slicer is an option…</p><p><strong>Checking bumper length:</strong> When bringing the bed plate all the way to the back, and applying little force on the left side, you should not be able to see the plate moving back, same for the right side, once you clipped the bumper. If either side can move backwards, then you must adjust the right bumper, longer, or shorter, accordingly.</p>
With this file you will be able to print Prusa Y axis right bumper end stop with your 3D printer. Click on the button and save the file on your computer to work, edit or customize your design. You can also find more 3D designs for printers on Prusa Y axis right bumper end stop.
