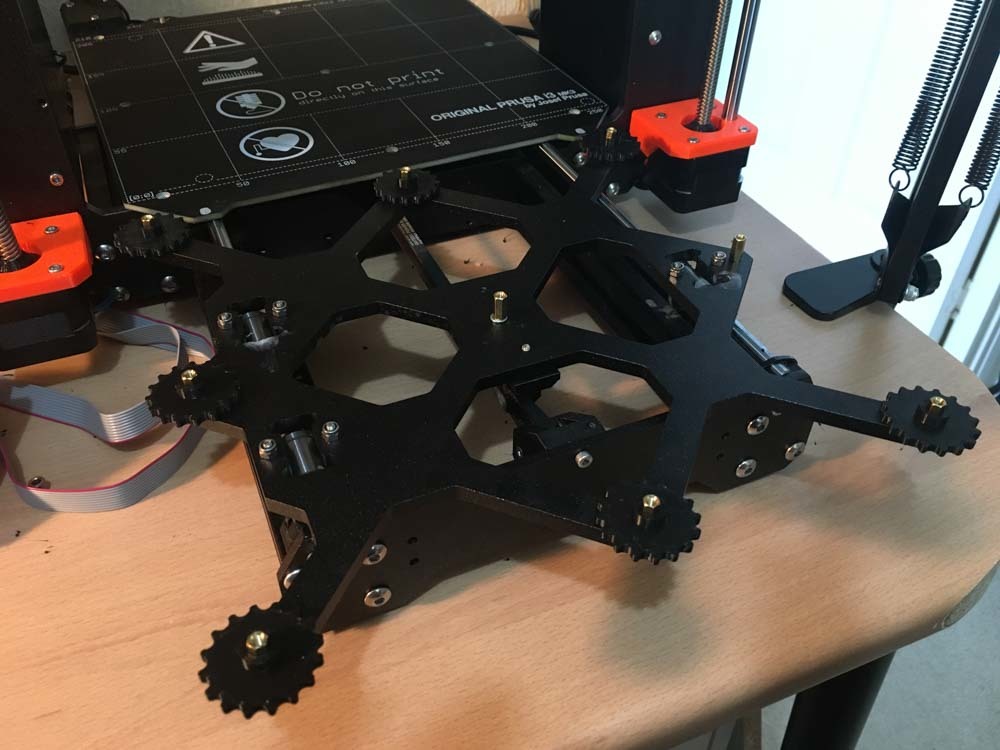
Prusa standoff bed level
thingiverse
An alternate method to level the Prusa Mk3/s bed involves utilizing M3 threaded brass pillars that are height-adjusted using convenient thumb wheels. Please refer to the video for step-by-step instructions. https://www.youtube.com/watch?v=ek69P3a6cWI&feature=youtu.be Update: November 27, 2020 Adding spacers increases bed height, so the Prusa Z-height calibration may not work. However, leveling the X-axis without using Z-calibration is a simple process: Ensure the nozzle is clean. Lower the X-axis close to the sheet. Disable steppers. Place a sheet of paper between the nozzle and the bed. Move the extruder to the left side. Manually lower it until the paper just catches. Repeat for the right side, moving the extruder slowly in case the bed is tilted. If the extruder catches during traversal, start the process on the right side. Enable steppers. Perform first-layer calibration. This routine provides more accurate results than using Z-calibration because it takes into account any slope on the bed and ensures the pinda is accurate on both sides.
With this file you will be able to print Prusa standoff bed level with your 3D printer. Click on the button and save the file on your computer to work, edit or customize your design. You can also find more 3D designs for printers on Prusa standoff bed level.
