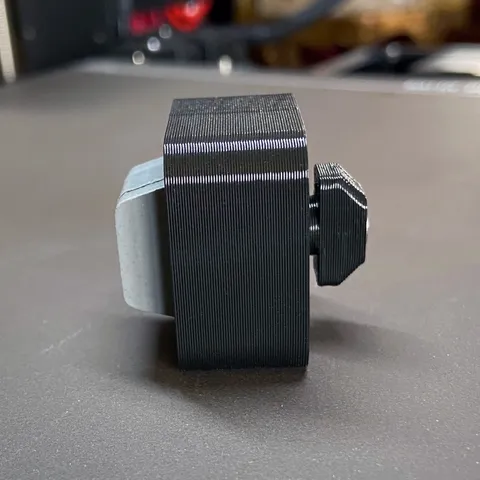
Prusa Rubber Feet Extender
prusaprinters
I didn't like how the wires routed underneath my MK3S+'s frame were squished against the table. Tried Viccroy's design but it raises the printer up a little too far.I made a similar design, but instead it only raises the printer by an extra 18 mm with the body_cube.stl version.The body_taper.stl raises by only 16.5 mm.I've also added a lip to the inside to better hold the rubber foot in place.The GCODE I've included is sliced for 0.6mm nozzles with Prusament PLA! Please slice yourself if you don't have this nozzle size installed.Print InstructionsMaterial: PLALayer Height: 0.3mm or 0.2mmInfill: 30% Rectilinear3 perimeters, 4 top, 4 bottomSupports: NoneCheck 4th image for correct print orientationPrint 4x "body_cube.stl" or "body_taper.stl" depending on which version you wantPrint 4x peg pieces. There are versions for flat head or socket cap M3 x 12mm screwsAssemblyPlace one M3 nut into the nut trap in the body (included in Prusa spare parts bag)Insert a rubber foot into the slot. (it's easier to put in one side, and then angle the other side down while squeezing to compress it).Add an M3x12mm countersunk screw (also included in Prusa spare parts bag) to secure the peg to the body. Use a finger to prevent it from rotating when you're getting it tight.Install in the same way as the original foot. Insert into extrusion and rotate 90 degrees. If the fit is too loose, you can take off the peg and sand off 0.5 - 1 layer worth of material from the face that contacts the body piece.
With this file you will be able to print Prusa Rubber Feet Extender with your 3D printer. Click on the button and save the file on your computer to work, edit or customize your design. You can also find more 3D designs for printers on Prusa Rubber Feet Extender.
