Prusa Research Logo
thingiverse
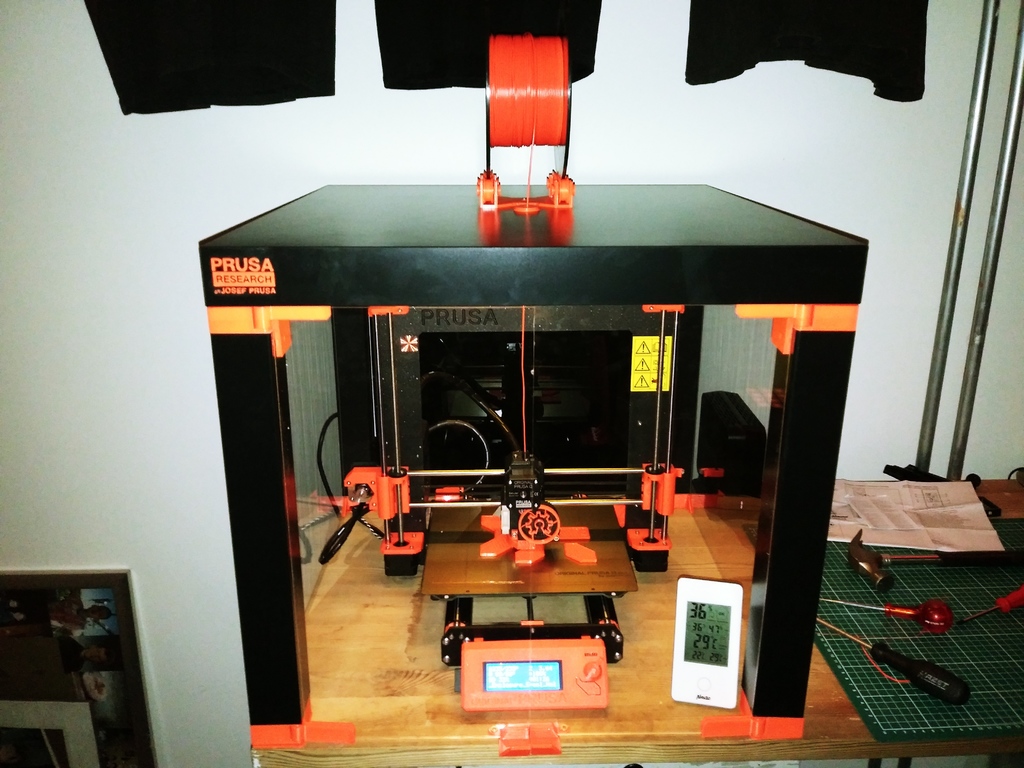
Here's how I created a 3D printable Prusa Research logo to enhance my Prusa i3 MK3 IKEA Lack enclosure, designed by user Cisardom. While I didn't design the logo myself, I couldn't find one to print, so I decided to create one from scratch. I'm hoping you all love the brand as much as I do! The steps I took to achieve a flawless installation on my enclosure are: ~Print the logo ~Apply some clear see-through tape to the logo and press it firmly until I was confident that all parts were securely attached. **Be extremely cautious with the five tiny pieces!** ~Carefully remove the logo from the bed. If my printer was properly calibrated, this shouldn't be too challenging. ~If I managed to lift the logo off the bed in one piece, I applied a small amount of Loctite or superglue to each part and tried to attach them together. **Be extremely careful not to get glue on the tape!** ~Place it wherever you like and enjoy! I chose to install it on my enclosure, but I've already found several other cool spots to put it. I also created a design suitable for dual-color printers! You can find it here: https://www.thingiverse.com/thing:2892303 The original Prusa Research logo is the property of Josef Prusa, the creator of the Original Prusa i3. All credits go to him. Check out his website at http://www.prusa3d.com. This design was created using Tinkercad. You can edit it online here: https://www.tinkercad.com/things/cbNYI84AcDq
With this file you will be able to print Prusa Research Logo with your 3D printer. Click on the button and save the file on your computer to work, edit or customize your design. You can also find more 3D designs for printers on Prusa Research Logo.
