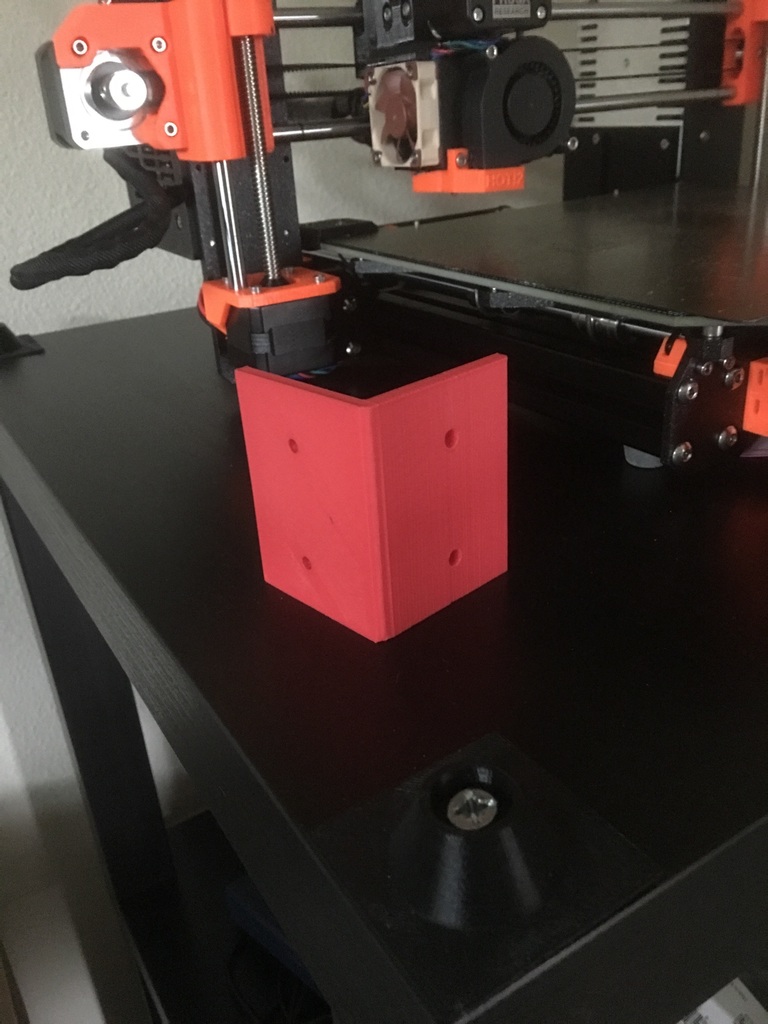
PRUSA Printer Table Enclosure Connectors
thingiverse
Here is a remix that combines the original Prusa i3 MK3 enclosure with an Ikea Lack table and Prusa Research designs. The goal of this project was to create a sleek and compact printer enclosure using affordable materials while still maintaining good airflow and accessibility. To achieve this, I used a combination of the Prusa i3 MK3 enclosure's design principles and the Ikea Lack table's affordability and versatility. Here are some key features of this remix: * The enclosure is made from 1/2" plywood and measures 28" x 18" x 16". * It has a removable top panel for easy access to the printer's electronics. * A set of adjustable feet allows the enclosure to be leveled on uneven surfaces. * Two USB ports are included for connecting printers, cameras, or other devices. To assemble the enclosure, follow these steps: 1. Cut four pieces of 1/2" plywood to the required dimensions. 2. Assemble the top panel using screws and a drill press. 3. Attach the sides and bottom panels to the top panel using screws and a drill press. 4. Install the adjustable feet and USB ports. The enclosure is designed to fit the Prusa i3 MK3 printer, but it can be adapted for other printers as well. By combining the best features of both worlds, this remix offers an affordable and accessible way to create a professional-grade printer enclosure.
With this file you will be able to print PRUSA Printer Table Enclosure Connectors with your 3D printer. Click on the button and save the file on your computer to work, edit or customize your design. You can also find more 3D designs for printers on PRUSA Printer Table Enclosure Connectors.
