Prusa PINDA height gauge
thingiverse
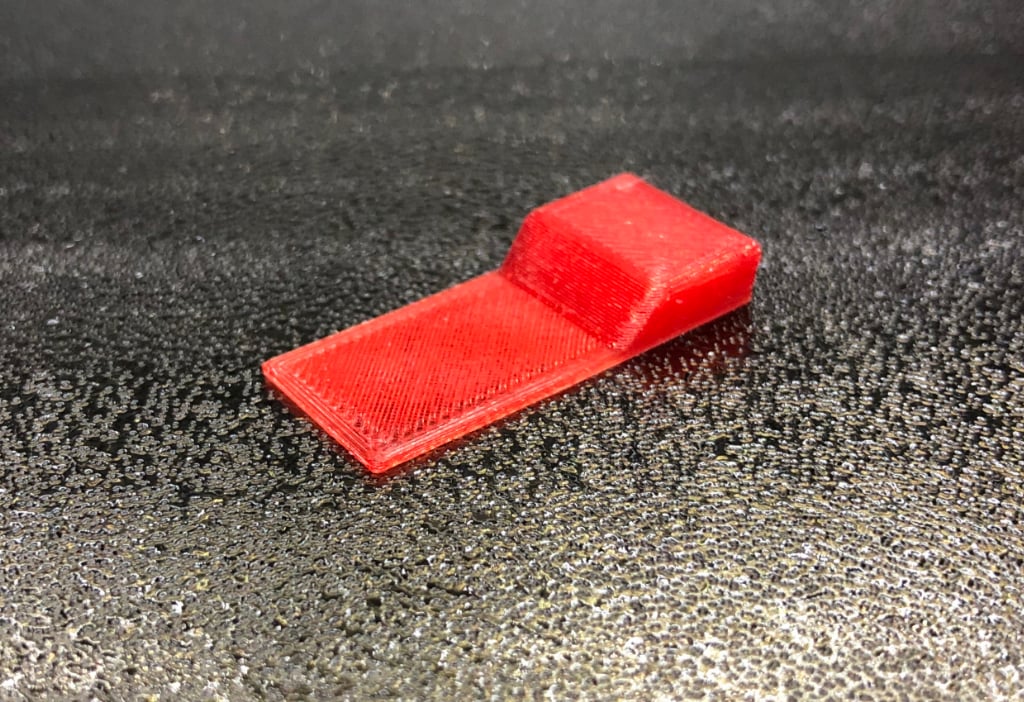
A straightforward height gauge for establishing a consistent Prusa PINDA probe height. Bunny experts opted for 0.8 mm as a balance between reliable XYZ calibration and crash prevention. Using this gauge to set PINDA height instead of an inadequately characterized zip tie achieves repeatable, consistent height setting. Consistent PINDA height settings after extruder servicing keep your live-Z setting nearly the same before and after service. Place a piece of paper on the print bed with the printer off. Manually lower the clean nozzle tip to just touch the paper. Completely loosen the PINDA clamp and let PINDA rest upon this gauge. Tighten the PINDA clamp to lock PINDA height. Once done, repeat XYZ calibration. Live-Z thereafter will be near the same value as last time you used this gauge. On my Prusa build plate, it ends up -1.000 ± 0.100. On my third-party build plate, it ends up about -1.200 ± 0.100. Your live Z value may differ from mine, but should repeatably end up nearly the same on later occasions.
With this file you will be able to print Prusa PINDA height gauge with your 3D printer. Click on the button and save the file on your computer to work, edit or customize your design. You can also find more 3D designs for printers on Prusa PINDA height gauge.