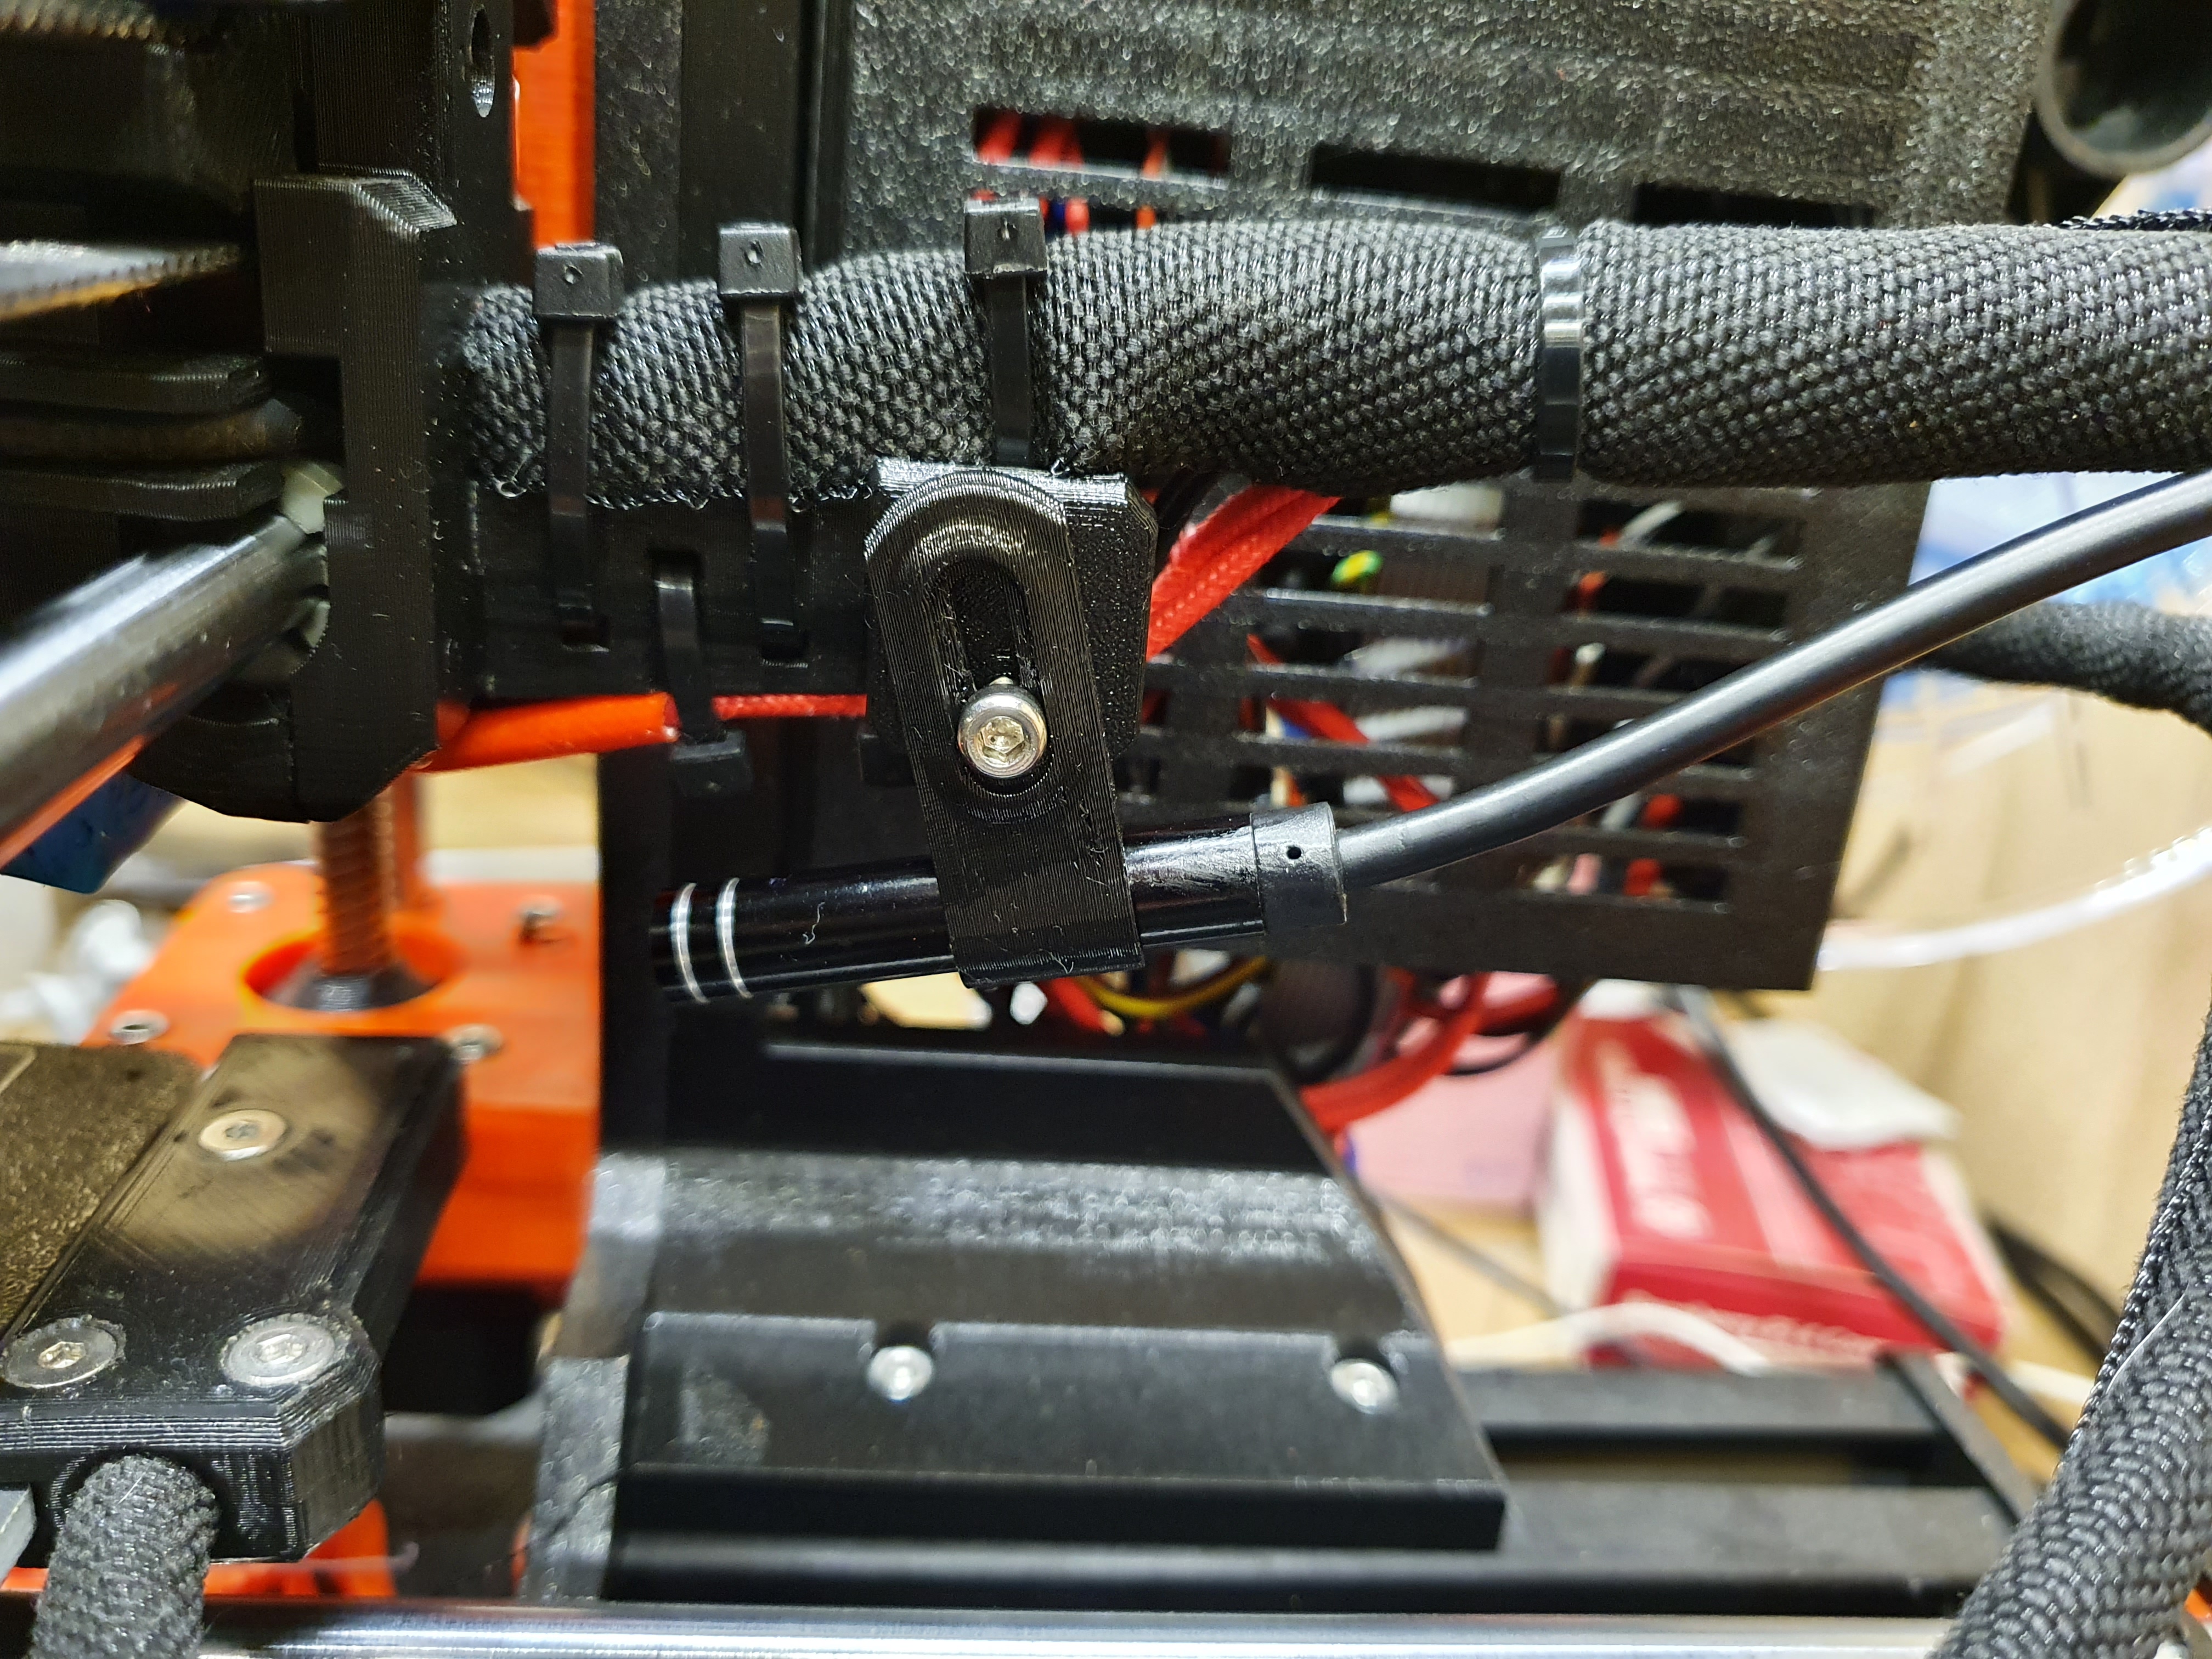
Prusa MK3s detachable NozzleCam
prusaprinters
<p>After overheating a borescope camera by printing too much ABS I have redesigned my previous design to be detachable. This saves me from buying a new camera every couple of months and digging up my allan keys to disassemble the camera every time I need to print with high-temp materials.</p><p>It uses a slightly modified wire guide at the back of the extruder carriage to attach the NozzleCam mount. (This wire guide is same as my original design, so no need to reprint if you're upgrading to this redesign) </p><p>Camera holders have been redisigned to correct the additional offset introduced by the detachable mounting hardware w.r.t. the previous design. Files have been included for 5.5mm, 7mm and 8mm camera holders. The angle and hight of the camera w.r.t. the nozzle is adjustable with the slotted attachment.</p><p>Print in orientation provided. No supports required! (Though bridging settings for printing the ‘CameraMount’ parts should be well tuned if printing this part with PETG)</p><p>I strongly advise double checking the clearance to the heatbed cable cover with the camera installed before printing. The camera will crash into the sock cable cover! I have made a very low profile heatbed cable cover that provides plenty of clearance with the nozzlecam installed:<br><a href="https://www.prusaprinters.org/prints/34459-slim-90degree-mk52-heatbed-cable-cover-for-prusa-m">LowProfile heatbed cable cover</a></p><p><strong>Assembly:</strong></p><ul><li>The stock wire guide at the back of the extruder assembly must be replaced by my modified version. Be sure to insert the M3 nut before adding the wires!</li><li>Cut away the first layer join on the ‘FixedPart’ and mount it to the wire guide by bolting it into the M3 nut using a <i><strong>low profile</strong></i> 10mm M3 screw</li><li>Place the camera in the camera holder</li><li>Add an M3 nut to the ‘RemovablePart’ and screw the camera holder into it loosly</li><li>Slide the ‘RemovablePart’ over the ‘FixedPart’ on the back of the extruder assembly and make final adjustments to aim the camera at the nozzle (Keep heatbed clearance in mind!).</li><li>Tighten up the bolt to fix your fine tuned adjustments.</li></ul><p><strong>Hardware required:</strong></p><p>2x M3 nut</p><p>2x M3 bolt 10mm, at least one of which needs a small head height of at most 2mm.</p><p> </p><p><strong>Update [23-3-2021]:</strong></p><p>Minor updates to camera holder files. Old ones still available for larger vertical movement range, with V2 added for which the camera can be mounted closer to the wire guide.</p>
With this file you will be able to print Prusa MK3s detachable NozzleCam with your 3D printer. Click on the button and save the file on your computer to work, edit or customize your design. You can also find more 3D designs for printers on Prusa MK3s detachable NozzleCam.
