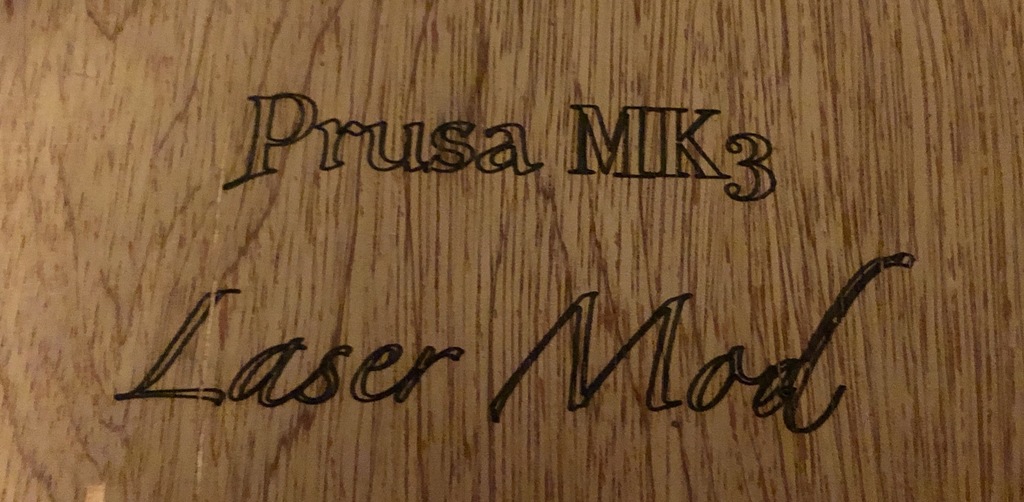
Prusa MK3 laser engraver / cutter mod
thingiverse
The provided text is a guide for installing and calibrating a laser engraver system on an existing 3D printer setup. The system consists of a laser module, a circuit board, and a mount that attaches to the extruder of the printer. Here's a summary of the steps: 1. Connect the laser module to the circuit board using the provided umbilical wires. 2. Mount the laser module on the custom-made bracket, which attaches to the extruder cover. Ensure proper alignment and secure the bracket with screws. 3. Attach the hanger clips to the top of the mount, which will mate with the base of the laser driver board. 4. Connect the shield tube to the focus ring of the laser module using spacers. This doubles as a grip for tuning the laser focus without burning oneself. 5. Connect the power and fan PWM inputs from the circuit box to the corresponding headers on the Rambo board. 6. Set up the buck converter to output 12V by adjusting the tiny screw potentiometer. 7. Check that the fan PWM input responds correctly to M106 S0 and S255 commands using Pronterface or a similar software. Once these steps are completed, follow these additional instructions: * Remove any protective tape from the laser module and test its operation. * Attach the laser driver board to the base of the mount, ensuring proper connection to the umbilical wires. * Connect the power supply to the circuit box and turn on the kill switch. * Perform a focus calibration by: 1. Turning off "fan detect" in settings. 2. Homing the printer and turning off the reset before it hits the bed. This will give you a baseline Z value. 3. Inserting a target, such as cardboard or a piece of metal, into the shield tube to create a small gap between the shield and the target. 4. Turning on laser power and adjusting the fan speed to achieve a tiny spot of light. Mark the shield tube with a Sharpie for future reference. * Use your favorite image-to-gcode workflow (such as Inkscape with plug-ins) to generate g-code files for printing. Note that you will need to experiment with different speeds and strengths depending on your laser power and target material.
With this file you will be able to print Prusa MK3 laser engraver / cutter mod with your 3D printer. Click on the button and save the file on your computer to work, edit or customize your design. You can also find more 3D designs for printers on Prusa MK3 laser engraver / cutter mod.
