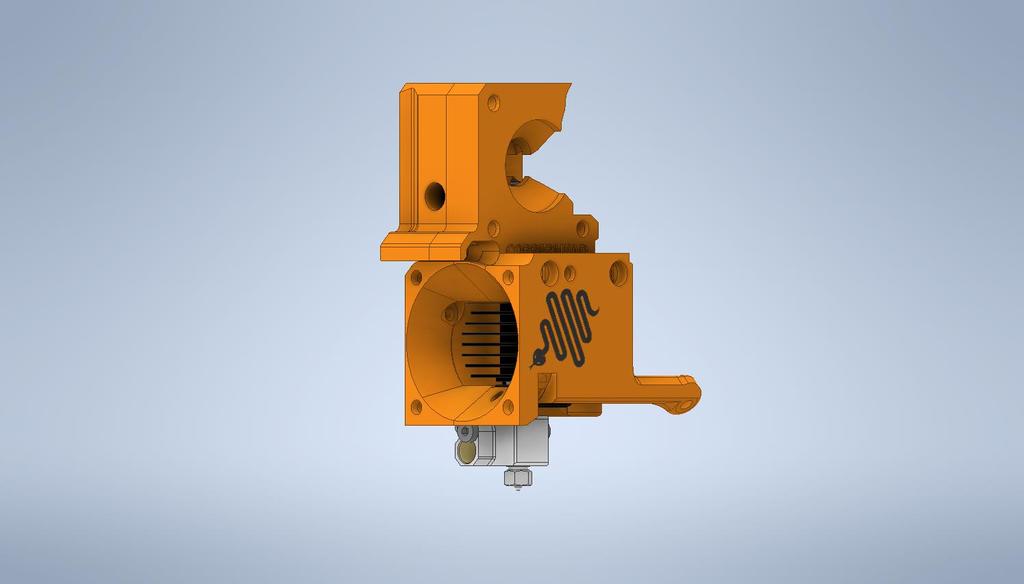
Prusa MK3 Copperhead Groovemount Adapter
thingiverse
June 1, 2020 - I'm excited to share my Slice Engineering's Copperhead groove mount hot end adapter, a project that's still in its early stages and likely to undergo some changes as I put it through its paces. My goal was to get this out there for fellow early adopters who may be interested. Installing the Adapter: - Follow the instructions shown in the accompanying photograph and diagram to assemble the Copperhead. - Insert a PTFE tube all the way into the Copperhead. - Snap the Copperhead into the Extruder Body, which will mark the PTFE cut point. - Remove the PTFE tube to reveal a straight cut and bevel inside its top. - Use Prusa stock parts for the fan mount, nozzle shroud, and sensor assembly. Printing Notes: - Apologies for the orientation issue; I'll have it corrected soon. Print the Motor Mount and cover at 180 degrees rotated. - The Extruder Cover features an indent with the Copperhead logo. - If you're equipped with MMU capabilities, you'll find the logo included in the package. - Standard print specifications are as follows: PETG, 15% fill rate, and a .20mm Quality setting. Maintenance Note: A small hole is located inside the baffle, providing access to the heat break tension screw. This allows you to remove (drop down) the heat break/heat block assembly without disassembling the entire extruder. Simply remove the cooling fan to access it. More updates are on the way...
With this file you will be able to print Prusa MK3 Copperhead Groovemount Adapter with your 3D printer. Click on the button and save the file on your computer to work, edit or customize your design. You can also find more 3D designs for printers on Prusa MK3 Copperhead Groovemount Adapter.
