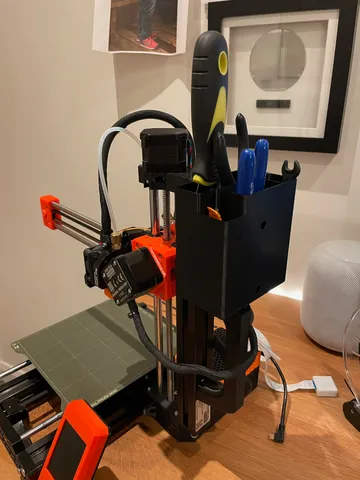
Prusa Mini Z-Axis toolbox
prusaprinters
I started off with this toolbox, but found that it was only helpful for storing the tools that came with the Mini, which I don't actually need very often. I wanted something that could hold some of the tools I actually use, so I designed my own.Rather than clipping to the top of the Z-Axis, this is designed to attach to the aluminium extrusion with two M3 12mm bolts with t-nuts. You'll need a wrench/screwdriver with a shaft at least 50mm long and no wider than 7mm, to get through the bolt access holes in the part.I printed this with 1mm thick walls, to reduce the print time, but it does make it quite flexible. Should be pretty easy to extrude all the walls (inwards) by 1mm if you want it to be a little more sturdy.I haven't tested it with the famous Z-Axis handle, but it does fit with this one that I use.Modelled with Shapr3D on an iPad Pro.
With this file you will be able to print Prusa Mini Z-Axis toolbox with your 3D printer. Click on the button and save the file on your computer to work, edit or customize your design. You can also find more 3D designs for printers on Prusa Mini Z-Axis toolbox.
