Prusa Mini Y-Axis Rod Bumper v2
prusaprinters
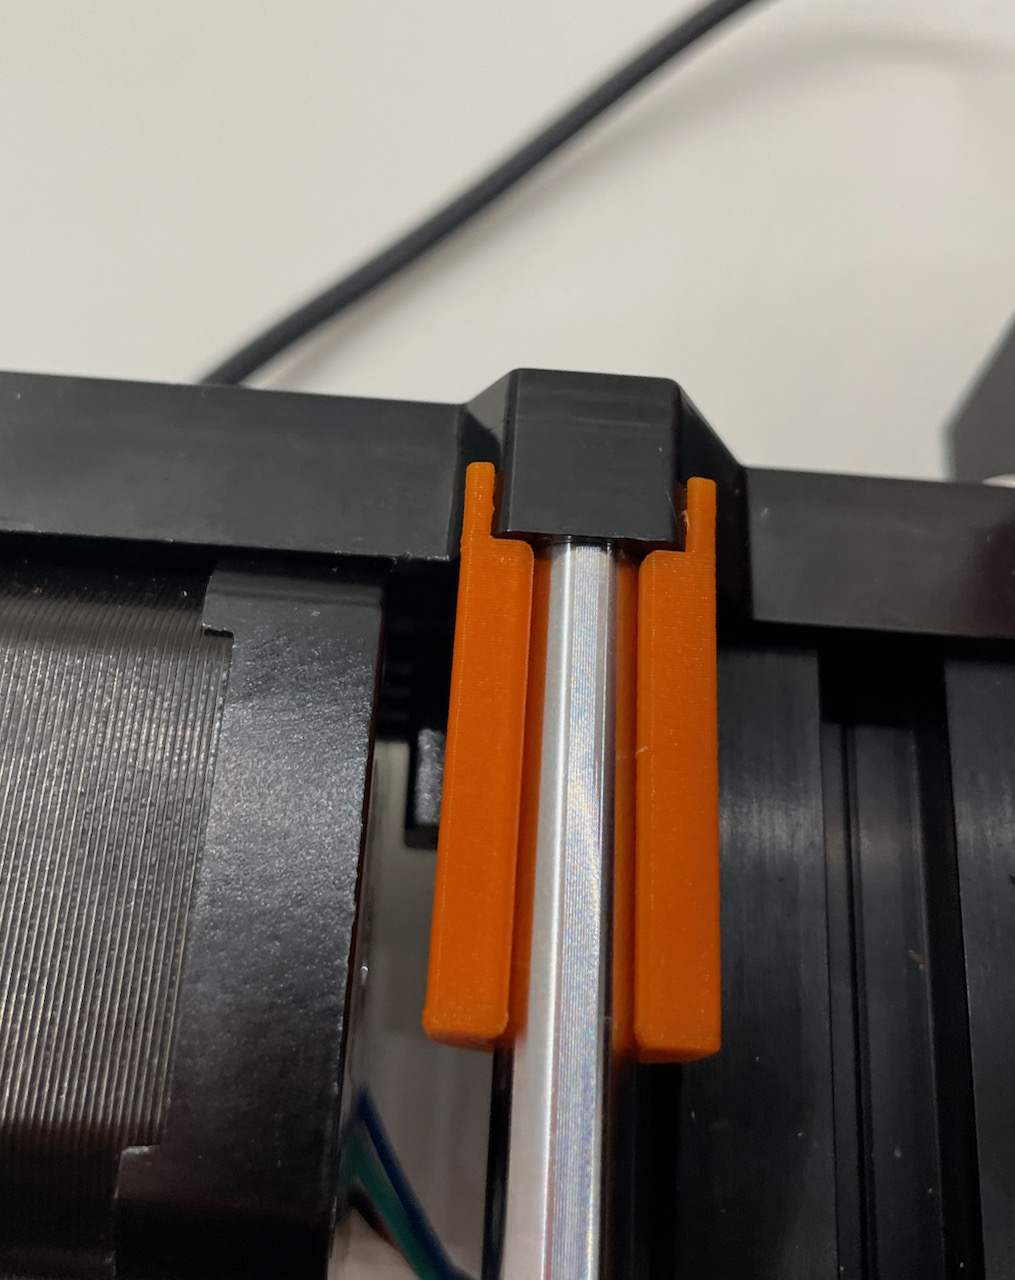
<p>Update 2021-07-13: I found that sometimes the alignment of the bumpers could get out of whack, especially on the far side. So this new version has some tabs attached that fit the front and back panels, keeping the bumper aligned perfectly and out of the way of the heatbed.</p><p>Note that the bumpers only make sense in combination with my Y-axis bearing holders (see <a href="https://www.prusaprinters.org/prints/66206-prusa-mini-y-axis-bearing-holders">here</a>) or something similar as they will keep the bearings in an exact location. The standard bearing holders allow for some lateral movement and make the bearing location inexact.</p><p>When I switched to Drylin bearings I noticed that when the printer pulls the Y-carriage to the far side to reset the Y-axis position, the Y-carriage skewed slightly to the left when it hit the side. This makes sense since with the drylin there is a little more give and the left bearing would always be the only thing that hits the far side. </p><p>So to even this out I decided to place a bumper on the right rod that is exactly the length of the offset between the left bearing and the right bearing (28.25mm). This way, when the carriage reaches the far side, both the left and right bearing hit at the same time, distributing the load and preventing the skew. Again, I am unsure if this is really necessary but it also doesn't hurt to add it. It could even help with the normal bearings (offset would be the same).</p><p>It is also possible to add a bumper to the front side of the right rod, but that would only ever come in play during self tests.</p><p>I printed with PETG, 0.4 Nozzle, 0.2mm layer height, 0.25mm first layer height (!), 3 perimeters and 0% infill.</p><p>The first layer height of 0.25mm is important to get the exact height required and the 0% infill and 3 perimeters allow the bumper to be stiff enough to handle the hits while at the same time be flexible enough to be clipped on to the rod and also be able to remove it.</p>
With this file you will be able to print Prusa Mini Y-Axis Rod Bumper v2 with your 3D printer. Click on the button and save the file on your computer to work, edit or customize your design. You can also find more 3D designs for printers on Prusa Mini Y-Axis Rod Bumper v2.
