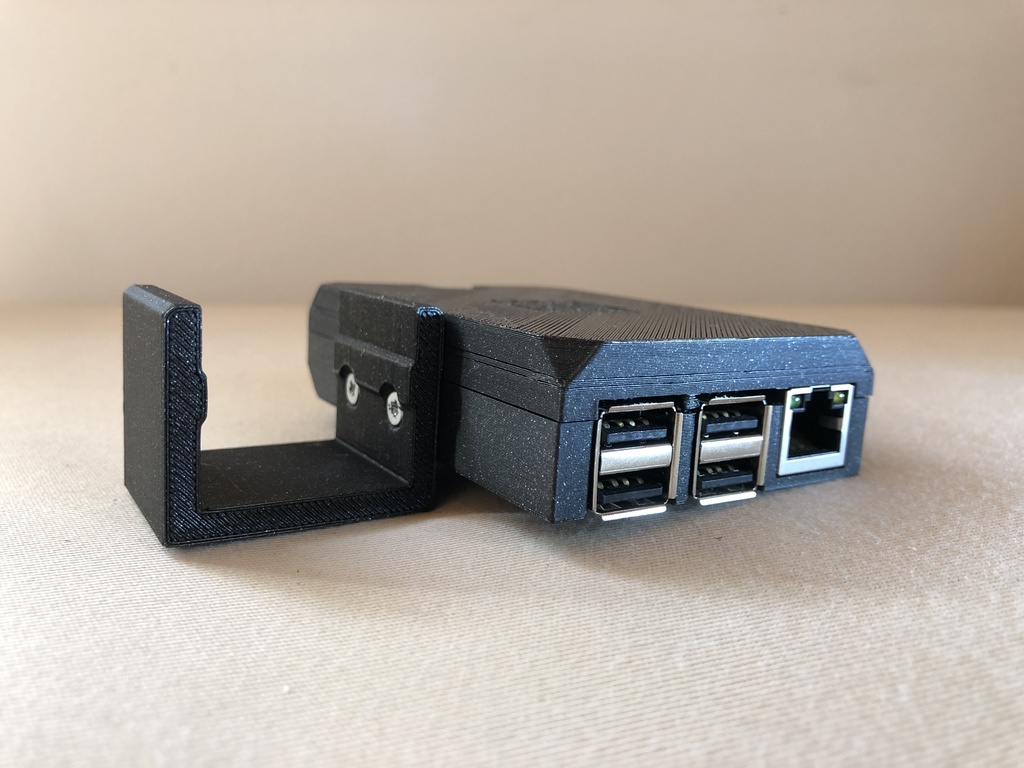
Prusa Mini - Raspberry Pi (3B) Case Mounting
thingiverse
In order to securely attach the case to the Prusa Mini, I turned it upside down and identified suitable fixing points for the mounting bracket. To ensure proper ventilation, I added a few ventilation slots to what's now referred to as the "cover." An attachment to the Z-Extrusion was not feasible due to the lengthy path to the camera, which is positioned on the left side. The mounting process involves clipping in the bracket and can be adjusted by moving it forward or backward if needed. Initially, I thought I could use the mounts I designed for the Prusa MK3s, but they fit too snugly, making them difficult to move. Upon measuring, I discovered that the aluminium extrusions of the Prusa Mini are nearly 0.5mm wider than those of the Mk3s. As a result, I modified the dimensions of the mount specifically for the Mini. To connect the bracket and the "bottom" part, you'll need two countersunk screws (M3x10mm), nuts, and four M3x16 screws for the case. UPDATE: Following a suggestion from maker "Duckle," I uploaded an updated version of the Raspberry_Case_Mini_bracket with holes designed to accommodate a screwdriver. This improvement is quite useful!
With this file you will be able to print Prusa Mini - Raspberry Pi (3B) Case Mounting with your 3D printer. Click on the button and save the file on your computer to work, edit or customize your design. You can also find more 3D designs for printers on Prusa Mini - Raspberry Pi (3B) Case Mounting.
