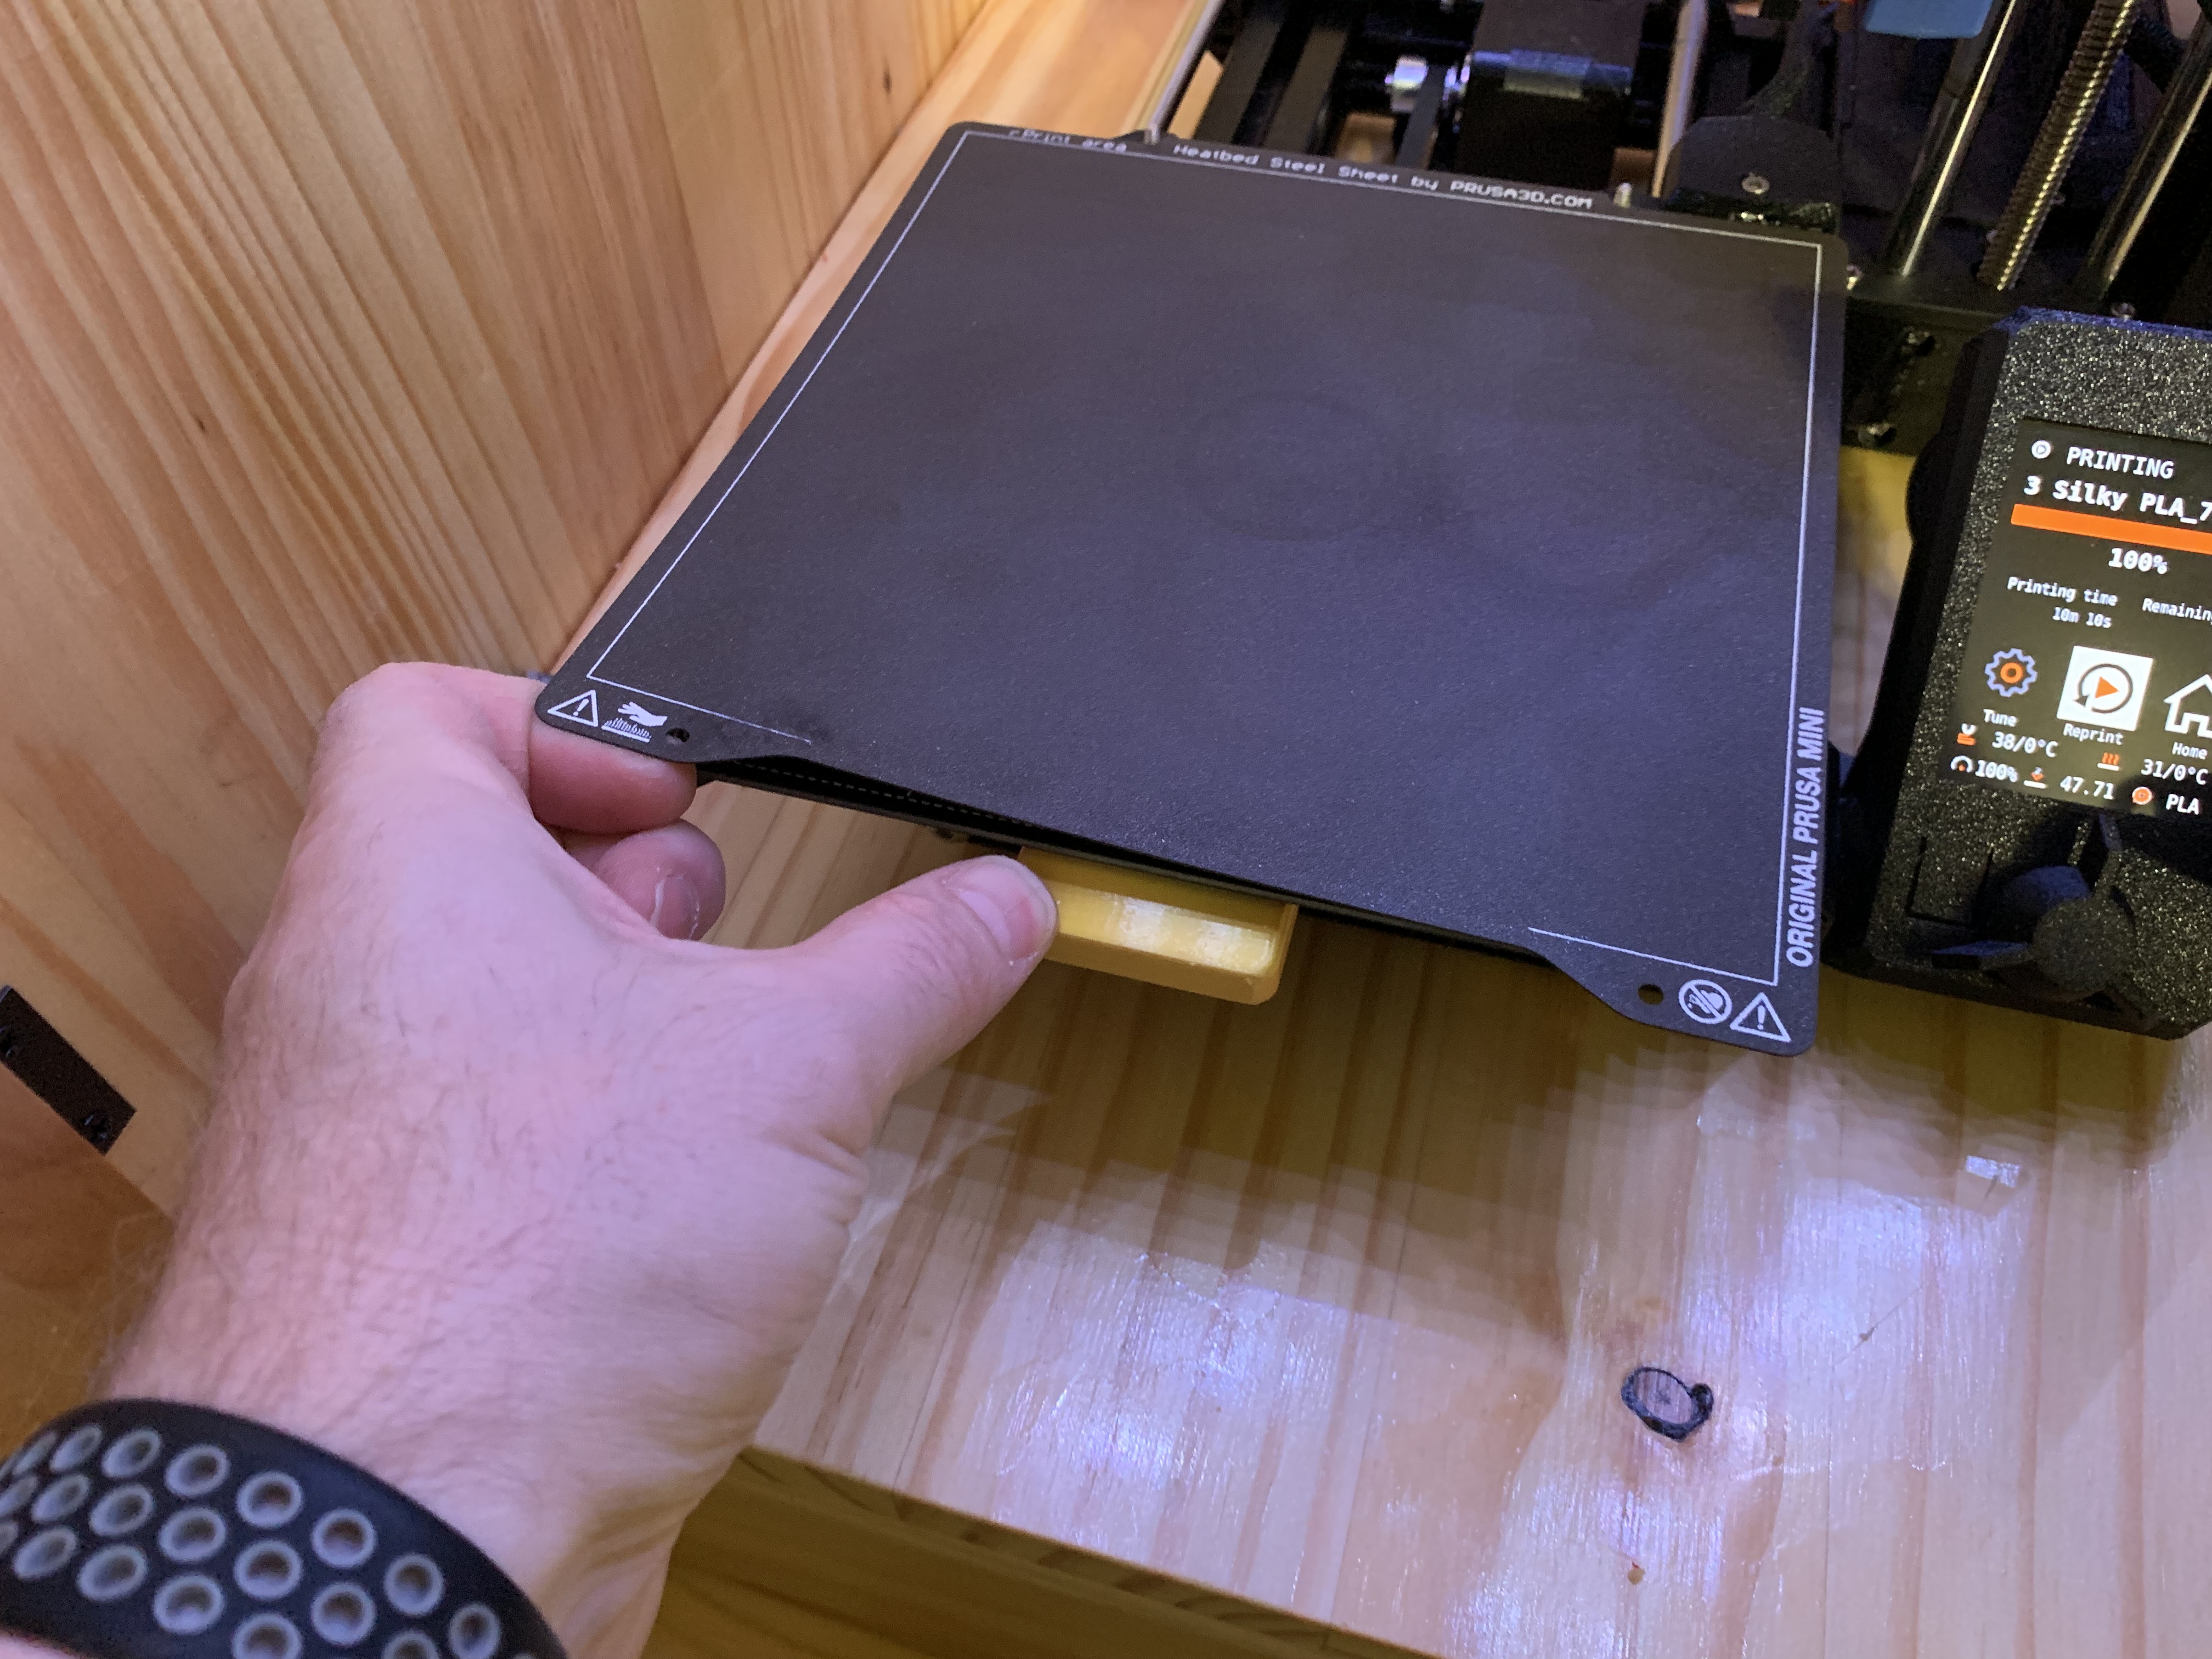
Prusa Mini+ Quick Thumb Tab Bracket
prusaprinters
<p>I wanted a small tab to help me remove my magnetic sheets. I also wanted it fast so I designed this to be small enough to print in under 1 hr.</p><p>This thumb tab mounts using factory hardware and is situated below the bed so it can be printed with PLA. </p><p>Step 1. Remove the magnetic sheet</p><p>Step 2. Remove all 9 torx screws from the heated bed.</p><p>Step 3. Remove the front center center screw/coupler from the Y-Carriage.</p><p>Step 4. Slide the bracket onto the Y-carriage.</p><p>Step 5. Drop the coupler into the hex shape of the bracket.</p><p>Step 6. Reinstall all hardware.</p><p>-You may be able to get away with just removing the front center screws and coupler then sliding the bracket on with the coupler inserted into it… BUT this can be tricky as the coupler will want to fall into the bracket. So, if you try this and the coupler drops into the bracket, don't worry. You can use your tool to fish it around until it drops out and try again. Ask me how I know ;)</p><p> </p><p>You CAN use both thumbs if you want, I just couldn't use both AND get a picture at the same time.</p><p> </p>
With this file you will be able to print Prusa Mini+ Quick Thumb Tab Bracket with your 3D printer. Click on the button and save the file on your computer to work, edit or customize your design. You can also find more 3D designs for printers on Prusa Mini+ Quick Thumb Tab Bracket.
