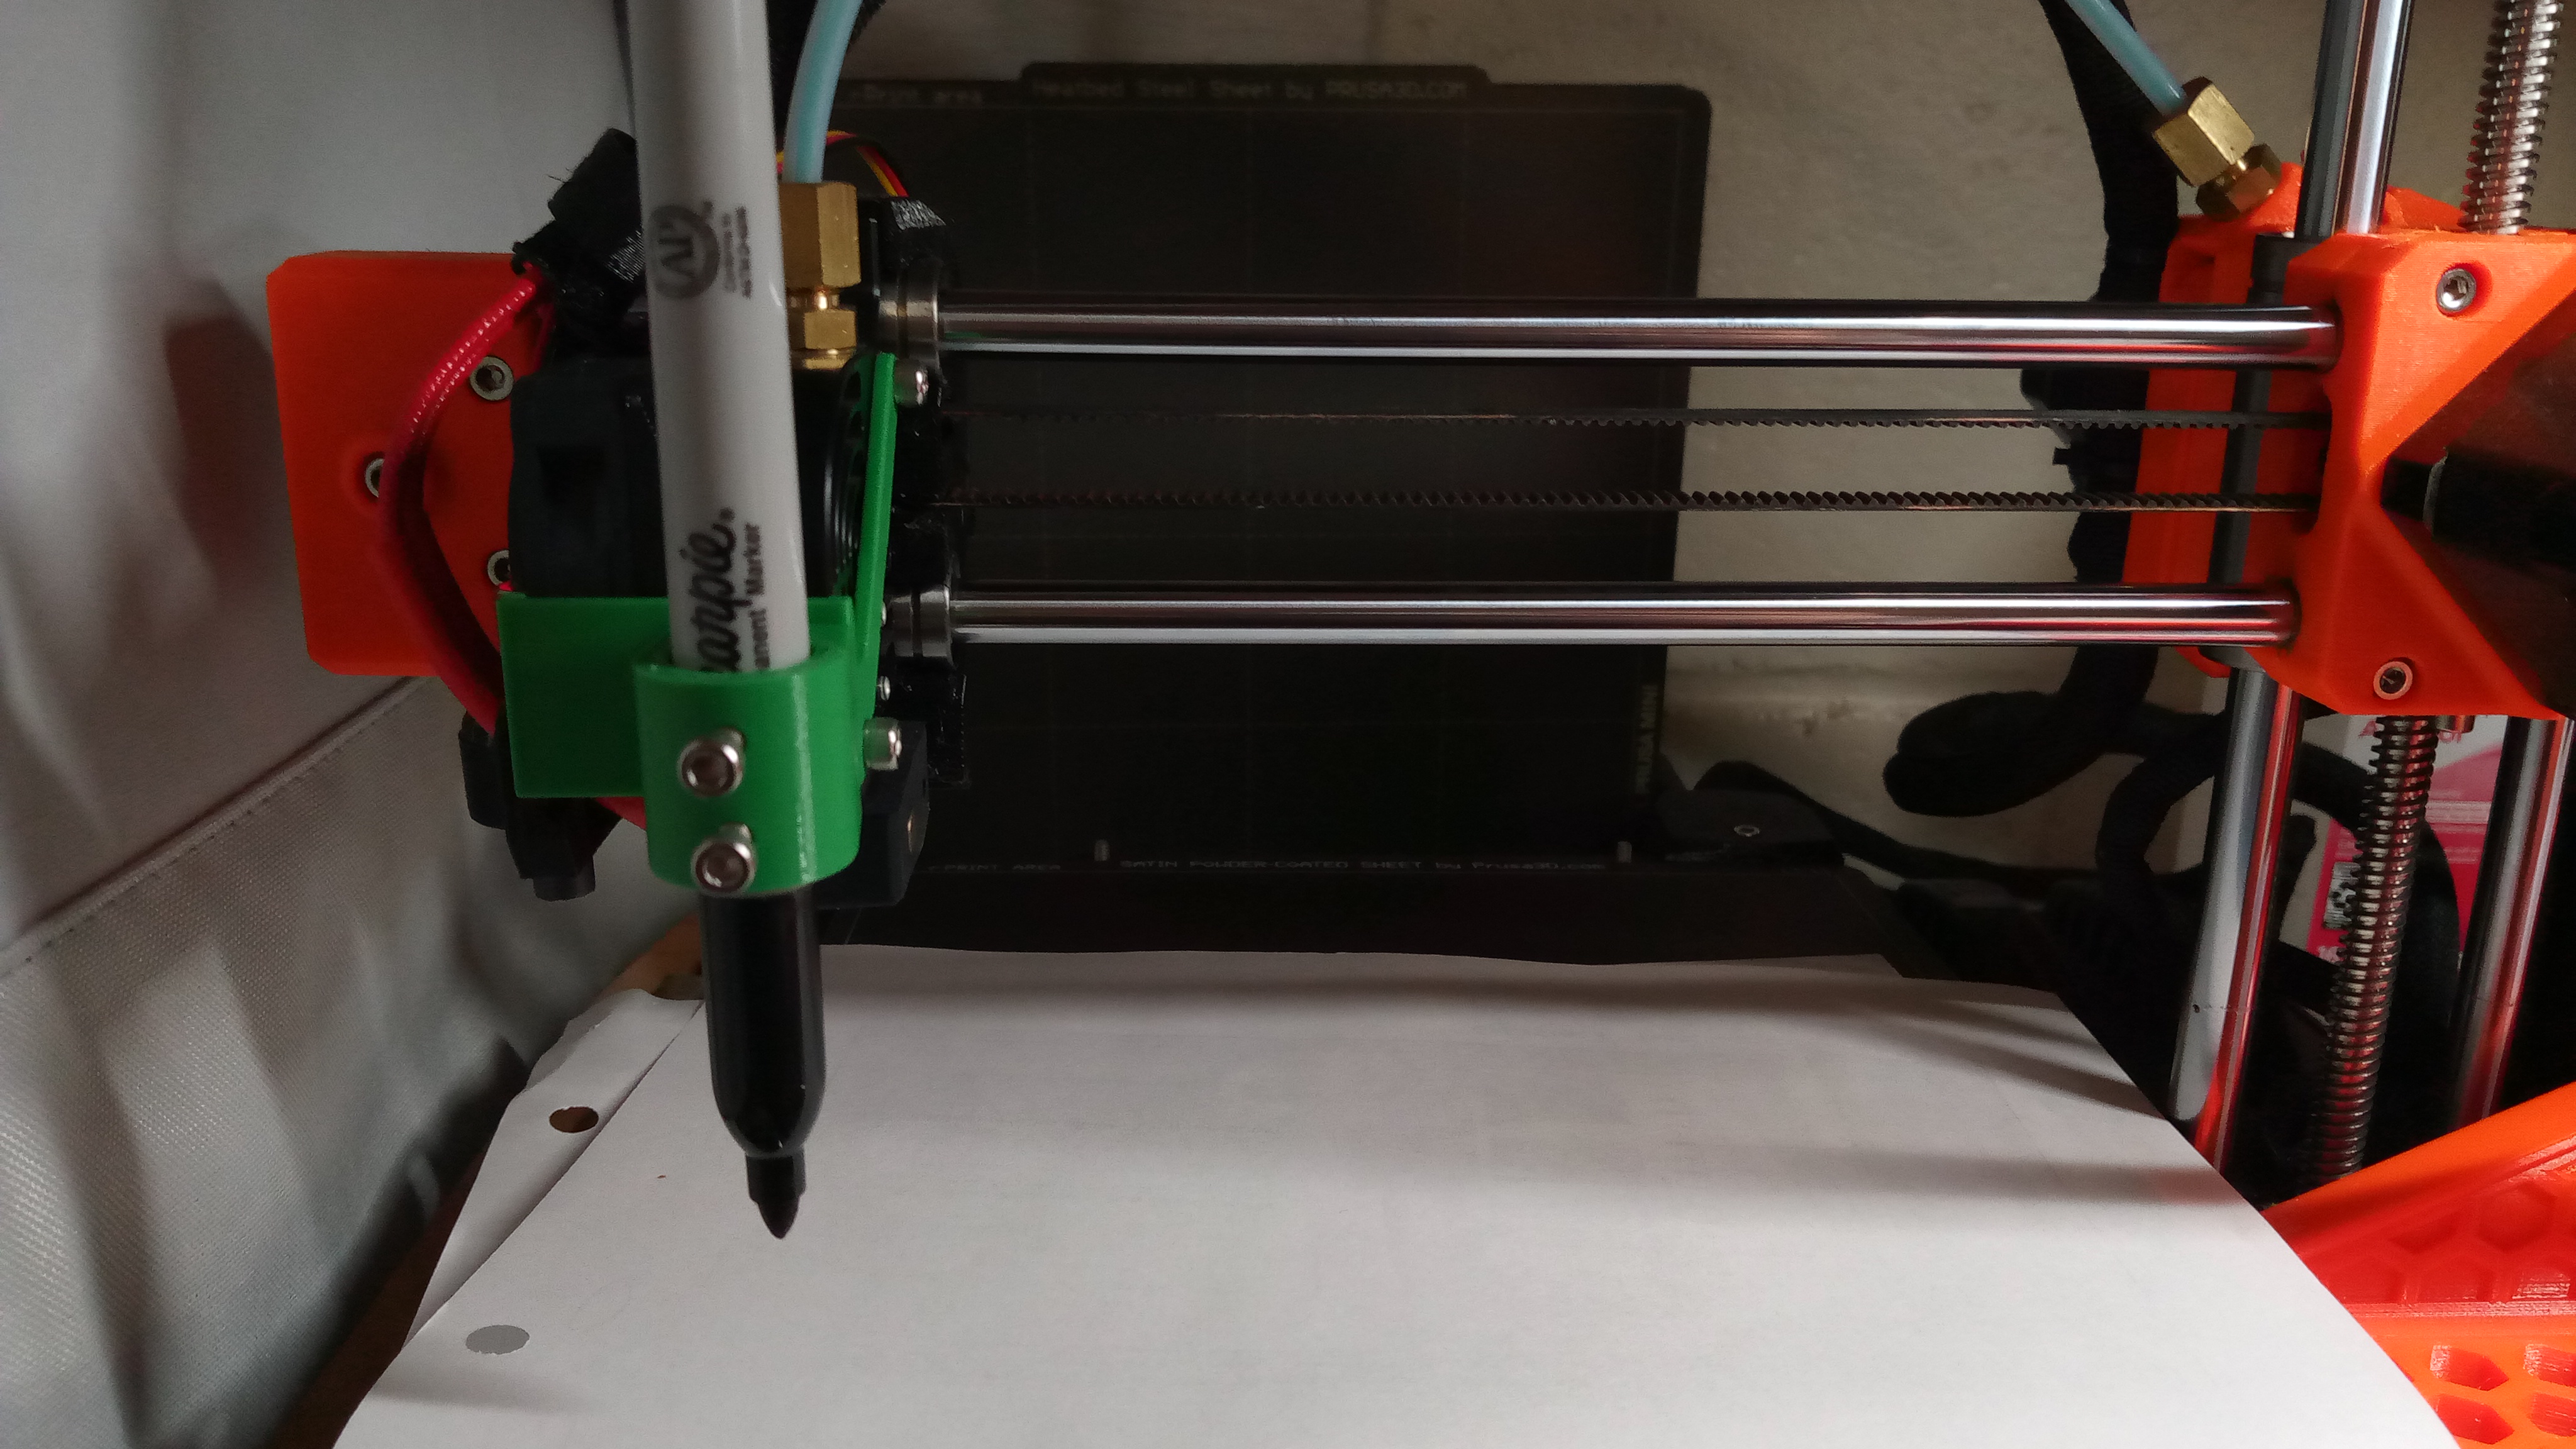
Prusa Mini Pen Plotter
prusaprinters
<p>Inspired by this <a href="https://www.youtube.com/watch?v=CuWZWAfBsm8">Teaching Tech Video</a> </p><p>I wanted to create a light weight pen holder to avoid putting too much stress on the cantilever print head of the Prusa Mini </p><h4>Materials</h4><p>Requires 4 M3x8 bolts, 2 to hold the mount to the print head heatsink and 2 to hold the pen.</p><p>The two pen holders are for standard pens and fine markers (10mm) or for the standard sharpie maker (12.5mm)</p><h3>Setup for drawing</h3><p>Drawings are made using <a href="https://inkscape.org/">Inkscape</a> and the <a href="https://jtechphotonics.com/?page_id=1980">J Tech Photonics</a> <a href="https://github.com/JTechPhotonics/J-Tech-Photonics-Laser-Tool">Inkscape Laser Plugin</a> </p><ol><li>Download and install Inkscape and the laser plugin (v2.5.1 used) (<a href="https://github.com/JTechPhotonics/J-Tech-Photonics-Laser-Tool#installation">JTech install instructions here</a>)</li><li>Download the required header.txt and footer.txt files from the “Other Files” section of the print downloads.</li><li>Create or import your drawing/writing/picture in Inkscape and make the items you want drawn paths using Path/Object to path (the teaching tech video also goes over turning objects into paths)<br><img><img src="https://media.printables.com/media/prints/252731/rich_content/eb055462-33bd-467e-a099-0568338bb2b0/object-to-path2.png#%7B%22uuid%22%3A%22b00915b3-f18c-4c70-90ce-a72e22f9bd4a%22%2C%22w%22%3A444%2C%22h%22%3A255%7D"><br> </li><li>under extensions use “Generate Laser Gcode” then “J Tech Community Laser Tool”<br><img src="https://media.printables.com/media/prints/252731/rich_content/f7e3b44a-5f61-45f7-b1e1-309b00b82ee3/laser-gcode.png#%7B%22uuid%22%3A%227d9e21ca-1204-42ee-8fba-2268086ee96b%22%2C%22w%22%3A862%2C%22h%22%3A379%7D"><br> </li><li>Set up the Laser Plugin according to the following images (JTech v2.5.1), replacing the placeholder file paths for the provided header and footer .txt files (from the other files section of the print files), and the file output with the appropriate path for your computer<br><br><img src="https://media.printables.com/media/prints/252731/rich_content/e61927b7-90d6-473e-b858-43fd16cfa84f/important-settings.png#%7B%22uuid%22%3A%224de3c498-d716-4e2f-ac8d-0fd4a3f039a8%22%2C%22w%22%3A706%2C%22h%22%3A510%7D"> <img src="https://media.printables.com/media/prints/252731/rich_content/b2da3c97-fef7-4d24-babe-d0e9cce826c1/advanced-settings.png#%7B%22uuid%22%3A%229991ba8c-5fdc-4157-baa4-1013b0821364%22%2C%22w%22%3A707%2C%22h%22%3A509%7D"> <img src="https://media.printables.com/media/prints/252731/rich_content/e4163900-76ac-4f4d-ba8b-97a8a3f969ec/custom-header-and-footer.png#%7B%22uuid%22%3A%22f6af7175-77d9-4bd8-b152-18d958af16a1%22%2C%22w%22%3A698%2C%22h%22%3A508%7D"> <img src="https://media.printables.com/media/prints/252731/rich_content/20c93c63-3e81-41c1-874b-434ba5935243/coordinate-system-and-transformations.png#%7B%22uuid%22%3A%229086b967-b72d-4f94-a05b-74934a215703%22%2C%22w%22%3A707%2C%22h%22%3A505%7D"><br> </li><li>Click apply in the LASER plugin and load the created G-code onto your mini via whatever method you use. </li><li>Place your paper on the mini print sheet. Maximum print area is 180 x 140mm due to the 40mm Y offset caused by the adapter and secure it using your method of choice (tape, magnets, etc.).</li><li>Prepare your pen for drawing </li><li>After starting the G-code and after homing and moving to (0,0) (drawing area, front left corner of the printer) you have 20 seconds to install and set the pen level by setting it on the paper in the corner. <ol><li>After the first drawing, the pen height can be measured and marked to make subsequent setup easier and faster</li></ol></li><li>Let the drawing complete and you have your fancy plotted drawing.</li></ol><h3>Notes</h3><ul><li>Does not have auto bed levelling however should you wish to turn it on, or have bed level issues, the header has the bed levelling commented out in the “Header.txt” file so if needed just delete the ‘ ; ’ in front of the 'G29' code.</li><li>If you wish the print head to be lower for reduced torque on the pen, the Z10 in the header.txt file and “tool power command” can be changed to your desired height.</li><li>I am not sure of the best way to do colour changes using this method, but it would likely require several g-code sets and changing the pen between without moving the paper. However another person created <a href="https://www.printables.com/model/963-multicolors-2d-plotter-adapter">this</a> and the subsequent prusaslicer ini file. however I am not quite knowledgeable enough with gcode and prusaslicer to make the necessary adjustments to it to make it work on the mini (plus I prefer to do it directly from inkscape rather than using an intermediary cad program and then the slicer)</li><li>Changing layer height will change how well the pen holds on to the wedge mount. Larger layer heights will grab on the layer lines but will not go down as far.</li></ul><p> </p><h3>Caution</h3><p>You can likely leave the adapter on full time while printing normally, however as it goes accross the heat sink I would suggest removing it when it is not used or printing it with a high temperature material if not.</p>
With this file you will be able to print Prusa Mini Pen Plotter with your 3D printer. Click on the button and save the file on your computer to work, edit or customize your design. You can also find more 3D designs for printers on Prusa Mini Pen Plotter.
