Prusa Mini Octopi add-on
prusaprinters
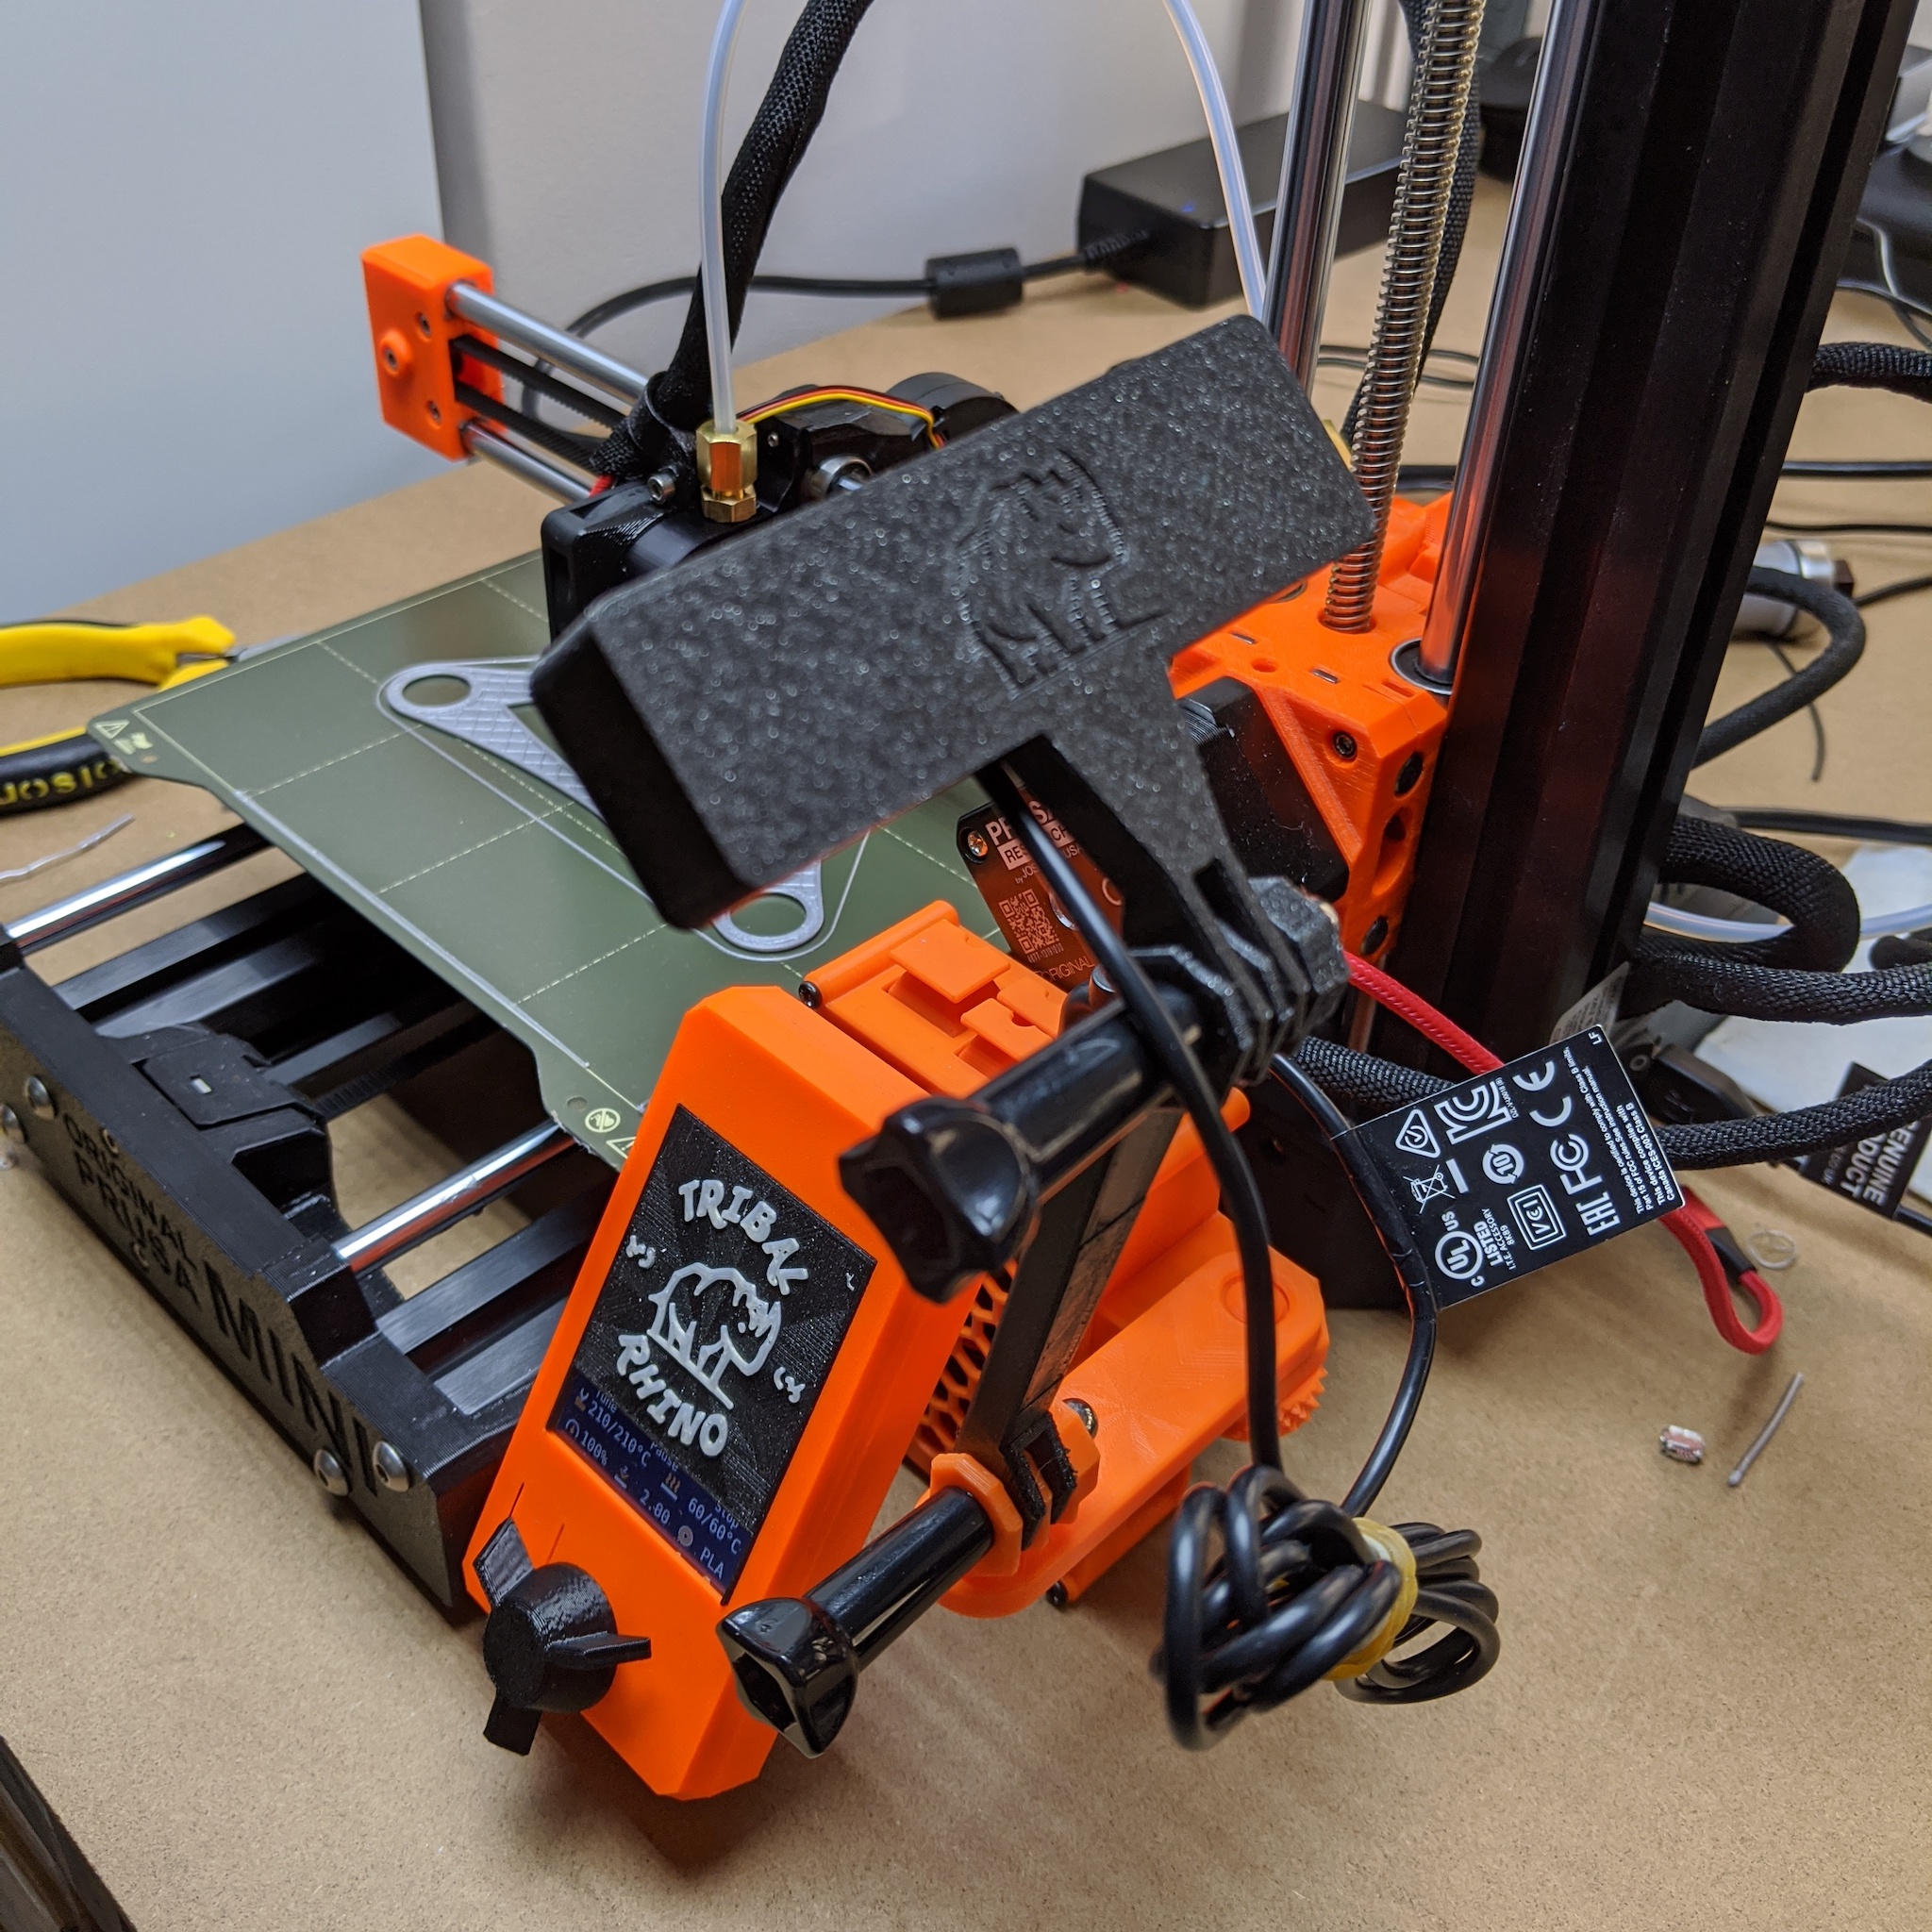
<p>My other instances of OctoPi are a messy affair of cables and dragging things about. Wouldn't it be nice if everything attached to the printer with short cables... Why, yes Nigel, it would :) Tada Octopi on a Raspberry Pi 4B, attached to the Mini frame with a Logitech C270 webcam and a 30cm USB mico cable attached to the printer... Ok, I can't do anything about the power cable. Sorry :) The mounting arm is also the right length to get great side views for Octolapse, so that makes up to cable management, right? :)</p> <h3>Print instructions</h3><p>You will need a Raspberry Pi 4B. A 3 will not fit at all, but the 4 is well worth the upgrade for near instant upload and print start and near zero lag on the stream. The board is mounted inside with M2.6 screws (self-tapping 4-6mm long are fine), and the case is closed with M3 screws (self-tapping 4-6mm long is also fine)</p> <p>You will also need a Logitech C270 camera and disassemble it to the board. There are lots of YouTube about it, and it isn't too tricky. The board is mounted with M2 screws (self-tapping 4-6mm is good) and the case is closed with M2.6 screws (self-tapping 4-6mm long are fine)</p> <p>You will also need 2 GoPro bolts and end caps for the camera mount.</p> <p>The case is attached to the frame with standard T-Slot nuts and bolts as you would get for the 3030 extrusions. I have the drop in t-nuts, and the 8mm bolts and they are fine but 10mm are better.</p> <p>If you push the base as close to the X-axis stepper as you can get it, a 30cm USB cable will fit nicely without snagging on anything.</p> <p>The plug covers mean you won't get dust in the ports as they are upright.</p>
With this file you will be able to print Prusa Mini Octopi add-on with your 3D printer. Click on the button and save the file on your computer to work, edit or customize your design. You can also find more 3D designs for printers on Prusa Mini Octopi add-on.
