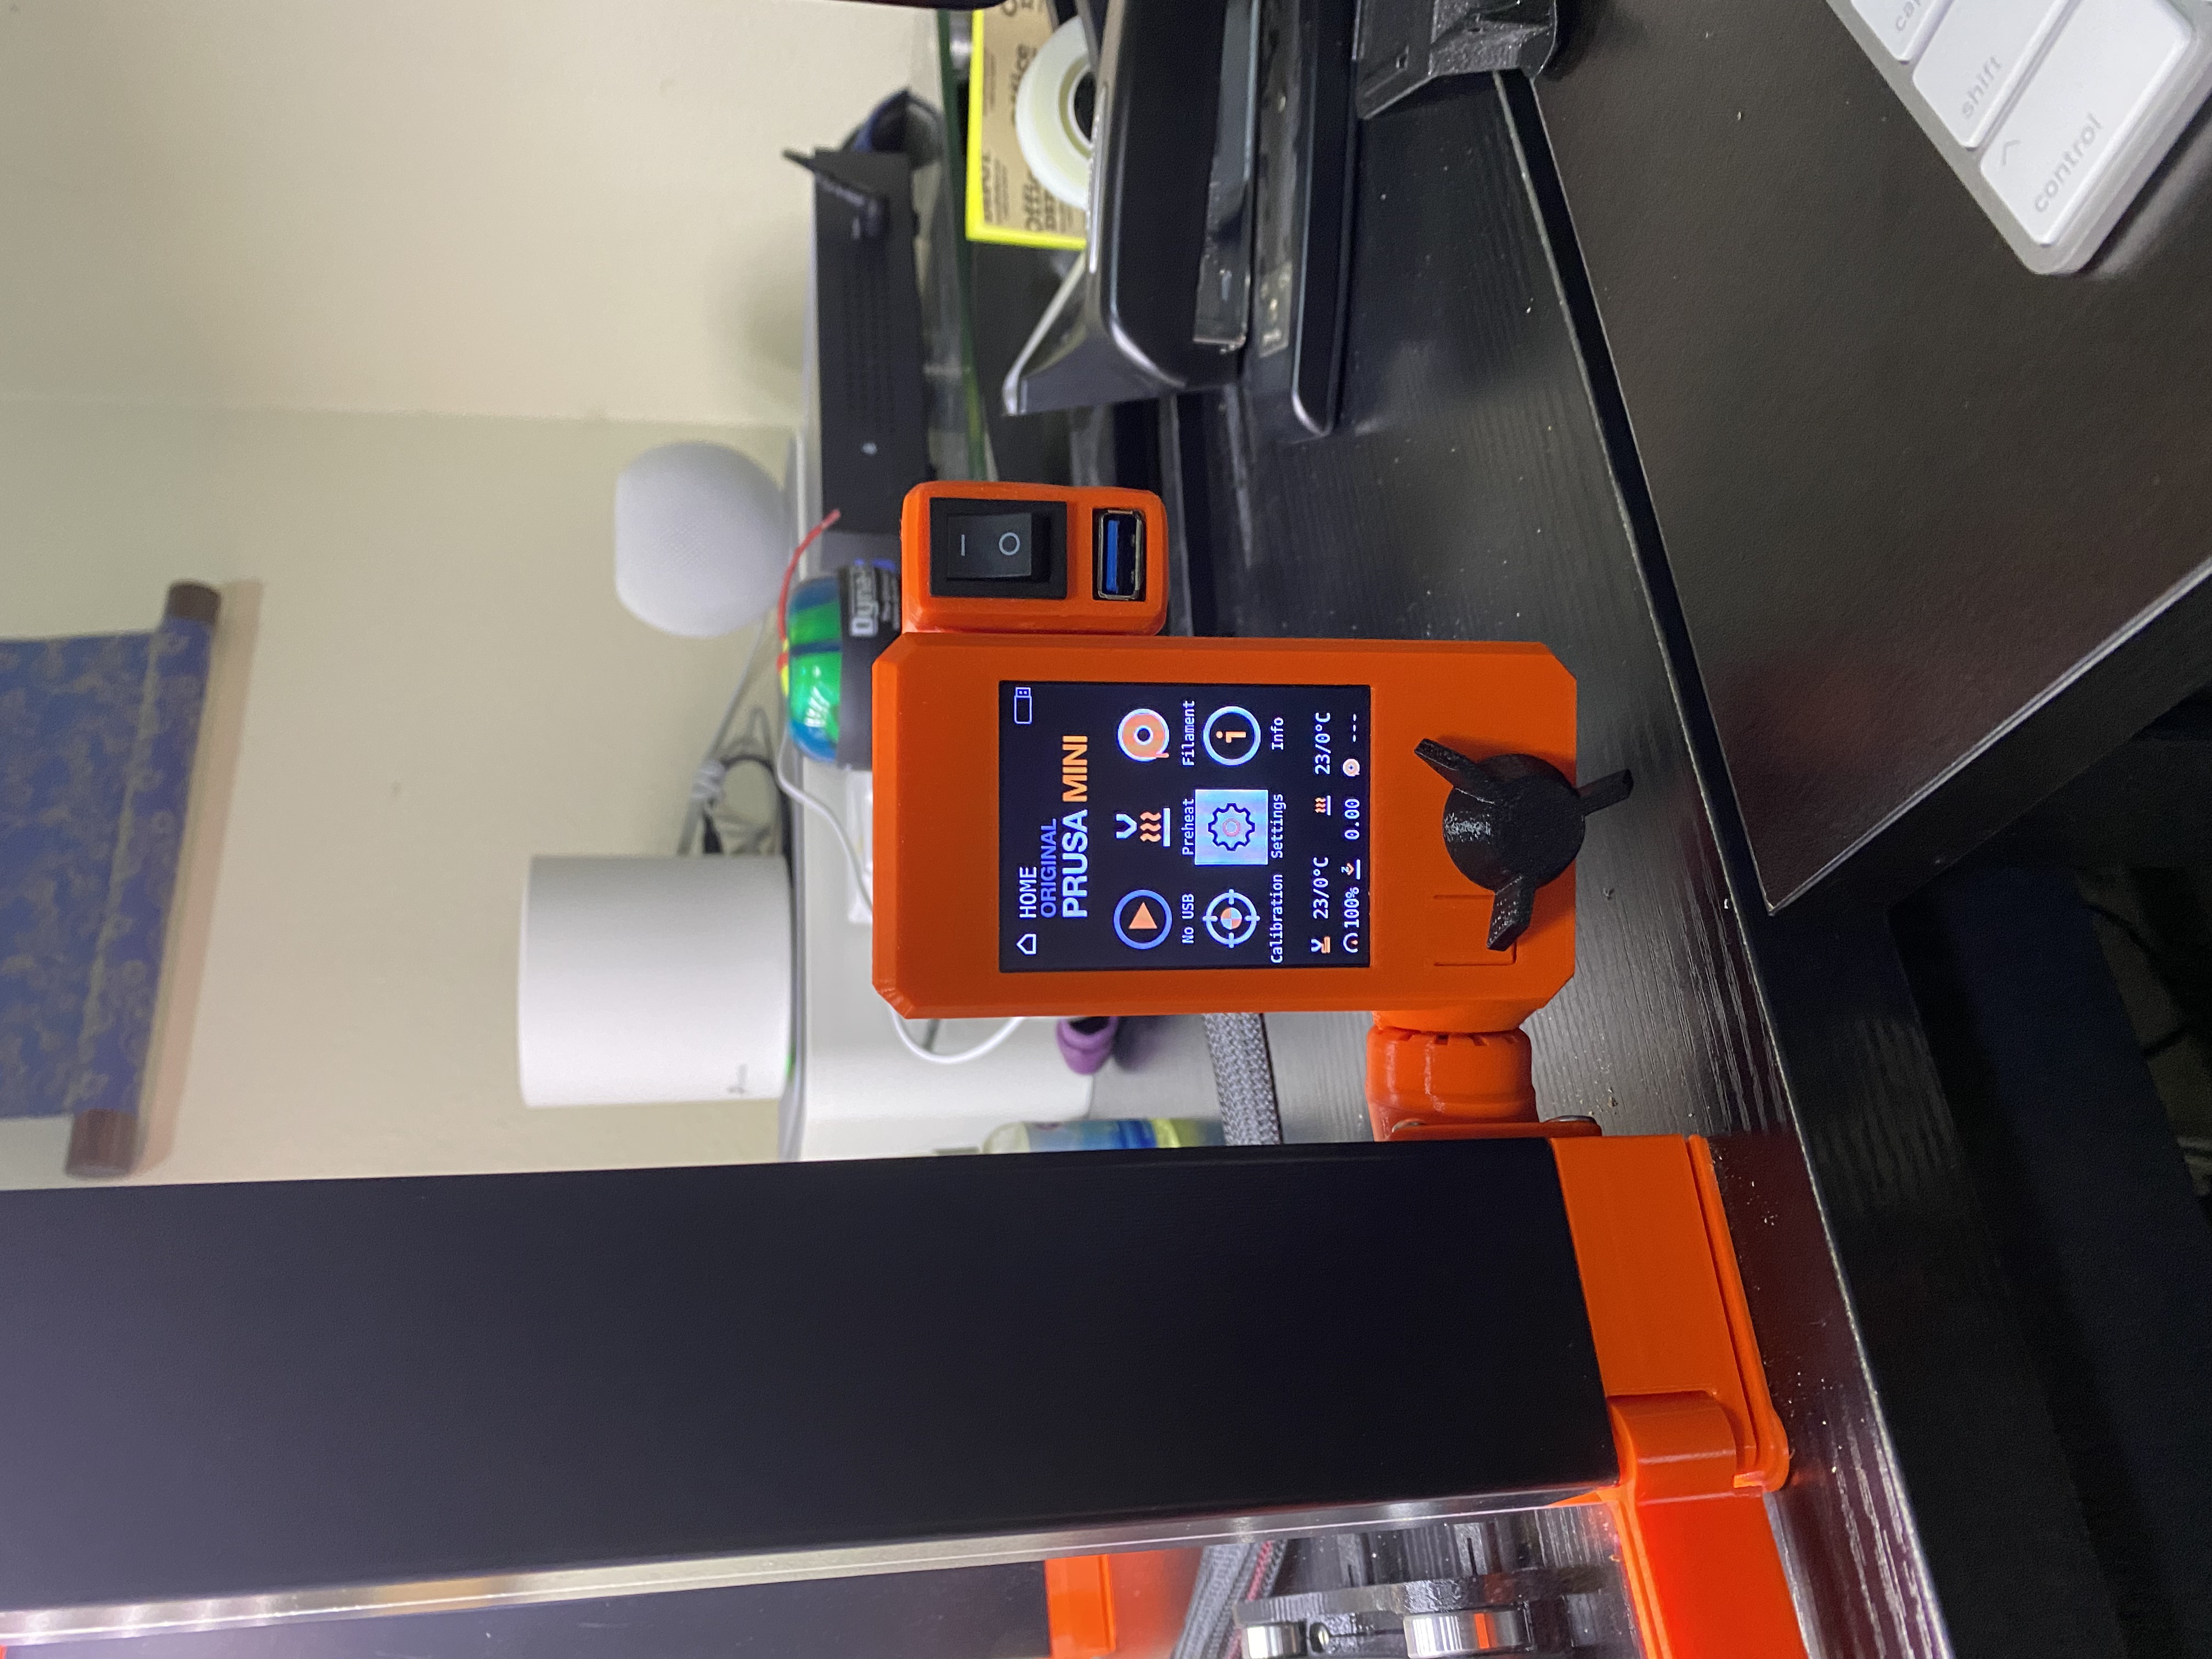
Prusa Mini External enclosure mount
prusaprinters
<p>I wanted to control my mini without having to open the enclosure. Some extra pieces to make this build work:</p><p>2.5 foot LCD ribbon Cable, I made my own. You can try this 1meter cable:</p><p><a href="https://www.amazon.com/uxcell-Ribbon-Connector-2-54mm-Length/dp/B07S1W1KW3">https://www.amazon.com/uxcell-Ribbon-Connector-2-54mm-Length/dp/B07S1W1KW3</a> </p><p>19mm X 24mm grommet to run cables back into the case.</p><p>The switch extension : <a href="https://www.prusaprinters.org/prints/46862-prusa-mini-lcd-back-cover-extension-usbswitch/comments#comment-168143">https://www.prusaprinters.org/prints/46862-prusa-mini-lcd-back-cover-extension-usbswitch/comments#comment-168143</a></p><p>You will need to use some CA glue to put the mount and its base together. Note: the keying is not asymmetric, so play with the fit before gluing to get a feel for the correct orientation. </p><p> </p><p> </p>
With this file you will be able to print Prusa Mini External enclosure mount with your 3D printer. Click on the button and save the file on your computer to work, edit or customize your design. You can also find more 3D designs for printers on Prusa Mini External enclosure mount.
