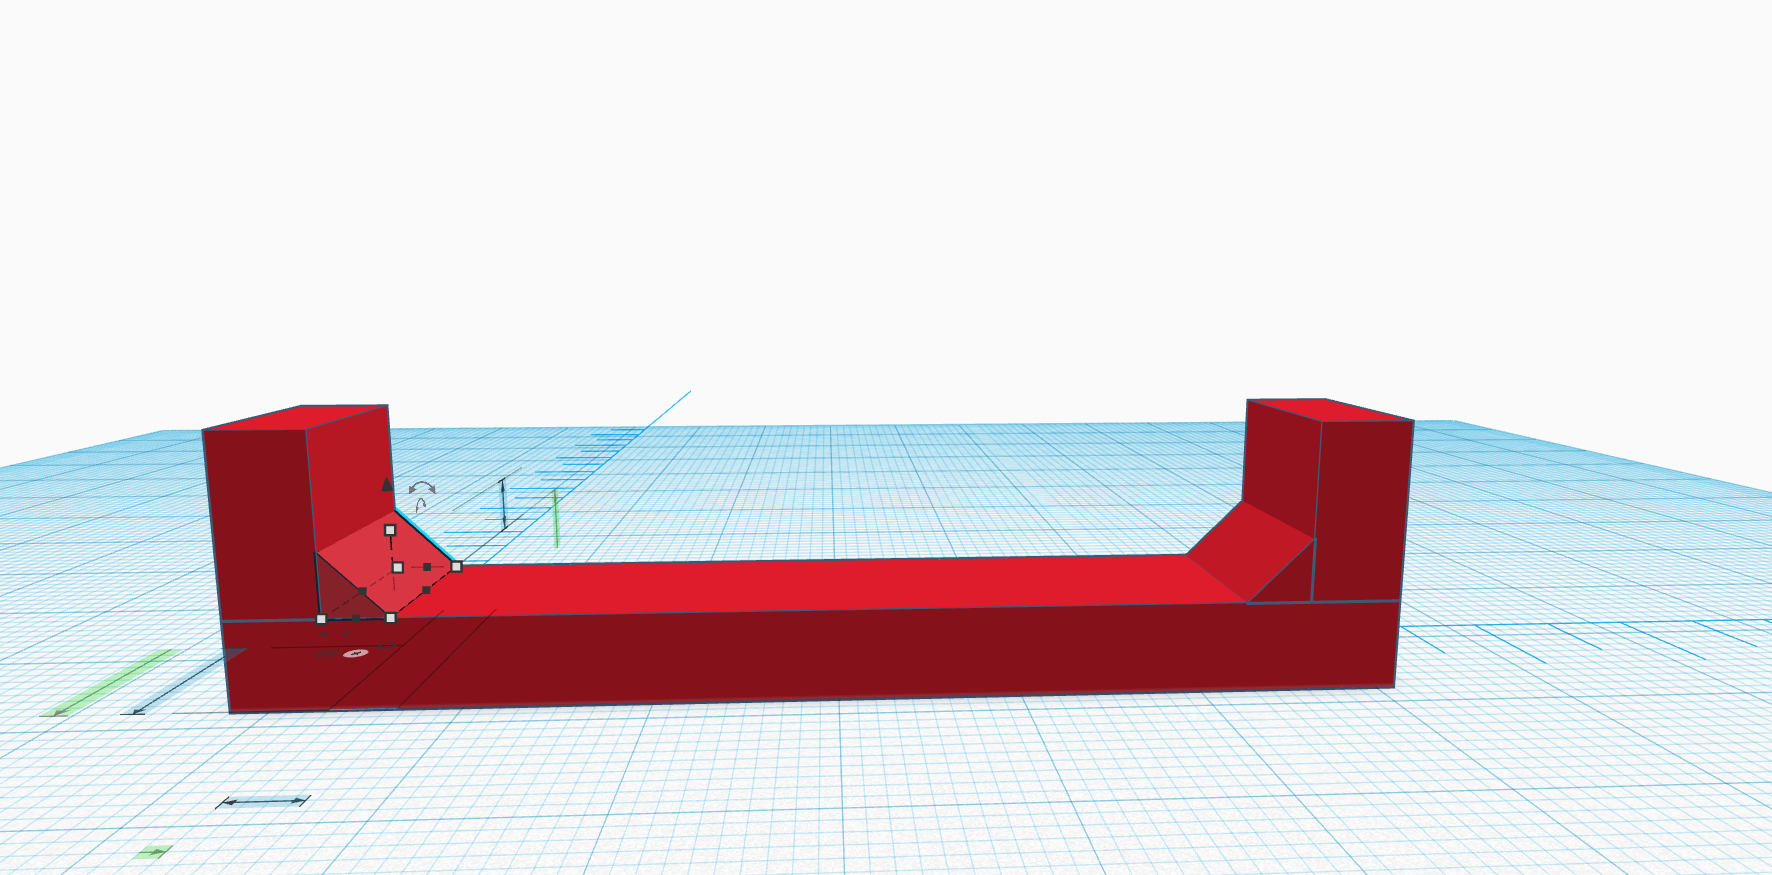
Prusa Mini Bondtech Extruder Z-Axis Self-test Spacer
prusaprinters
<p>2022-01-24 Update: Found out that this print is not needed anymore. In the latest firmware update you can change the Z-axis length. Go to Settings > press and hold HW Setup > Z Axis Length > increase 185 to 190. It may be a different value if you have a fystec clone of the bondtech extruder. </p><p>________________________________________________________________________________________________________________</p><p>The Prusa Mini z-axis self test will fail when using the Bondtech extruder because it is slightly shorter than the stock extruder. The z-axis will continue about 5mm pass the point where the software expects the resistance/collision. This spacer will sit on the Bondtech extruder and you can remove it whenever the test are done. </p><p>I got the idea from rickyh7 on the following reddit thread. </p><p><a href="https://www.reddit.com/r/prusa3d/comments/mtsquy/prusa_mini_z_axis_self_test_fails/gv26h0k?utm_source=share&utm_medium=web2x&context=3">https://www.reddit.com/r/prusa3d/comments/mtsquy/prusa_mini_z_axis_self_test_fails/gv26h0k?utm_source=share&utm_medium=web2x&context=3</a> </p>
With this file you will be able to print Prusa Mini Bondtech Extruder Z-Axis Self-test Spacer with your 3D printer. Click on the button and save the file on your computer to work, edit or customize your design. You can also find more 3D designs for printers on Prusa Mini Bondtech Extruder Z-Axis Self-test Spacer.
