Prusa Lack Table Front Panel System
prusaprinters
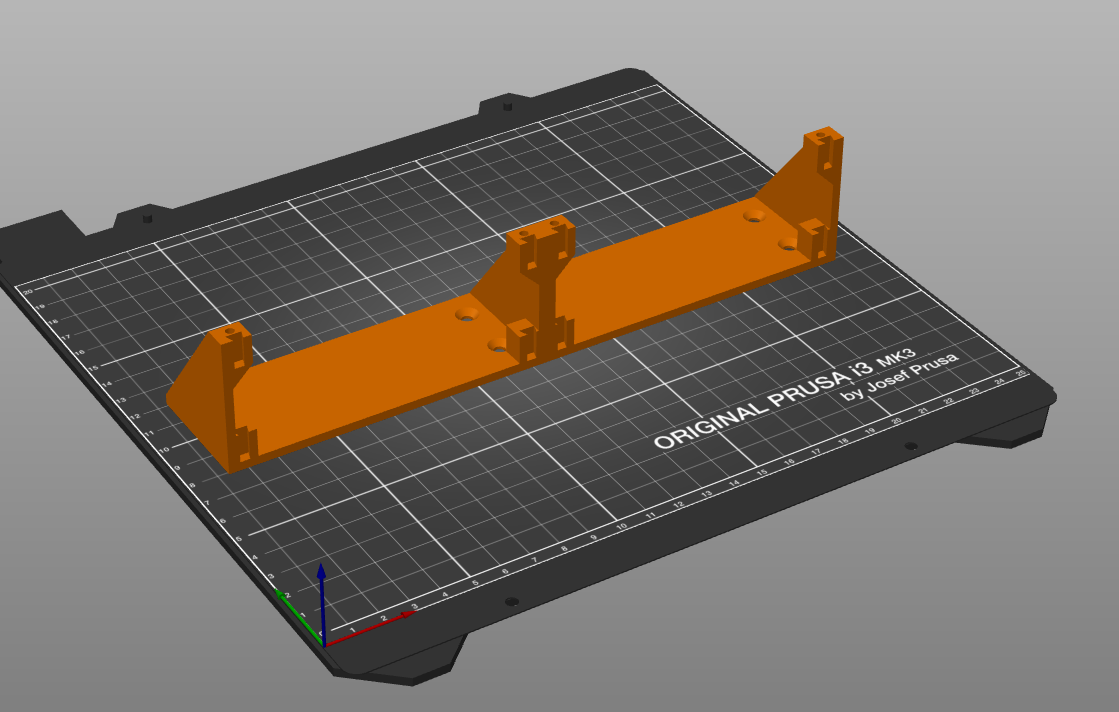
<p>This is a remix of a project on Thingiverse (<a href="http://www.thingiverse.com/thing:3551411">http://www.thingiverse.com/thing:3551411</a>) which I found, but I ended up needing a bit more versatility because my panels needed heavily customized. Im also done putting things up on Thingiverse now, so it is going here.</p> <p>UPDATE: Oct 10, 2020 - I put up new v5 files... gave the brackets a little more tolerance so the panels side in and out better and also shortened the entire width by 1mm, so if you have v4 files, stick with those or switch to v5, they are .5mm different if you care. On the Prusa logo panels, I added a few different alignments and also removed the 'by Josef Prusa' from the bottom as it was too small to really be read easily. Also added .gcode files for the v5's.</p> <p>This is a modular panel system for Lack Table enclosures. It consists of a 'Bracket' in which two situated side by side exactly fill the gap between the Lack table legs, so they are called 'Half Lack Brackets'. The bracket has a mounting system so you can either use my pre-designed panels, or customized your own (hint: download a blank and then go to town in OpenSCAD). The HalfLack Brackets come in two flavors.. one version can hold two Quarter Panels and the other version can hold a single Half Panel. So you have lots of options.</p> <p>The bracket has an M2 screw hole so that you can make sure your panels don't slide out after install. This screw doesn't need to be tight, just snug, don't strip it out.</p> <p>Feel free to give me some feedback and let me know how this works out... I will take more pictures as I get my assembly done as well.</p> <h3>Print instructions</h3><p>Prusament PLA 0.20mm Layer, Quality Setting, 40% infill, 6 layer skirt.</p> <p>I tried printing this in both PETG and PLA and I actually like the PLA better. It is stiffer and doesn't grab as much on itself for the sliding action. PLA is also better for manual tooling of printed panesl (drilling, filing, etc). I printed with 0.20 layers and I also used a 6 layer skirt because you <em>really</em> want to make sure that all of these prints are flat and don't pull up in the corners. If you get your edges pulled up, the sliding action will be challenging and you will have to do some fine sanding for your sanity and to keep the pieces from locking together. Also, I printed these with 40% infill so they are strong enough... it seems to work well.</p> <p>The bracket is completely hidden once panels are installed so you can print it with any color technically. I did my first prints with Prusa Orange on the bracket and the went over to Galaxy black for the panels... now Im out of both unfortunately so I can't print more until I can get more. I think that Prusament PLA Jet Black would match the Lack table finish best, but alas, Im out of that too until I can order more. Prusa, you can send me more if you want! :-)</p> <p>Smooth vs Textured Bed - I used the smooth sheet for the base bracket for best adhesion but I used a textured sheet for the panels since they print face down and it gives a better finish with a textured sheet. The Prusa Logo panels have a color change in them @ 1.00mm... the bridging has also been hard set to 45 degrees to minimize sagging. Be careful on these if your textured bed doesn't hold PLA well, give your bed a good solid cleaning with Dawn dishwashing soap and scrub it with a nylon scrubber, dry and print, don't touch it and your PLA should stay.</p> <p>As I noted in the description, put a 6 layer skirt to help keep the corners from pulling up and keep that enclosure closed so the temp on the edges is consistent.</p>
With this file you will be able to print Prusa Lack Table Front Panel System with your 3D printer. Click on the button and save the file on your computer to work, edit or customize your design. You can also find more 3D designs for printers on Prusa Lack Table Front Panel System.