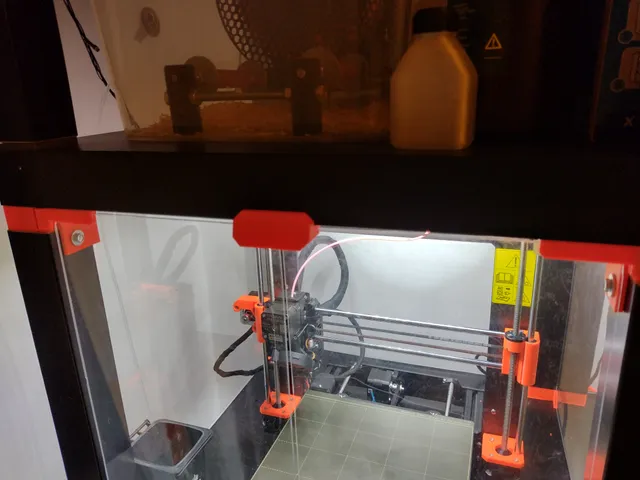
Prusa lack enclosure knob
prusaprinters
These are an alternative to the original knobs which I like having them on the top and I like the hexagonal look.You will need some 5x4 mm cylindrical neodymium magnets, a 5 mm wood drill bit and some superglue or hot glue or whatever you like.Print the parts however you like, you don't need supports if you orient it like in the 3rd image. There is only one STL file because the parts are mirrored, you can do that easily in PrusaSlicer with the mirror command.Use the printed parts as guides for drilling the holes in the Lack table. I made some marks on the parts with a pencil from side to side and transfer everything on the table.Drill the holes in the table as straight as possible, add a bit of glue and insert the magnets.Insert the magnets in the parts. Double check the polarity before adding glue and inserting the magnets.This is the first release, some comments and advise would be appreciated. I can quickly make adjustments on the model.
With this file you will be able to print Prusa lack enclosure knob with your 3D printer. Click on the button and save the file on your computer to work, edit or customize your design. You can also find more 3D designs for printers on Prusa lack enclosure knob.
