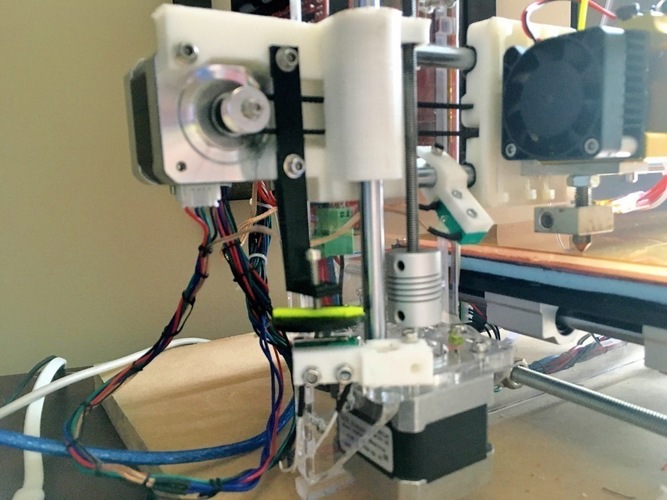
Prusa I3 Z Axis Adjuster
pinshape
You will need a pair of 3 x 20 mm adjustment screws to finish the job. I drilled a mounting hole in my existing Z endstop so it can be secured onto the stepper motor plate. To accommodate the limit switch, I had to file a square area on the other side. Using PLA is recommended because it's harder and more stable than ABS. When installing the arrow component, make sure you start the threads so the screw goes in straight. This was done while still on the bed. Once threaded onto the adjustment screw, allow the screw to protrude about a quarter inch past the disc, ensuring only the screw engages the limit switch. Inserting an M600 command at layer height Z=2.2 allows you to change filament colors for a contrasting arrow color. I printed this model with .2mm layers using Black and Yellow PLA. An M600 command was inserted at 2.2mm to pause the print and switch filament.
With this file you will be able to print Prusa I3 Z Axis Adjuster with your 3D printer. Click on the button and save the file on your computer to work, edit or customize your design. You can also find more 3D designs for printers on Prusa I3 Z Axis Adjuster.
