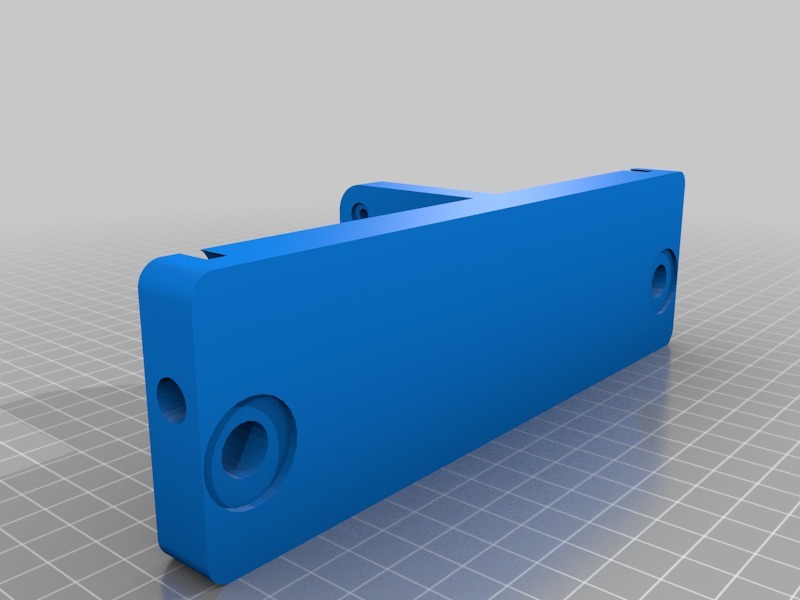
Prusa i3 Y Axis
thingiverse
I upgraded my Y corner mounts and threaded rod with custom printed parts to give it a sleeker look and a more streamlined design. The hole through the model allows for an 8mm rod, which adds considerable strength and stability to the overall structure. To ensure durability, I opted for a 10% infill density, and so far, the parts have held up remarkably well over several years without any signs of cracking or degradation. However, I noticed that the printed parts are slightly overweight, so I plan to reprint them with a thinner model to see how they perform in terms of structural integrity. Fortunately, the Y motor and endstop can be positioned on either side of the machine, giving me flexibility in my design choices. Additionally, I modified the bed belt mount from its original configuration to ensure that it hits the end stop correctly. My printer is set up with extended rods, allowing my hotend to print right up against the bed's outer corners for maximum print area utilization. I used 3/8" Brass washers sourced from Home Depot, which have proven to be a reliable choice. It's essential to ensure that your bed is securely fastened during printing, or you'll end up with results like those shown in the accompanying picture.
With this file you will be able to print Prusa i3 Y Axis with your 3D printer. Click on the button and save the file on your computer to work, edit or customize your design. You can also find more 3D designs for printers on Prusa i3 Y Axis .
