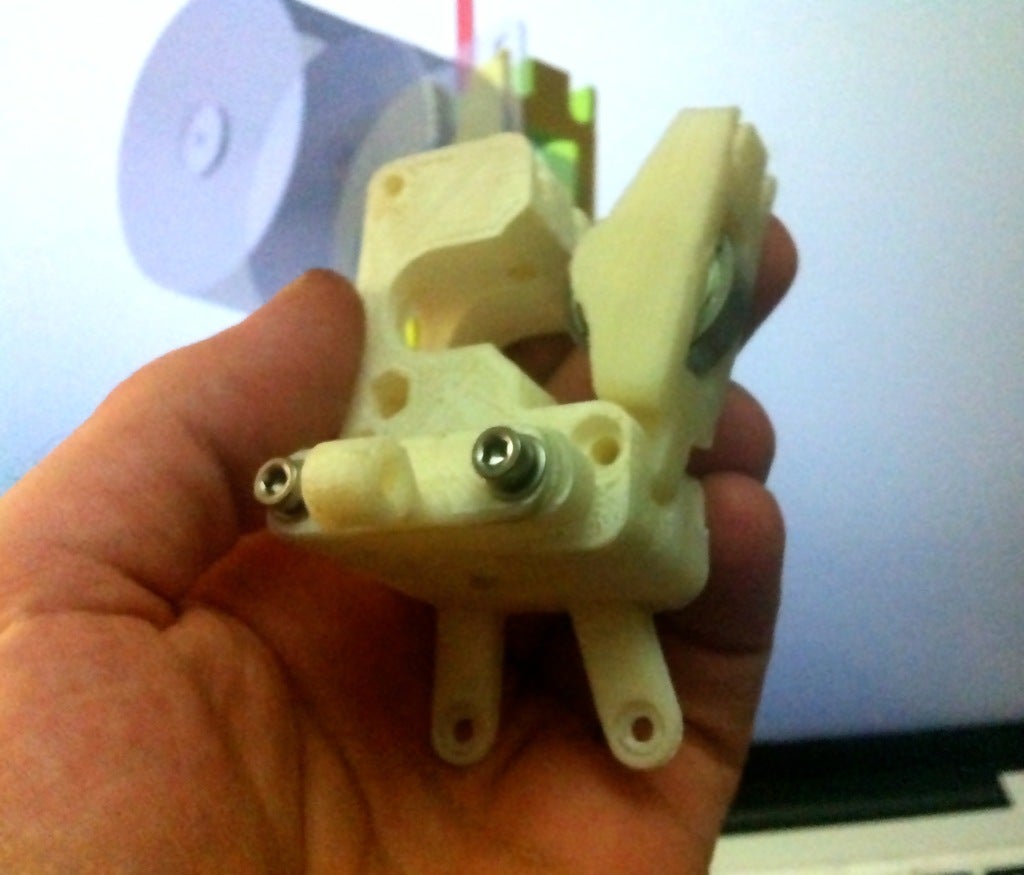
Prusa i3 "Tweety" Parametric Compact Extruder.
prusaprinters
<p>Gain a little extra height on your Prusa i3 with this simple direct drive extruder. Requires an inverted "mini" x-carriage or you can use the included <a href="/prints/42474">Universal 24-to-30mm GT2 X-Carriage</a>.</p> <p><strong>Stabilizer</strong></p> <p>The optional "nozzle stabilizer" was added to limit how far the hot-end may be pulled downward if it collides with an object while the Y bed is moving from front-to-back. This is a weak point of vertical x-carriage setups like the i3. The nozzle acts like a lever, pulling the assembly downwards. For this reason most fatal "head crashes" occur when the bed is moving in the minus-Y direction. By limiting the movement of the hot-end closer to the platform, the stabilizer should improve reliability in cases where a rising overhang or small blob could sabotage a whole print.</p> <p><strong>Configuration</strong></p> <p>The SCAD, and the STLs included, are set up for a 2engineers 50:1 geared stepper motor, MK7 filament drive gear, 3mm filament, and a 608 idler bearing. The SCAD is highly parametric, so it should be relatively easy to adapt for your specific motor and dimensional preferences.</p> <p><strong>Video</strong></p> <ul> <li> <figure class="media"> <oembed url="http://www.youtube.com/watch?v=TEPwp8cAwcQ"></oembed> </figure> </li> </ul> <p><strong>Project Home</strong></p> <ul> <li><a href="https://github.com/thinkyhead/tweety-extruder">https://github.com/thinkyhead/tweety-extruder</a></li> </ul> <h3>Print instructions</h3><p><strong>Assembly</strong></p> <p>Print the parts, then connect them in the following order:</p> <ul> <li>First: Insert M3 locknuts deep into the nut traps in the extruder body. </li> <li>Assemble the idler with the axle and a 608 bearing. </li> <li>Attach the idler to the body with an M3x20mm bolt or 3mm filament. </li> <li>Add idler tensioner shoulder bolts, 2x M3x30mm, with nuts </li> <li>Attach the motor to the body with 2x M3x25mm bolts </li> <li>Insert the hot-end into the extruder. </li> <li>Add a short M3 bolt to the fan mounting hinge. </li> <li>Attach the fan to the fan mount or fan duct. </li> <li>Attach the hot-end clamp and fan mount with 2x M3x30mm bolts. </li> <li>Attach the assembled extruder to the x-carriage with 3x short M3 bolts. </li> </ul> <p><strong>Customizing the SCAD</strong></p> <p>The SCAD file has lots of tunable parameters. You can change the filament width, motor size, idler axle offset, mounting height, and much more. Most parameters can be altered and produce a usable object, but there may be a few that create some weird results.</p> <p>As usual, all the parts that will come into contact with the hot-end must be printed in ABS (or any heat-tolerant material).</p>
With this file you will be able to print Prusa i3 "Tweety" Parametric Compact Extruder. with your 3D printer. Click on the button and save the file on your computer to work, edit or customize your design. You can also find more 3D designs for printers on Prusa i3 "Tweety" Parametric Compact Extruder..
