Prusa i3 Style Printer Z-Axis Leveling and Squaring Tool
thingiverse
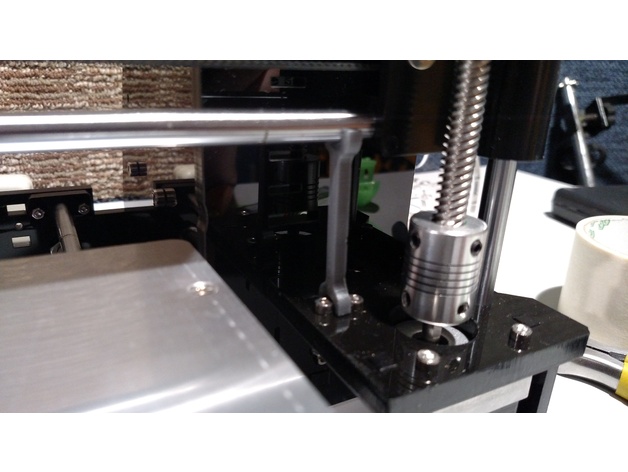
I designed these leveling assist shims for my HICTOP Prusa i3 style printer, which was struggling to ensure the X-Axis was square to the build plate due to the difficulty of keeping the two lead screw bearings equidistant from the motors. These shims fit onto the 8mm smooth rod and between the screws holding the z-axis motors to the frame. Here's how I level my i3 with these shims. First, lower the build plate as far as possible at all four screws. Next, raise the Z-axis enough to fit the shims under the smooth rod. Place a shim under each rod side, as shown in the pictures. Move the X-axis assembly on the z-axis as low as possible so that there's no gap between the rods and shims and the shims and frame. Move the Z-axis limit switch up so it's in contact with the X-axis assembly. Level the build plate using the standard note card method. Use firmware to move the Z-axis up 10mm, then remove the shims, auto-home, and you're done. This method ensures that your X-axis is perfectly square to the build plate and that the z-axis lead screw bearings are exactly equidistant from the motor frames. By using this method, I've achieved excellent adhesion and first-layer quality. Printer Settings: Printer: Tygrin Engineering DeltaBot Rafts: No Supports: No Resolution: .1mm Infill: 100% Notes: Printed with Hatchbox PLA on a custom Kossel Mini at 190C on a 60C build plate covered in BuildTak.
With this file you will be able to print Prusa i3 Style Printer Z-Axis Leveling and Squaring Tool with your 3D printer. Click on the button and save the file on your computer to work, edit or customize your design. You can also find more 3D designs for printers on Prusa i3 Style Printer Z-Axis Leveling and Squaring Tool.
