Prusa i3 steel EndStop Y axes
thingiverse
Fine-Tuning the Precision of Your Prusa i3's Z-Axis Mechanism For a flawless print quality, it's imperative that your Prusa i3's Y-axes endstops be accurately set. Inaccurate or loose settings can cause problems during printing, which ultimately compromise the structure and quality of your finished product. In this tutorial, you will learn how to calibrate and fine-tune your Y-axes endstops on a Prusa i3, a 3D printer renowned for its remarkable accuracy. To ensure smooth performance from your device, precision settings are a top priority. First, switch off the machine completely by pressing the button or power button, and allow it time to cool before starting. Failure to do this might lead to unforeseen accidents. Next, position the endstops securely in place and tighten their fasteners carefully, taking note not to overdo it; doing so can damage them irreparably. Your endstop sensors are incredibly precise tools that need regular maintenance to stay at their best. As you fine-tune your endstop, inspect for any potential issues like bent pins or dust accumulation, which must be cleared immediately to guarantee optimal results. Next, adjust the settings by tweaking them until your Z-Axis accurately stops in line with where the carriage reaches the end. When correctly set, the Y-axes should respond accordingly to commands given via software without displaying error messages that point to inconsistencies in machine positioning or axis synchronization issues stemming from faulty calibration during this delicate process.
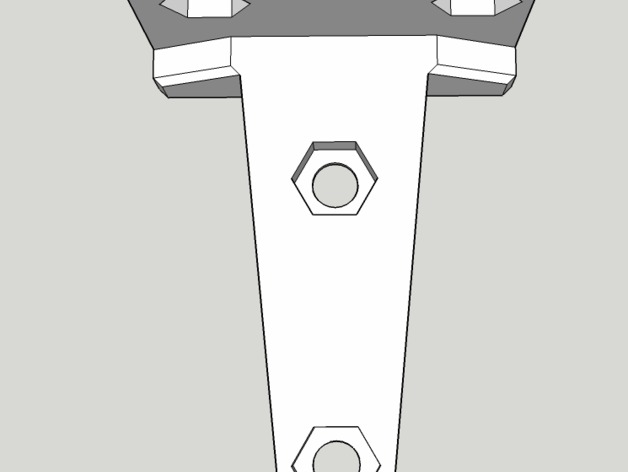
With this file you will be able to print Prusa i3 steel EndStop Y axes with your 3D printer. Click on the button and save the file on your computer to work, edit or customize your design. You can also find more 3D designs for printers on Prusa i3 steel EndStop Y axes.