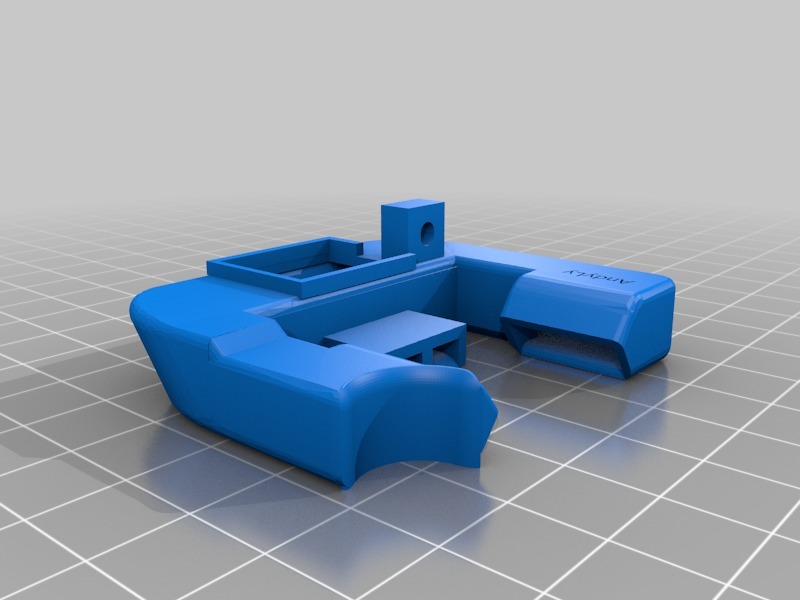
Prusa i3 mk3 Shroud Parts Cooling
thingiverse
After experimenting with several designs, I noticed that Shroud seems to distort and lose its shape over time. To address this issue, I've been refining my design to improve performance. The result is a more efficient and reliable product. Print in ABS for optimal results. Use support from the bed only. Infill at 10-20% for a strong and lightweight structure. Installation is straightforward: 1. Remove the turbo blower fan from the original Mk3 nozzle cooler. 2. Fit the Shroud in its place. I've conducted an angle test print, which has proven successful at angles between 30-75 degrees. In fact, it can even handle angles of up to 55-80 degrees with ease. Enjoy your improved printing experience!
With this file you will be able to print Prusa i3 mk3 Shroud Parts Cooling with your 3D printer. Click on the button and save the file on your computer to work, edit or customize your design. You can also find more 3D designs for printers on Prusa i3 mk3 Shroud Parts Cooling .
