Prusa i3 MK2 Simplify3D Bed Model STL (OpenSCAD)
thingiverse
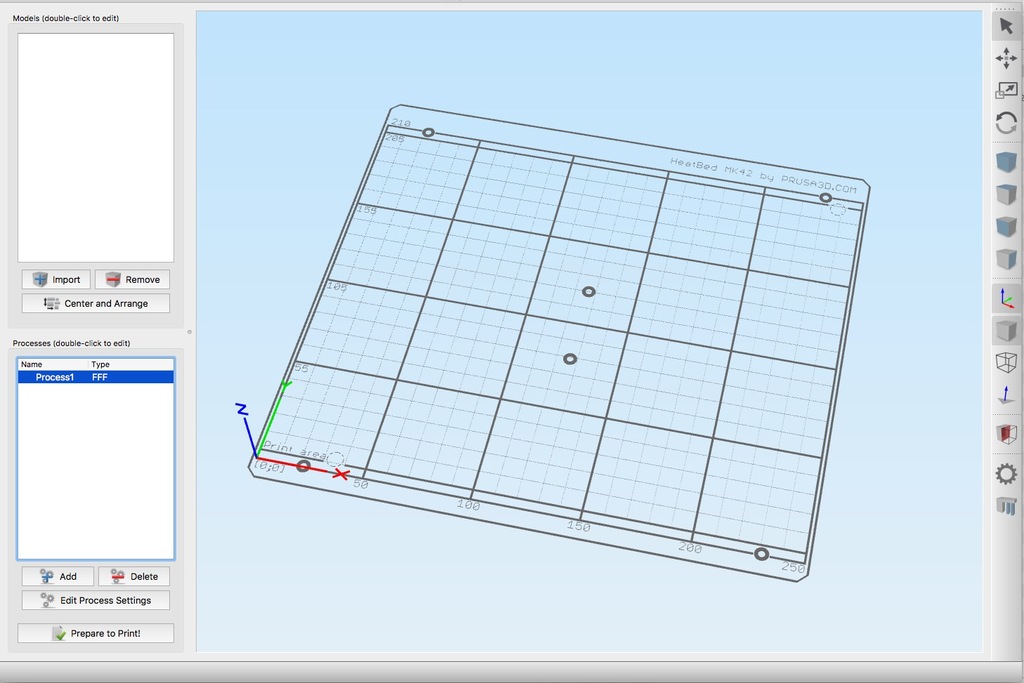
I've got some minor damage on my bed/PEI sheet that I'm trying to avoid. To make things easier, I've been looking into creating a custom bed model for Simplify3D so I can easily dodge problem areas when laying out pieces to be printed. While researching, I came across ayyourk's post on the Prusa forums and tweaked their code. You can find ayyourk's original post at https://shop.prusa3d.com/forum/software-archive--f87/mk2-silk-screen-for-simplify3d-t2101.html. Here are the changes I made: - I altered the drill holes to resemble those on my bed with an outer ring. - I added a fine grid that displays every 10mm. - I included a function to import a DXF file and add a graphic of PEI damage for areas you might want to avoid. (I've attached some samples of mine as references.) - I changed the z-height from 2 to 0.1. To install this in Simplify3D, follow these steps: 1. Export your printer profile from within Simplify3D by going to **File > Export FFF Profile**. 2. Edit the file in a text editor and change **overridePrinterModels** to **1** and **printerModelsOverride** to the name of the STL file without any path. 3. Go to ~/Library/Application Support/Simplify3D/S3D-Software/ and copy the STL of the bed there. 4. Open up Simplify3D and use **File > Import FFF Profile**. 5. In **Simplify3D > Preferences on the Visualisation Tab**, untick "Include Build Table In Virtual Environment". 6. Set the profile to the new one, and the bed will show. For more information, check out https://forum.simplify3d.com/viewtopic.php?f=8&t=5403. To draw 'PEI damage' onto the model: 1. Take a photo of your bed from directly above as square on as possible. 2. Open Autodesk Fusion360 and insert the bed STL by going to **Insert > Insert Mesh**. 3. Attach a canvas and pick the photo you took. 4. Right-click on the photo in the sidebar and use **Calibrate** to easily make it the correct size. 5. Create a sketch and use the line tool to draw around problem areas on the bed, ensuring the lines form a closed shape. 6. Once done, close the sketch. 7. Right-click on the sketch and save it as a DXF file. 8. Change the filename in the .scad source file. 9. Uncomment the '//pei_damage;' line about 25 lines below that. 10. In OpenSCAD, press F5 to preview it, then press F6 to render the file. 11. You can then export the file as an STL and use it for your printer bed model.
With this file you will be able to print Prusa i3 MK2 Simplify3D Bed Model STL (OpenSCAD) with your 3D printer. Click on the button and save the file on your computer to work, edit or customize your design. You can also find more 3D designs for printers on Prusa i3 MK2 Simplify3D Bed Model STL (OpenSCAD).
