PRUSA i3 Mk2 MOSFET Upgrade - NERDVille Guide
thingiverse
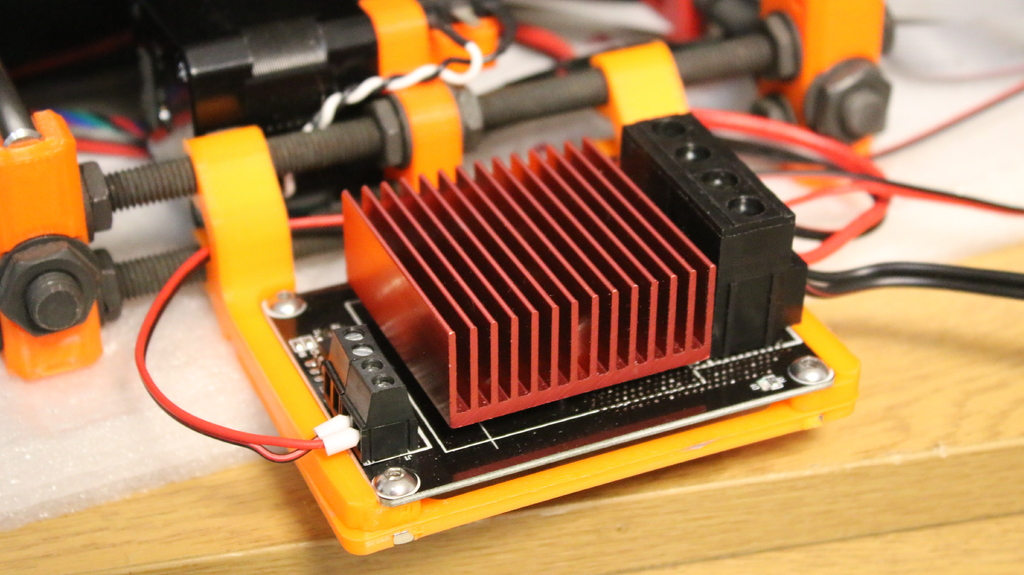
If you're a proud owner of the PRUSA i3 MK2, chances are you've either encountered or heard tales about those pesky connectors that tend to burn out. Perhaps you even caught an episode I shared on NERDVille, my YouTube channel, where I delved into this very issue. Well, I'm here to share my own experiences with the PRUSA i3 MK2. This has happened to me not once, but twice now! As a cautious user, I've always been mindful of using ABS or PETG, knowing that these materials require a hotter bed temperature and thus increase the risk of another connector burning out. Enough is enough! After two close calls, I decided it was time for an upgrade. I opted to install a separate MOSFET on my PRUSA i3 MK2, shifting this heavy load off the controller board and placing it in the most optimal spot possible on the MK2. To achieve this, you'll need to purchase a new MOSFET with a larger heatsink - just like the one I featured in my YouTube guide. eBay has an abundance of options available at affordable prices. Check out this link for a UK-based seller: https://ebay.us/g6mmCl Feel free to share your thoughts on this upgrade, and don't forget to subscribe to NERDVille for more DIY tips and tricks!
With this file you will be able to print PRUSA i3 Mk2 MOSFET Upgrade - NERDVille Guide with your 3D printer. Click on the button and save the file on your computer to work, edit or customize your design. You can also find more 3D designs for printers on PRUSA i3 Mk2 MOSFET Upgrade - NERDVille Guide.
