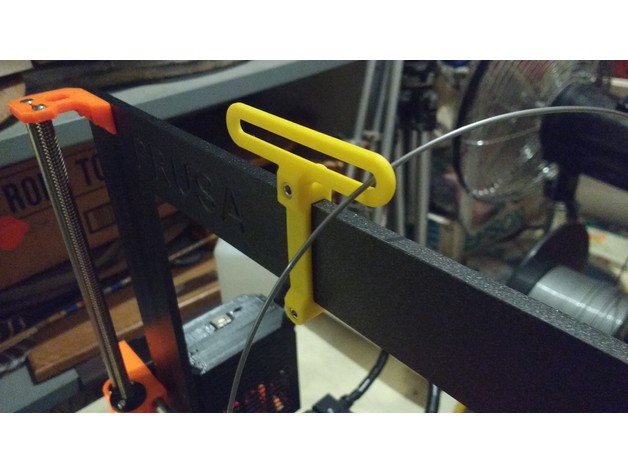
Prusa i3 Mk.2 Filament Guide
thingiverse
Here is a simple filament guide I created. I'm aware that numerous designs similar to mine already exist on Thingiverse. My design stands out as it securely attaches to the frame without falling off or sliding around. It utilizes 2 bolts to snugly hold it in place, effectively "sandwiching" it between the frame's edges. I'm uncertain, but my part may fit other printers beyond the Prusa i3 Mk.2 if your frame is precisely 6.2mm thick and 40mm tall, this should fit perfectly! If you've added a filament guide to any other printer, please share that information with me! The tolerance of my design ensures a tight, snug fit. This is my first uploaded model, so I appreciate any feedback or suggestions for improvement. Happy Printing, Owen Print Settings Printer Brand: Prusa Printer: Prusa Mk2 Rafts: No Supports: No Resolution: 0.1mm - 0.2mm Infill: It's not crucial, but I used 20% infill in my model. Notes: Due to the Autodesk Inventor modeling software, the axes are reversed when importing into your slicer. Ensure you re-orient the parts so they lie flat on the build platform. Post-Printing Installation To secure the filament guide to your printer, use M3 or 9/64" bolts (either will work). I used the spare M3x10 bolts that came with my Prusa i3 Mk.2 kit. No nuts are required; simply tighten the bolts into the printed parts. Upon installation, there should be a small gap between the parts. Tighten the bolts until this gap closes completely. Avoid over-tightening, as it may damage the "back brace" holes.
With this file you will be able to print Prusa i3 Mk.2 Filament Guide with your 3D printer. Click on the button and save the file on your computer to work, edit or customize your design. You can also find more 3D designs for printers on Prusa i3 Mk.2 Filament Guide.
