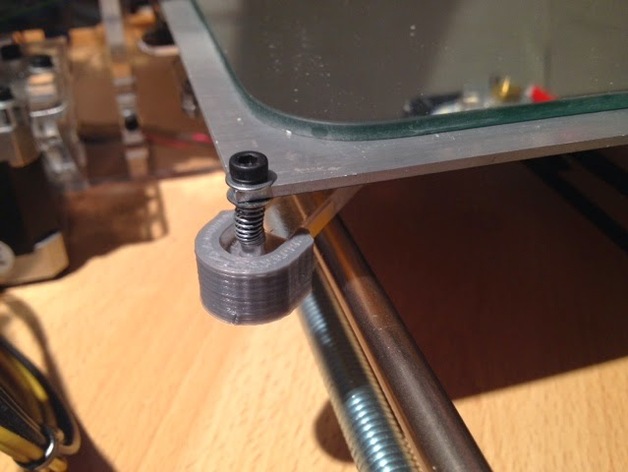
Prusa i3 leveling bumper
thingiverse
Hold tight! Whenever you adjust the heated bed's screws, make sure not to reach for pliers every time. Simply print and install the nut using a soldering iron or adhesive, and then secure it with bumper in place by gluing it firmly to the corner of your Y-carriage – hot glue or cyanoacrylate works great.
Download Model from thingiverse
With this file you will be able to print Prusa i3 leveling bumper with your 3D printer. Click on the button and save the file on your computer to work, edit or customize your design. You can also find more 3D designs for printers on Prusa i3 leveling bumper.
