Prusa i3 lack enclosure stabilizer
thingiverse
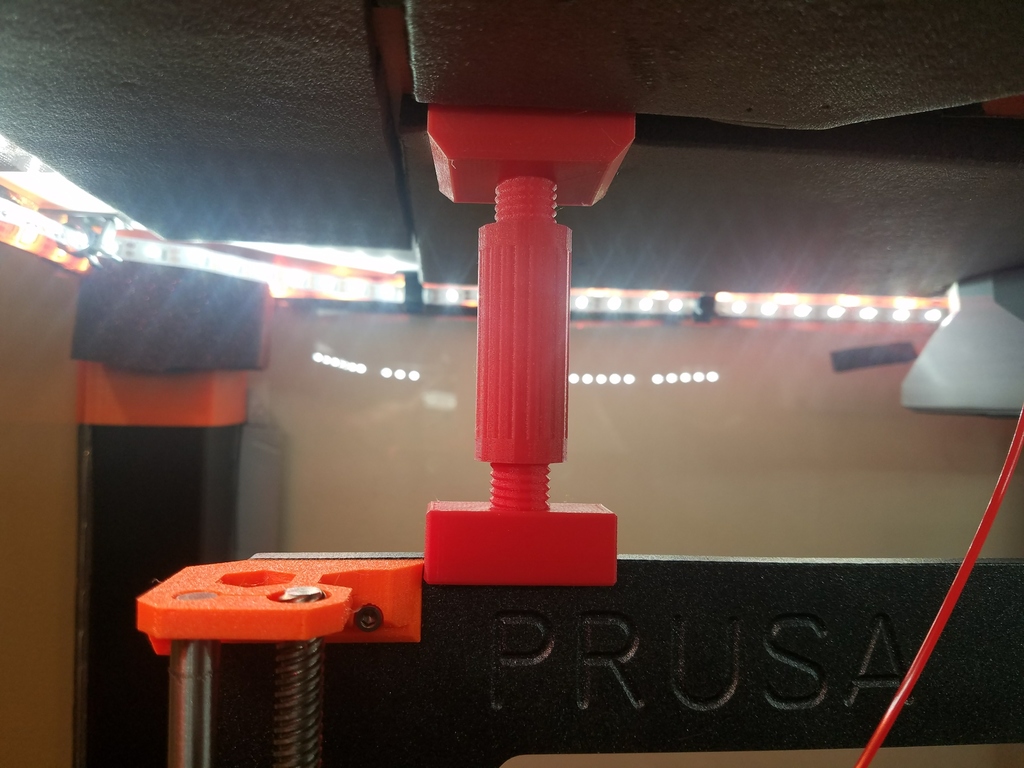
You can now mix and match the large and small pieces as needed, depending on your clearance between the top of the printer frame and your enclosure ceiling. The mini version includes two different sized nuts, a 12mm nut and a 14mm nut. I designed this telescoping stabilizer to make my printer more rigid without permanent modification or bolting it to my enclosure. The top piece has a right-hand thread, while the bottom piece has a left-hand thread. To install, thread both pieces all the way in, place them on top of your printer, and hold the upper piece steady as you spin the middle nut. The long version features: * 85mm fully retracted * 125mm fully extended (one thread remaining) The mini version, which includes a 12mm nut, measures: * 28.25mm fully retracted * 36.6mm fully extended (one thread remaining) I recommend printing with high-strength materials like PETG or ABS. My own printer was made with Inland PETG.
With this file you will be able to print Prusa i3 lack enclosure stabilizer with your 3D printer. Click on the button and save the file on your computer to work, edit or customize your design. You can also find more 3D designs for printers on Prusa i3 lack enclosure stabilizer.
